



Class 11 Engineering Graphics Chapter 3 Circles, Inscribing and Circumscribing of Circles NCERT Solutions help students practise the 2026-27 NCERT construction methods for tangents, touching circles, incircles and circumcircles. The solved PDF keeps every construction answer in drawing-sheet order, with quick answers, stepwise solutions and expert routes.
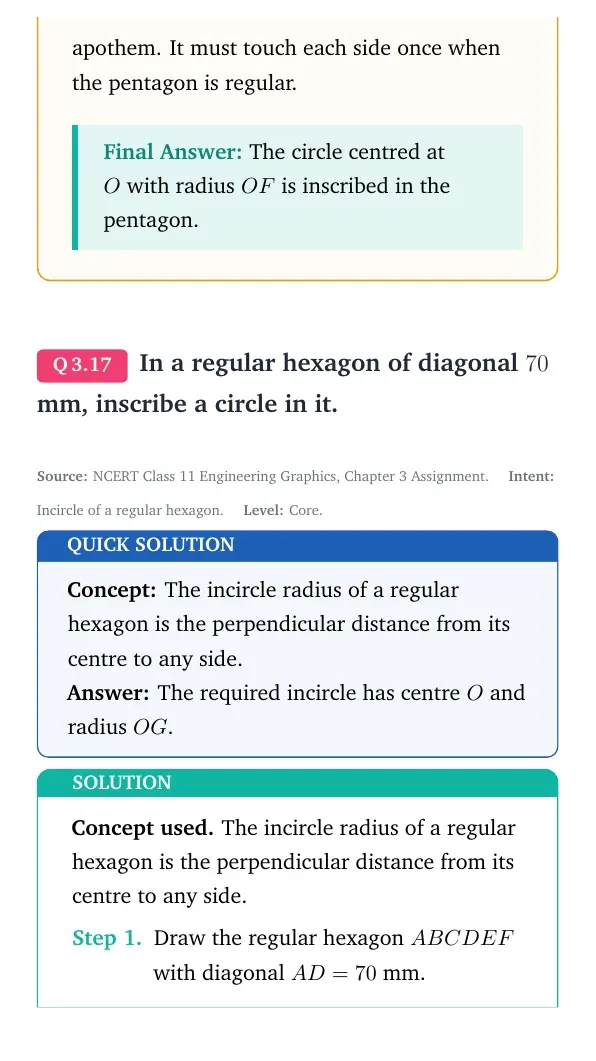
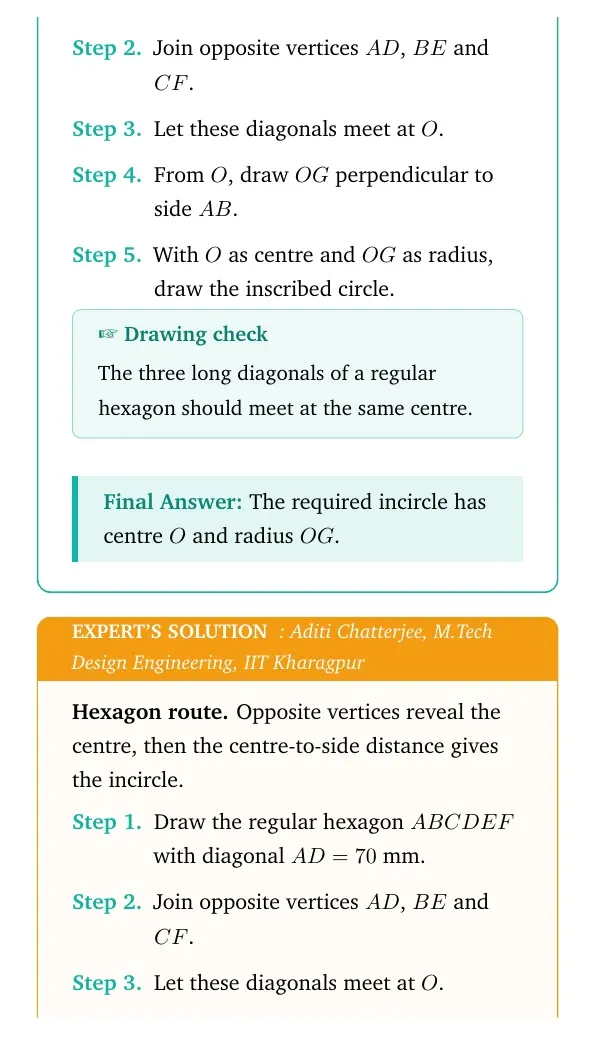
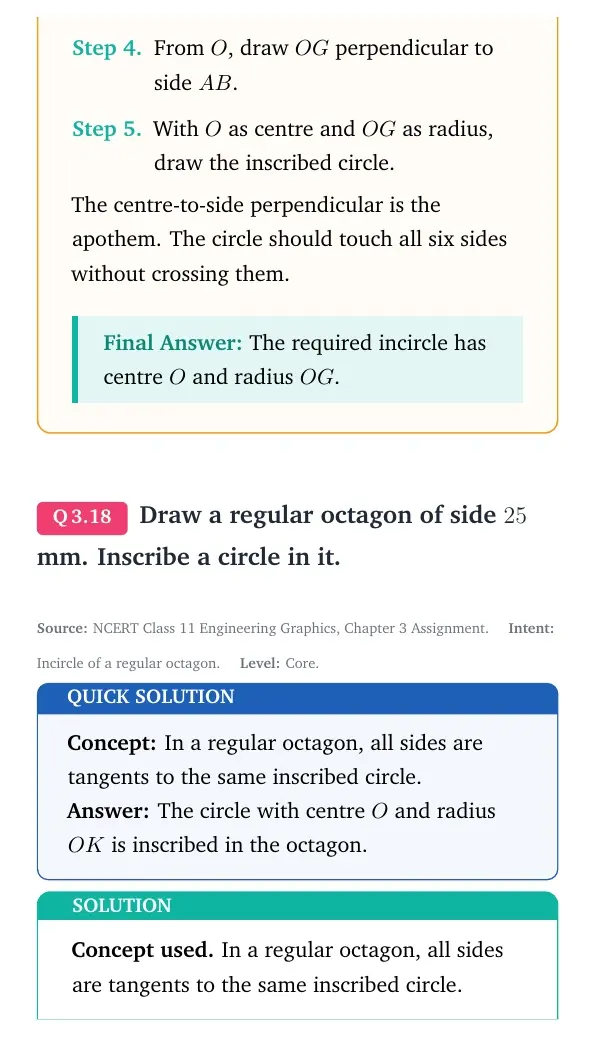
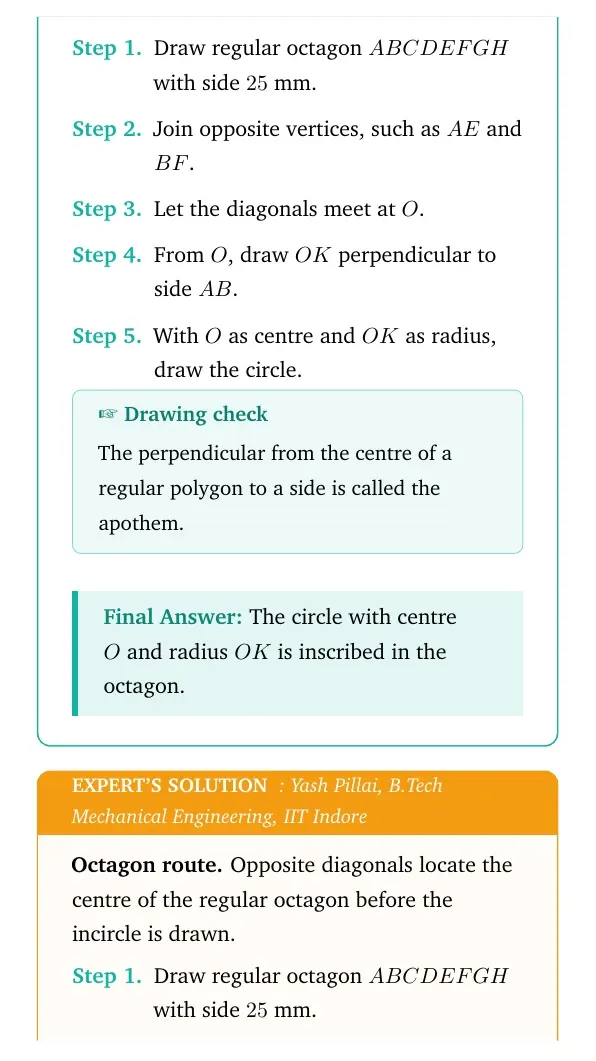
- Includes 20 solved construction answers from assignment and test-yourself practice.
- Covers tangents, common tangents, circle contact, incircle, circumcircle and pulley belt diagrams.
- Useful for sheet preparation, viva revision and clean compass-and-ruler construction practice.
Student Feedback: In a Collegedunia poll of 9,860 Class 11 Engineering Graphics students conducted for 2026 board preparation, 71% said this chapter became easier after they separated tangent construction from triangle construction.
Use this with the official 2026-27 NCERT chapter. Draw the construction lightly first, darken only the final required circle or tangent, and label every centre clearly.
Class 11 Engineering Graphics Chapter 3 Solution Highlights
This chapter is construction-heavy. The main scoring point is the order of arcs and centres, because a correct final tangent can still lose marks if the construction path is unclear. The PDF therefore separates the construction data, drawing steps, final answer and expert method for each problem.
| NCERT focus | What students should remember |
|---|---|
| Circle through points | Use perpendicular bisectors to locate the centre before drawing the circle. |
| Tangent from a point | Use the circle on the joining segment as diameter to get tangent points. |
| Incircle and circumcircle | Angle bisectors give the incentre, perpendicular bisectors give the circumcentre. |
| Direct and cross belt | Use auxiliary difference or sum circles before drawing common tangents. |
Tangent Construction Flow for Circles in Engineering Graphics
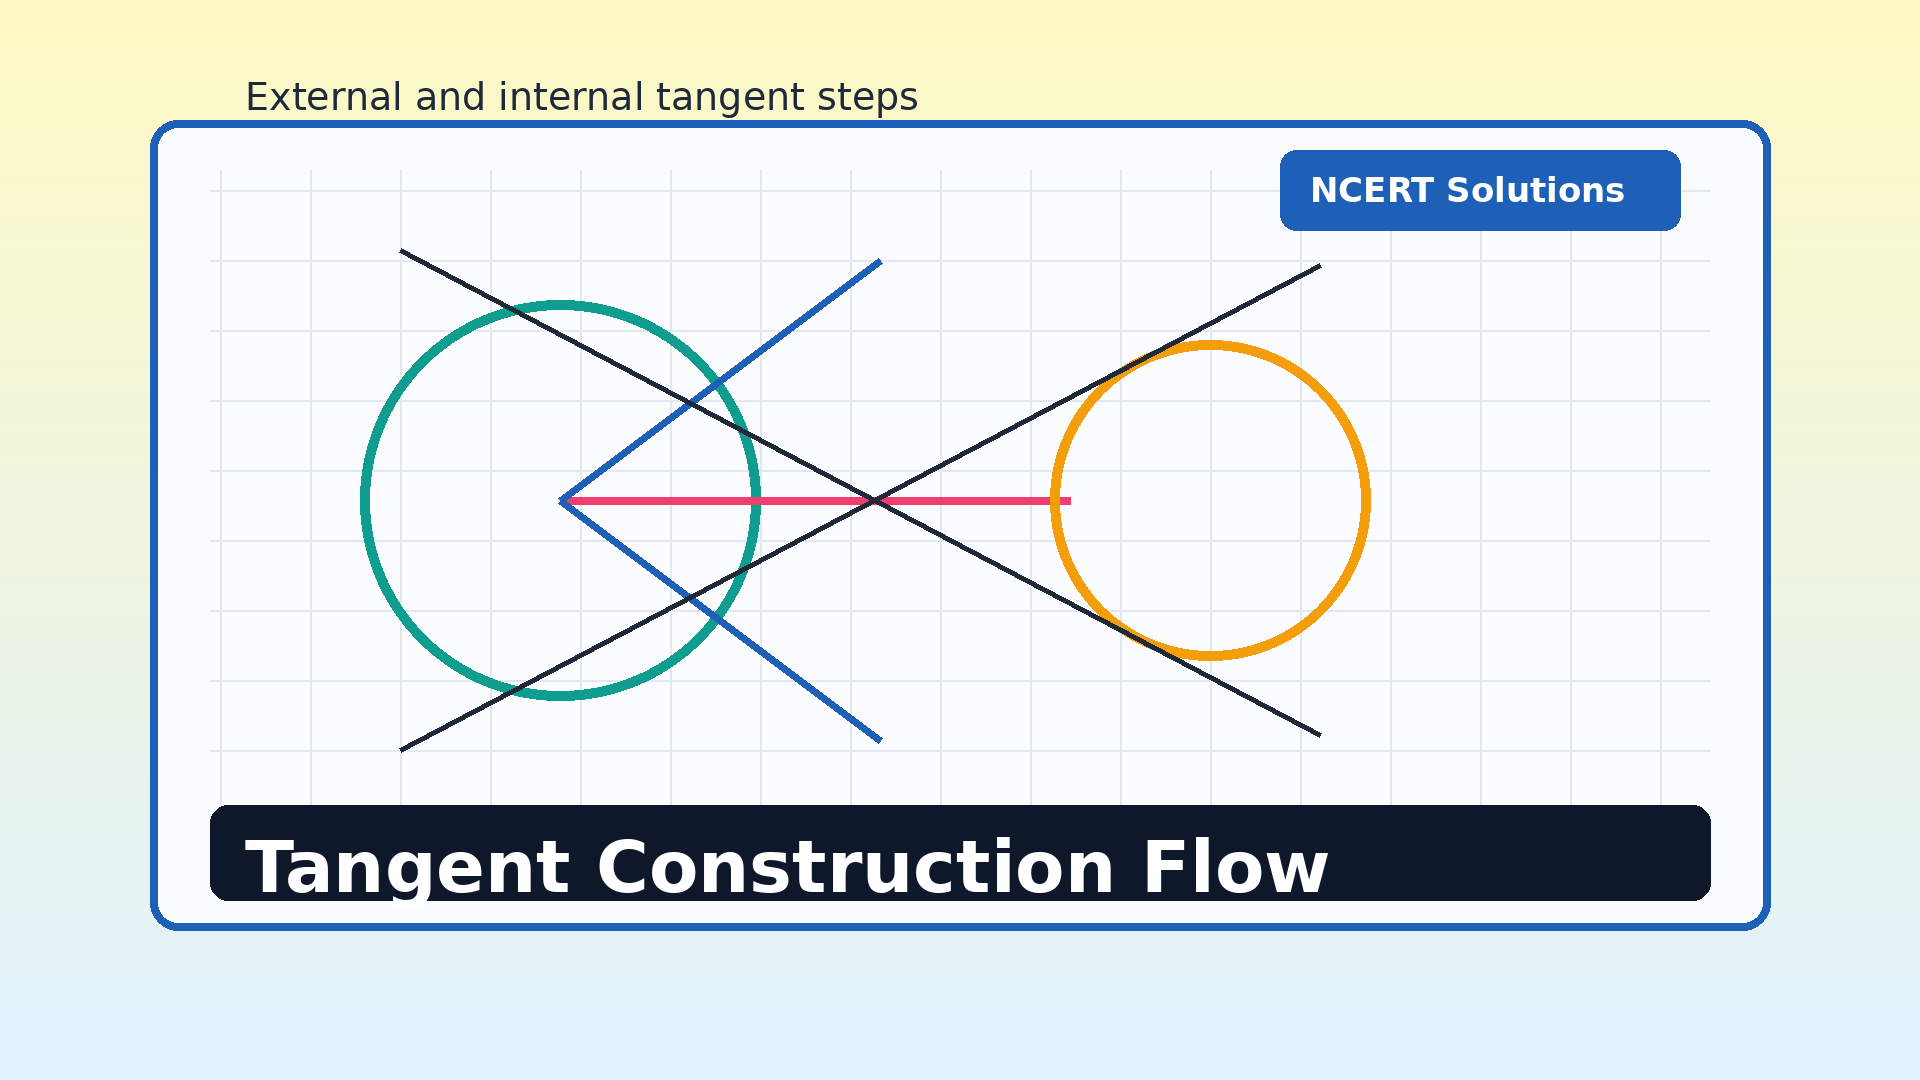
Tangent questions are not guesswork. Start with the given centre and radius, join the external point to the centre, and then create the required auxiliary circle or perpendicular. When the tangent point is found, join it neatly to the external point and check that the tangent is perpendicular to the radius at contact.
- For a tangent from an external point, draw the circle with the joining segment as diameter.
- For a direct common tangent, use the difference of radii in the auxiliary construction.
- For a cross common tangent, use the sum of radii in the auxiliary construction.
- For touching circles, keep the line of centres clear before adding tangent lines.
Circles and Tangents Drawing Video for Class 11 Engineering Graphics
Source: VISHWAKARMA ENGINEERING DRAWING CLASSES on YouTube
Incircle and Circumcircle Checks in Chapter 3
Triangle-based circle construction uses two different centres. The incentre is found from angle bisectors and gives the incircle touching all three sides. The circumcentre is found from perpendicular bisectors and gives the circle passing through all three vertices.
| Construction | Centre method | Radius method |
|---|---|---|
| Incircle | Intersect any two angle bisectors. | Drop a perpendicular from incentre to one side. |
| Circumcircle | Intersect any two perpendicular bisectors. | Join circumcentre to any vertex. |
| Circle through three points | Use perpendicular bisectors of two chords. | Distance from centre to any given point. |
What the Class 11 Engineering Graphics Chapter 3 PDF Contains
The PDF is built for students who need a clean answer-writing route after finishing the drawing. It keeps the answer compact but still explains why each construction line is drawn. Every problem has a quick answer, a stepwise solution and a separate expert solution.
| PDF section | Use |
|---|---|
| Quick Answer | Fast recap of the construction target. |
| Step-by-step Solution | Numbered drawing order for notebook and sheet work. |
| Expert Solution | Alternate route and marking focus for the same construction. |
| Key Takeaways | Final revision list for tangents, incircles and circumcircles. |
Related Circles, Inscribing and Circumscribing of Circles Class 11 Resources
Use these resources together. The official book gives the source construction tasks, while the solved PDF gives the answer-ready route for each question.
| Resource | Best use | Link |
|---|---|---|
| NCERT Book PDF | Read the official source chapter | Open book PDF |
| Revision Notes | Revise centre, tangent and circle rules | Open notes |
| Handwritten Notes | Practise construction sequences visually | Open handwritten notes |
All Class 11 Engineering Graphics NCERT Solutions
The table below keeps Engineering Graphics solution pages together for chapter-wise practice.
| Chapter | NCERT chapter title | Solutions |
|---|---|---|
| Chapter 1 | Introduction | Open solutions |
| Chapter 2 | Lines, Angles, and Rectilinear Figures | Open solutions |
| Chapter 3 | Circles, Inscribing and Circumscribing of Circles | Current solutions |
| Chapter 4 | Orthographic Projection of Points and Lines | Open solutions |
| Chapter 5 | Orthographic Projection of Regular Plane Figures | Open solutions |
| Chapter 6 | Orthographic Projection of Right Regular Solids | Open solutions |
| Chapter 7 | Section of Solids | Open solutions |
All NCERT Solutions for Class 11 Engineering Graphics Chapter 3 Circles, Inscribing and Circumscribing of Circles with Step-by-Step Solutions
The question cards below let students open each construction answer only when needed. Start with the given data, check the construction sequence, and then compare the expert explanation for a cleaner route.
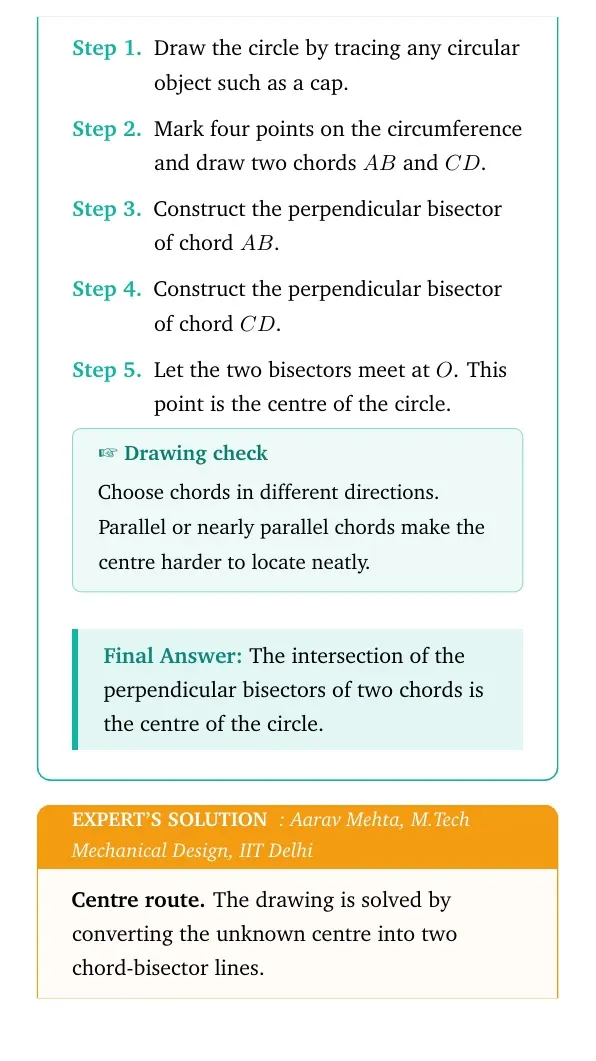
Concept used. The perpendicular bisectors of two non-parallel chords meet at the centre of the circle.
- Draw the circle by tracing any circular object such as a cap.
- Mark four points on the circumference and draw two chords AB and CD.
- Construct the perpendicular bisector of chord AB.
- Construct the perpendicular bisector of chord CD.
- Let the two bisectors meet at O. This point is the centre of the circle.
Expert's Solution
Centre route. The drawing is solved by converting the unknown centre into two chord-bisector lines.
- Draw the circle by tracing any circular object such as a cap.
- Mark four points on the circumference and draw two chords AB and CD.
- Construct the perpendicular bisector of chord AB.
- Construct the perpendicular bisector of chord CD.
- Let the two bisectors meet at O. This point is the centre of the circle.
\Needspace{11\baselineskip}
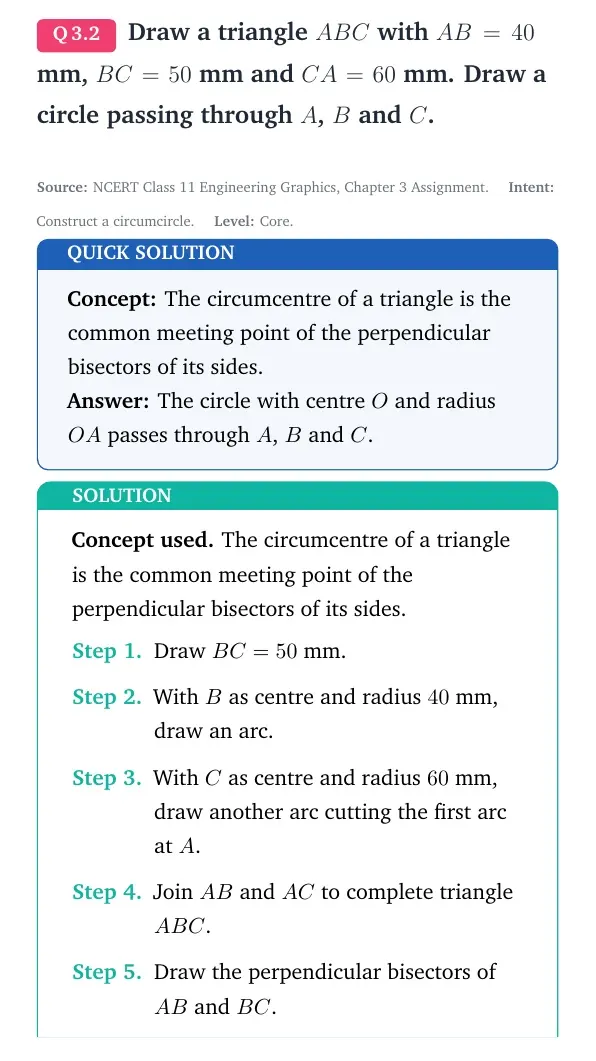
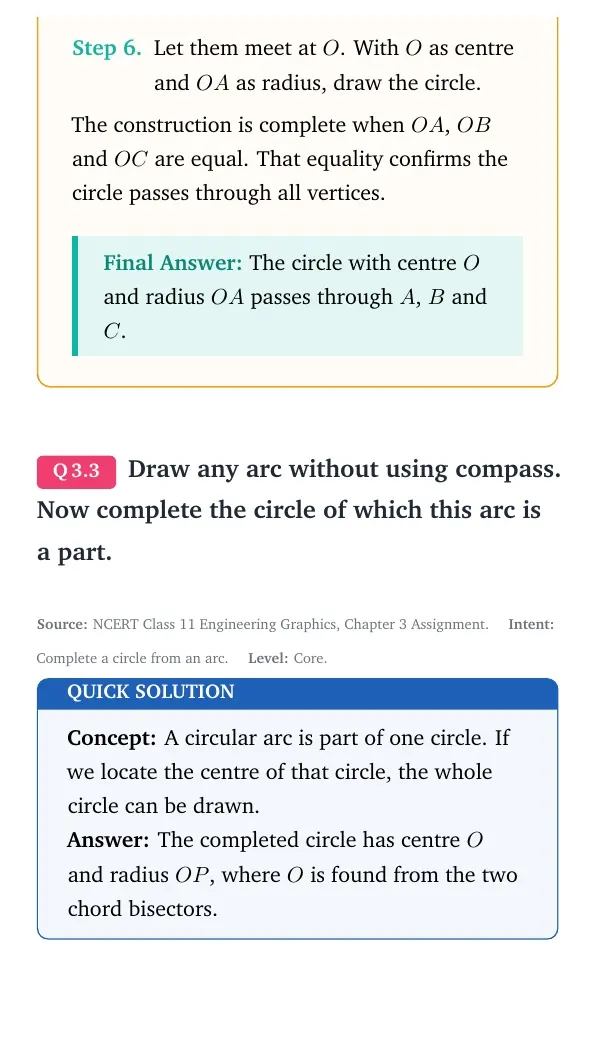
Concept used. The circumcentre of a triangle is the common meeting point of the perpendicular bisectors of its sides.
- Draw BC = 50 mm.
- With B as centre and radius 40 mm, draw an arc.
- With C as centre and radius 60 mm, draw another arc cutting the first arc at A.
- Join AB and AC to complete triangle ABC.
- Draw the perpendicular bisectors of AB and BC.
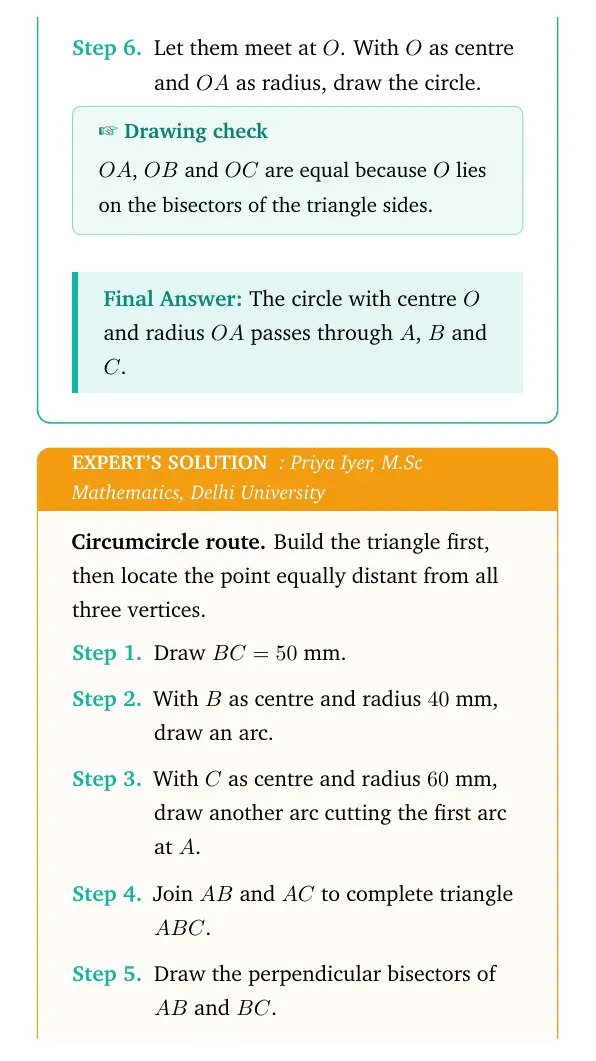
- Let them meet at O. With O as centre and OA as radius, draw the circle.
Expert's Solution
Circumcircle route. Build the triangle first, then locate the point equally distant from all three vertices.
- Draw BC = 50 mm.
- With B as centre and radius 40 mm, draw an arc.
- With C as centre and radius 60 mm, draw another arc cutting the first arc at A.
- Join AB and AC to complete triangle ABC.
- Draw the perpendicular bisectors of AB and BC.
- Let them meet at O. With O as centre and OA as radius, draw the circle.
\Needspace{11\baselineskip}
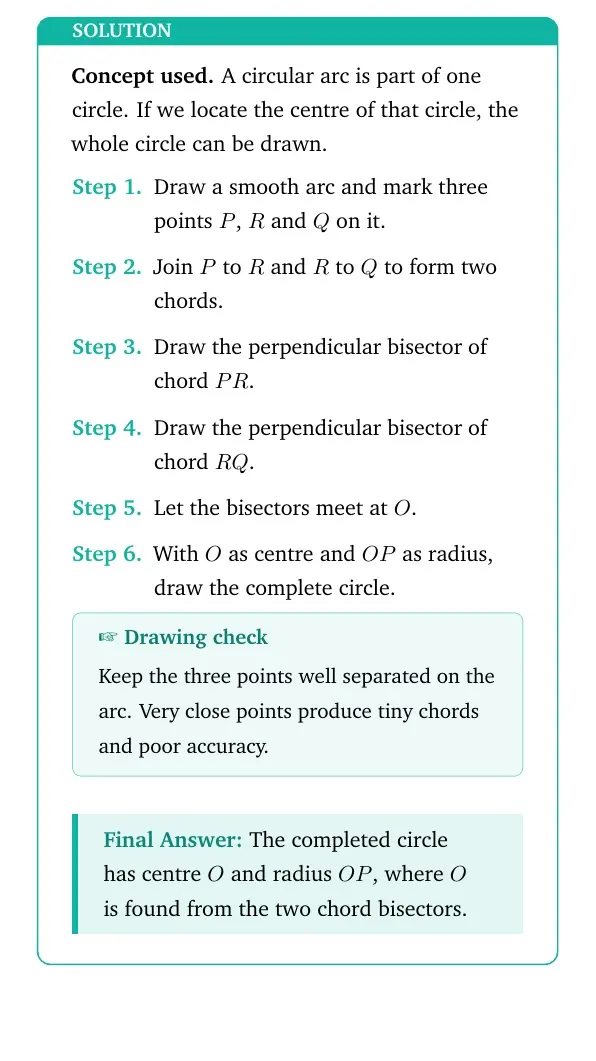
Concept used. A circular arc is part of one circle. If we locate the centre of that circle, the whole circle can be drawn.
- Draw a smooth arc and mark three points P, R and Q on it.
- Join P to R and R to Q to form two chords.
- Draw the perpendicular bisector of chord PR.
- Draw the perpendicular bisector of chord RQ.
- Let the bisectors meet at O.
- With O as centre and OP as radius, draw the complete circle.
Expert's Solution
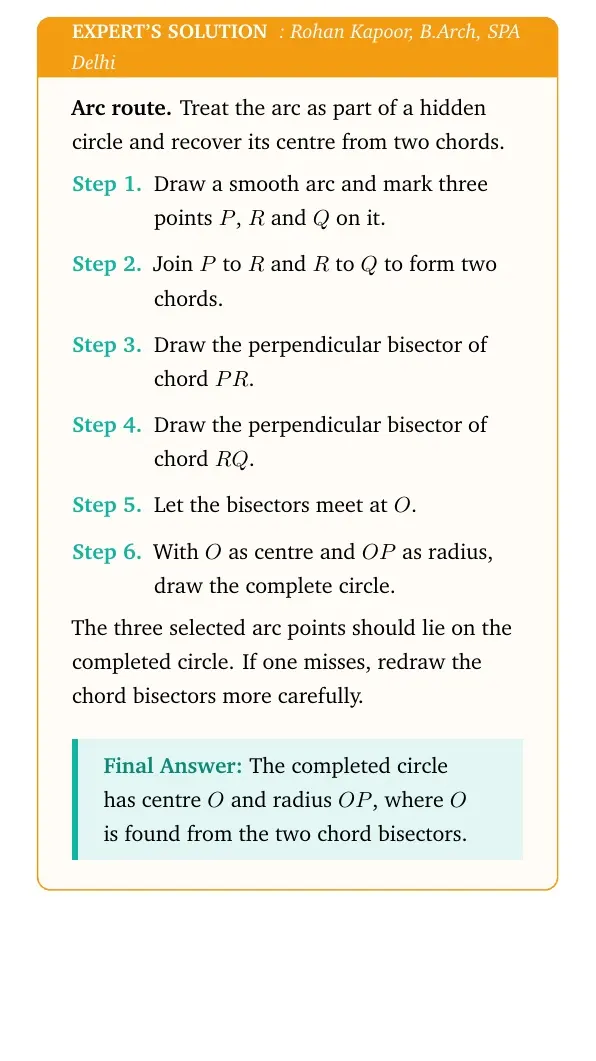
Arc route. Treat the arc as part of a hidden circle and recover its centre from two chords.
- Draw a smooth arc and mark three points P, R and Q on it.
- Join P to R and R to Q to form two chords.
- Draw the perpendicular bisector of chord PR.
- Draw the perpendicular bisector of chord RQ.
- Let the bisectors meet at O.
- With O as centre and OP as radius, draw the complete circle.
\Needspace{11\baselineskip}
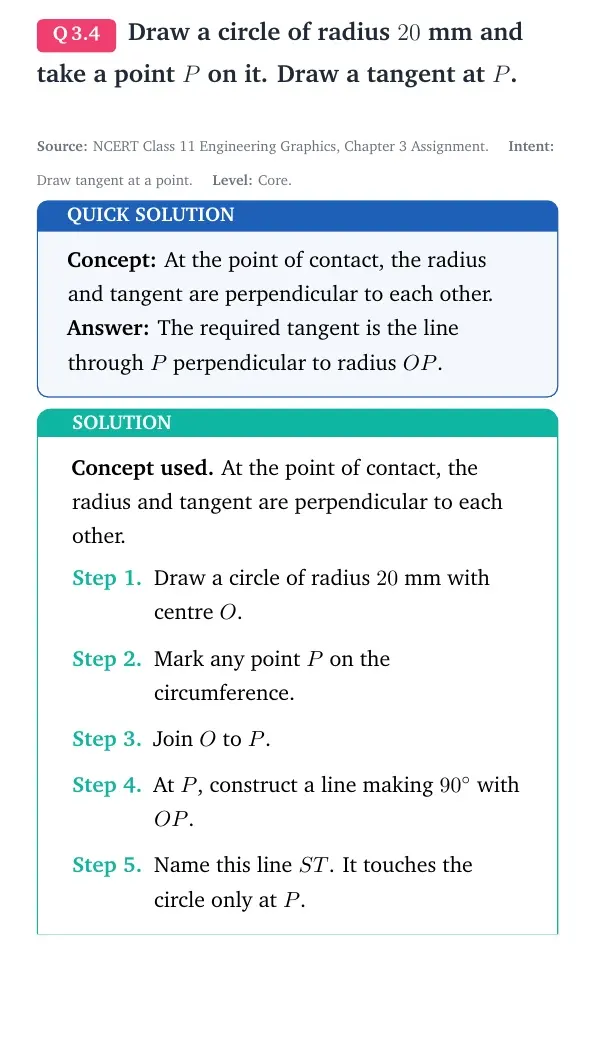
Concept used. At the point of contact, the radius and tangent are perpendicular to each other.
- Draw a circle of radius 20 mm with centre O.
- Mark any point P on the circumference.
- Join O to P.
- At P, construct a line making 90∘ with OP.
- Name this line ST. It touches the circle only at P.
Expert's Solution
Tangent-at-point route. Once the radius to the contact point is drawn, the tangent direction is fixed.
- Draw a circle of radius 20 mm with centre O.
- Mark any point P on the circumference.
- Join O to P.
- At P, construct a line making 90∘ with OP.
- Name this line ST. It touches the circle only at P.
\Needspace{11\baselineskip}
Concept used. The angle in a circle drawn on OP as diameter is a right angle. Therefore, the line from P to each intersection point is perpendicular to the radius at that point.
- Draw the given circle with centre O and radius 25 mm.
- Mark point P so that OP = 55 mm.
- Join O and P.
- Bisect OP at M and draw the full circle with centre M and radius MO.
- Let this diameter-circle cut the given circle at T1 and T2, one point on each side of OP.
- Join PT1 and PT2. These are the two tangents.
Expert's Solution
External-point route. The tangent points are found by making right angles on the full circle with diameter OP.
- Draw the given circle with centre O and radius 25 mm.
- Mark point P so that OP = 55 mm.
- Join O and P.
- Bisect OP at M and draw the full circle with centre M and radius MO.
- Let this diameter-circle cut the given circle at T1 and T2, one point on each side of OP.
- Join PT1 and PT2. These are the two tangents.
\Needspace{11\baselineskip}
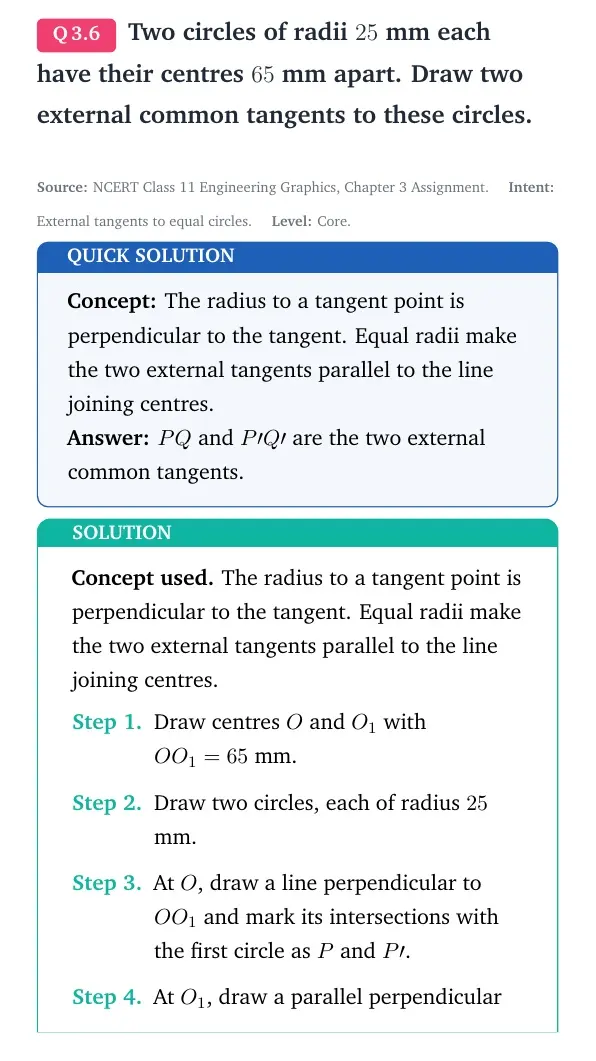
Concept used. The radius to a tangent point is perpendicular to the tangent. Equal radii make the two external tangents parallel to the line joining centres.
- Draw centres O and O1 with OO1 = 65 mm.
- Draw two circles, each of radius 25 mm.
- At O, draw a line perpendicular to OO1 and mark its intersections with the first circle as P and P′.
- At O1, draw a parallel perpendicular and mark intersections with the second circle as Q and Q′.
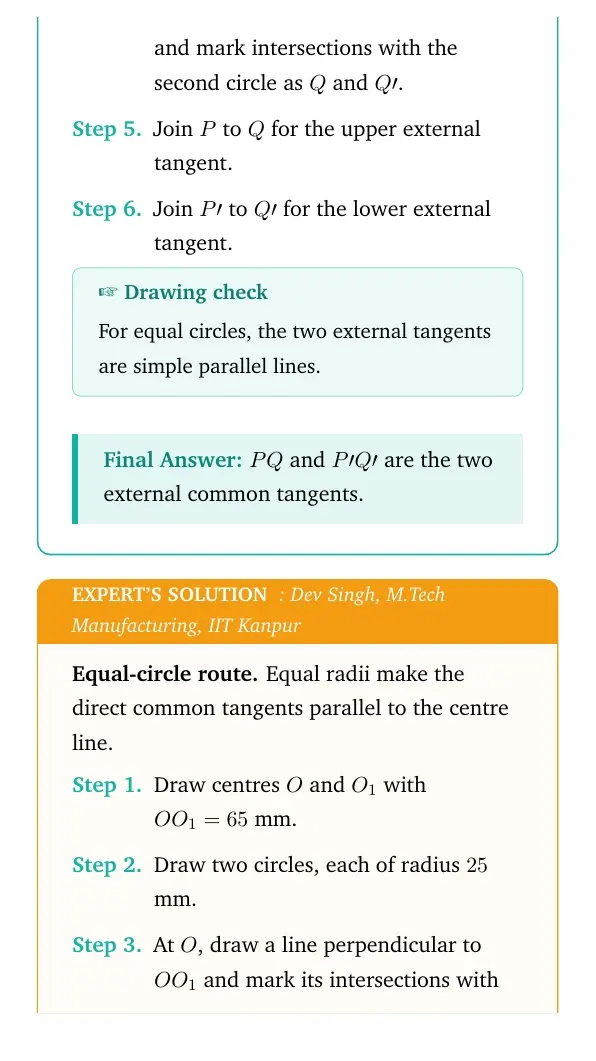
- Join P to Q for the upper external tangent.
- Join P′ to Q′ for the lower external tangent.
Expert's Solution
Equal-circle route. Equal radii make the direct common tangents parallel to the centre line.
- Draw centres O and O1 with OO1 = 65 mm.
- Draw two circles, each of radius 25 mm.
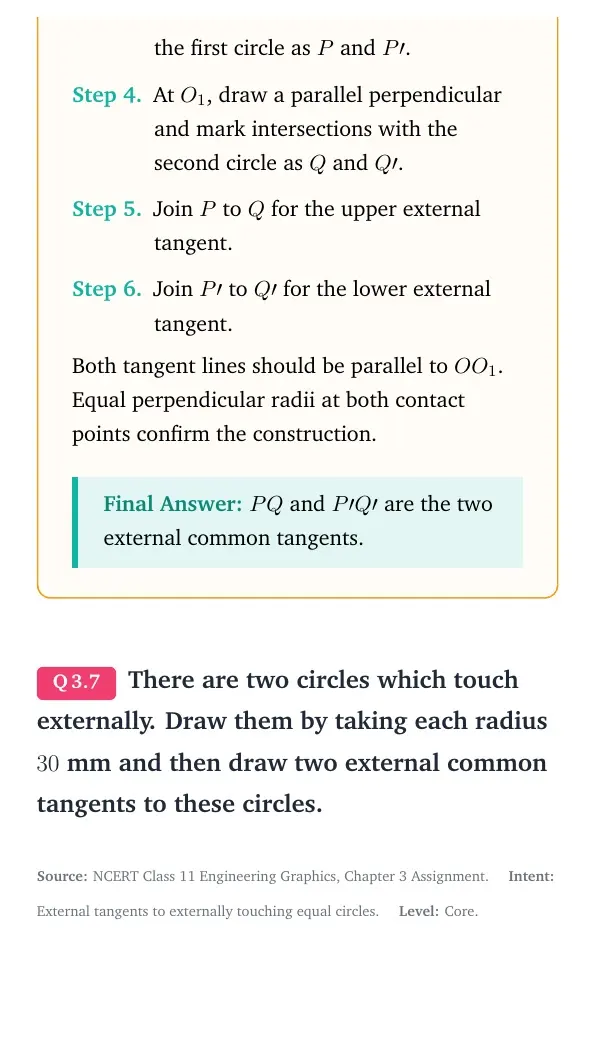
- At O, draw a line perpendicular to OO1 and mark its intersections with the first circle as P and P′.
- At O1, draw a parallel perpendicular and mark intersections with the second circle as Q and Q′.
- Join P to Q for the upper external tangent.
- Join P′ to Q′ for the lower external tangent.
\Needspace{11\baselineskip}
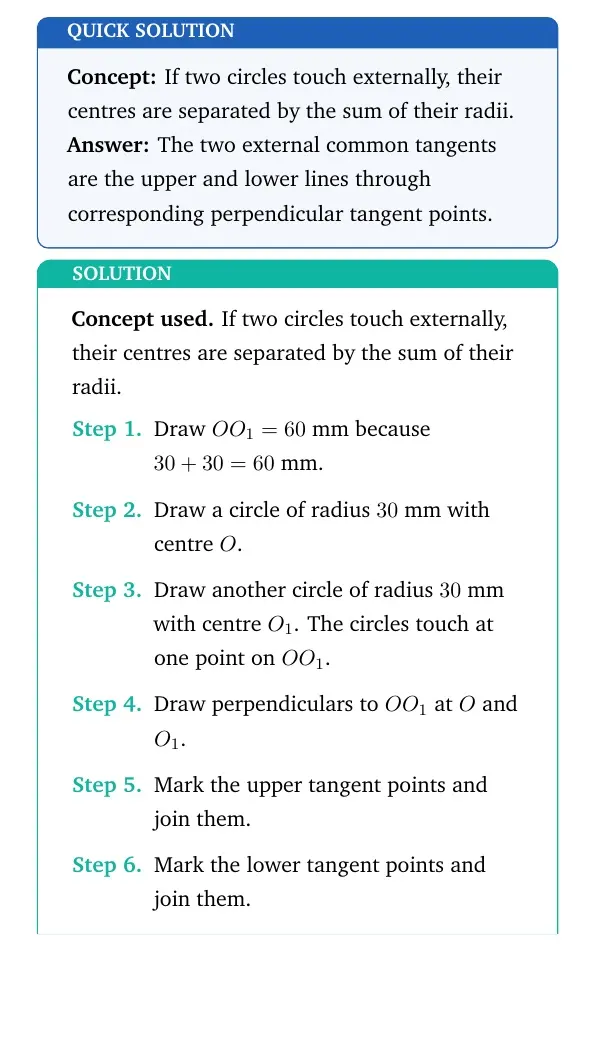
Concept used. If two circles touch externally, their centres are separated by the sum of their radii.
- Draw OO1 = 60 mm because 30 + 30 = 60 mm.
- Draw a circle of radius 30 mm with centre O.
- Draw another circle of radius 30 mm with centre O1. The circles touch at one point on OO1.
- Draw perpendiculars to OO1 at O and O1.
- Mark the upper tangent points and join them.
- Mark the lower tangent points and join them.
Expert's Solution
Touching-circle route. The centre distance comes from the sum of radii, then the equal-circle tangent rule applies.
- Draw OO1 = 60 mm because 30 + 30 = 60 mm.
- Draw a circle of radius 30 mm with centre O.
- Draw another circle of radius 30 mm with centre O1. The circles touch at one point on OO1.
- Draw perpendiculars to OO1 at O and O1.
- Mark the upper tangent points and join them.
- Mark the lower tangent points and join them.
\Needspace{11\baselineskip}
Concept used. Externally touching circles have centre distance equal to the sum of radii, and the common tangent touches both circles on the same side.
- Draw OO1 = 35 mm because 20 + 15 = 35 mm.
- Draw the two circles with radii 20 mm and 15 mm so they touch externally at A.
- Draw a semicircle on OO1.
- At A, draw a perpendicular to OO1 meeting the semicircle at B.
- With B as centre and BA as radius, draw an arc cutting the two circles at P and Q.
- Join P and Q. This is the external common tangent.
Expert's Solution
Unequal-touch route. The touching point and semicircle construction locate the common tangent without trial drawing.
- Draw OO1 = 35 mm because 20 + 15 = 35 mm.
- Draw the two circles with radii 20 mm and 15 mm so they touch externally at A.
- Draw a semicircle on OO1.
- At A, draw a perpendicular to OO1 meeting the semicircle at B.
- With B as centre and BA as radius, draw an arc cutting the two circles at P and Q.
- Join P and Q. This is the external common tangent.
\Needspace{11\baselineskip}
Concept used. An external tangent to unequal circles can be found by shrinking the larger circle by the smaller radius.
- Draw OO1 = 70 mm.
- Draw the larger circle with centre O and radius 30 mm.
- Draw the smaller circle with centre O1 and radius 15 mm.
- With O as centre, draw an auxiliary circle of radius 30 - 15 = 15 mm.
- Draw a tangent from O1 to this auxiliary circle and call the contact point A.
- Extend OA to meet the larger circle at P.
- Through O1, draw a line parallel to OP meeting the smaller circle at Q.
- Join P and Q.
Expert's Solution
Difference-circle route. Subtract the smaller radius to convert the external tangent into a simpler tangent problem.
- Draw OO1 = 70 mm.
- Draw the larger circle with centre O and radius 30 mm.
- Draw the smaller circle with centre O1 and radius 15 mm.
- With O as centre, draw an auxiliary circle of radius 30 - 15 = 15 mm.
- Draw a tangent from O1 to this auxiliary circle and call the contact point A.
- Extend OA to meet the larger circle at P.
- Through O1, draw a line parallel to OP meeting the smaller circle at Q.
- Join P and Q.
\Needspace{11\baselineskip}
Concept used. For intersecting unequal circles, an external common tangent can be constructed by locating an external similarity point.
- Draw centres O and O1 with OO1 = 30 mm.
- Draw circles of radii 25 mm and 15 mm.
- On the larger circle, draw any radius OA making a convenient angle.
- Through O1, draw O1B parallel to OA to meet the smaller circle at B.
- Join A and B and extend it to meet the extended line OO1 at C.
- From C, draw a tangent to the larger circle. Let the tangent point be P.
- Draw through O1 a radius parallel to OP meeting the smaller circle at Q.
- Join P and Q for the common tangent.
Expert's Solution
Similarity-point route. Parallel radii locate the external similarity point that controls the tangent direction.
- Draw centres O and O1 with OO1 = 30 mm.
- Draw circles of radii 25 mm and 15 mm.
- On the larger circle, draw any radius OA making a convenient angle.
- Through O1, draw O1B parallel to OA to meet the smaller circle at B.
- Join A and B and extend it to meet the extended line OO1 at C.
- From C, draw a tangent to the larger circle. Let the tangent point be P.
- Draw through O1 a radius parallel to OP meeting the smaller circle at Q.
- Join P and Q for the common tangent.
\Needspace{11\baselineskip}
Concept used. An internal common tangent crosses the line joining the centres. For equal circles, it crosses at the midpoint.
- Draw OO1 = 80 mm.
- Draw two circles, each of radius 30 mm.
- Bisect OO1 at M.
- Draw a semicircle on OM to locate tangent point P on the first circle.
- Through O1, draw O1Q parallel to OP and mark Q on the second circle on the opposite side.
- Join P and Q. The line passes through M and is the internal tangent.
Expert's Solution
Midpoint route. Equal circles place the crossed tangent through the midpoint of the centre line.
- Draw OO1 = 80 mm.
- Draw two circles, each of radius 30 mm.
- Bisect OO1 at M.
- Draw a semicircle on OM to locate tangent point P on the first circle.
- Through O1, draw O1Q parallel to OP and mark Q on the second circle on the opposite side.
- Join P and Q. The line passes through M and is the internal tangent.
\Needspace{11\baselineskip}
Concept used. For an internal common tangent, the auxiliary radius equals the sum of the two given radii.
- Draw OO1 = 70 mm.
- Draw the circles of radii 25 mm and 20 mm.
- With O as centre, draw an auxiliary circle of radius 25 + 20 = 45 mm.
- Draw a tangent from O1 to this auxiliary circle to get the direction.
- Mark P on the larger circle in that direction.
- Through O1, draw a line parallel to OP on the opposite side to meet the smaller circle at Q.
- Join P and Q.
Expert's Solution
Sum-circle route. Internal tangents use the sum of radii because the belt crosses between the circles.
- Draw OO1 = 70 mm.
- Draw the circles of radii 25 mm and 20 mm.
- With O as centre, draw an auxiliary circle of radius 25 + 20 = 45 mm.
- Draw a tangent from O1 to this auxiliary circle to get the direction.
- Mark P on the larger circle in that direction.
- Through O1, draw a line parallel to OP on the opposite side to meet the smaller circle at Q.
- Join P and Q.
\Needspace{11\baselineskip}
Concept used. An inscribed circle touches all sides of a polygon. Its centre is equidistant from all the sides.
- Draw altitude AD = 55 mm.
- Through D, draw base line BC perpendicular to AD.
- Through A, draw two lines making 30∘ with AD on either side. Let them meet the base line at B and C.
- Join AB and AC to complete equilateral triangle ABC.
- Bisect angles B and C.
- Let the angle bisectors meet at O.
- From O, draw OD perpendicular to side BC.
- With O as centre and OD as radius, draw the circle.
Expert's Solution
Height-first route. Convert the given altitude into an exact equilateral triangle before finding the incircle.
- Draw altitude AD = 55 mm.
- Through D, draw base line BC perpendicular to AD.
- Through A, draw two lines making 30∘ with AD on either side and meeting the base line at B and C.
- Join AB and AC to complete equilateral triangle ABC.
- Bisect angles B and C.
- Let the angle bisectors meet at O.
- From O, draw OD perpendicular to side BC.
- With O as centre and OD as radius, draw the circle.
\Needspace{11\baselineskip}
Concept used. The centre of a square is equally distant from all four sides.
- Draw square ABCD with side 40 mm.
- Join diagonals AC and BD.
- Let the diagonals meet at O.
- From O, draw OE perpendicular to side AB.
- With O as centre and OE as radius, draw the circle.
Expert's Solution
Square-symmetry route. The diagonal intersection gives the centre, and half the side gives the radius check.
- Draw square ABCD with side 40 mm.
- Join diagonals AC and BD.
- Let the diagonals meet at O.
- From O, draw OE perpendicular to side AB.
- With O as centre and OE as radius, draw the circle.
\Needspace{11\baselineskip}
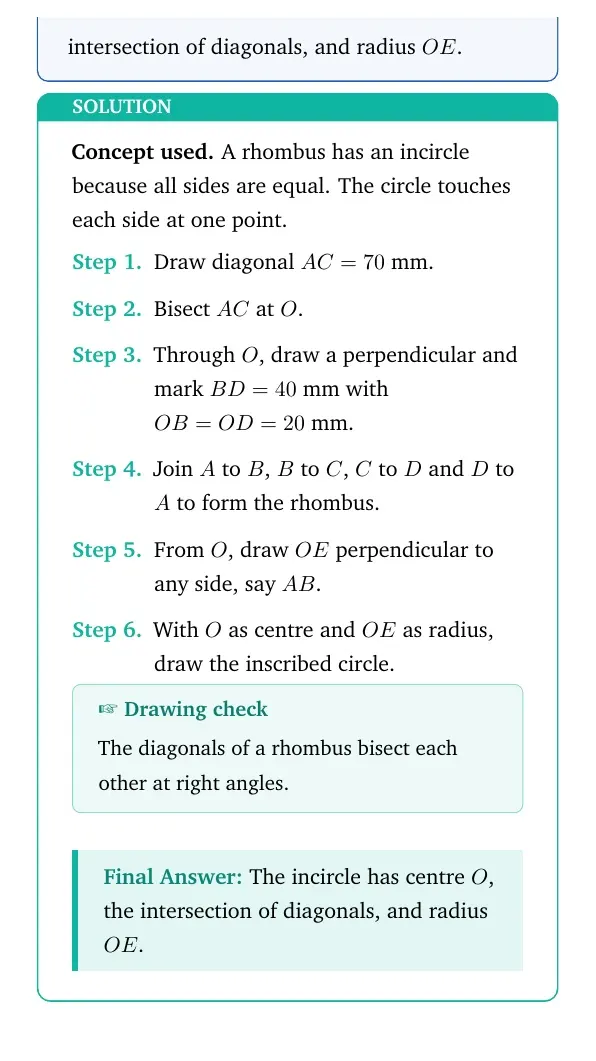
Concept used. A rhombus has an incircle because all sides are equal. The circle touches each side at one point.
- Draw diagonal AC = 70 mm.
- Bisect AC at O.
- Through O, draw a perpendicular and mark BD = 40 mm with OB = OD = 20 mm.
- Join A to B, B to C, C to D and D to A to form the rhombus.
- From O, draw OE perpendicular to any side, say AB.
- With O as centre and OE as radius, draw the inscribed circle.
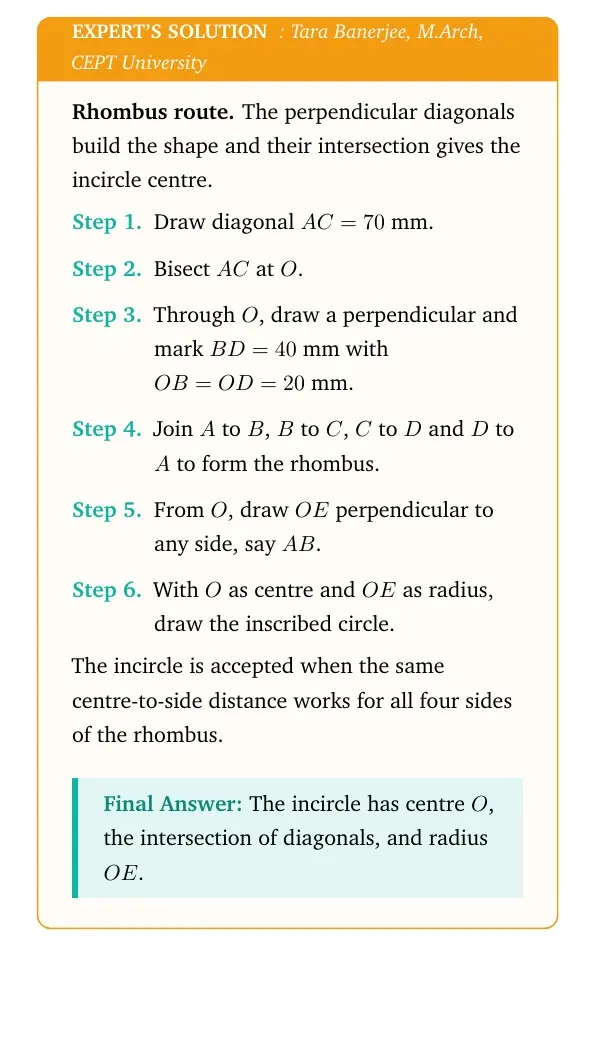
Expert's Solution
Rhombus route. The perpendicular diagonals build the shape and their intersection gives the incircle centre.
- Draw diagonal AC = 70 mm.
- Bisect AC at O.
- Through O, draw a perpendicular and mark BD = 40 mm with OB = OD = 20 mm.
- Join A to B, B to C, C to D and D to A to form the rhombus.
- From O, draw OE perpendicular to any side, say AB.
- With O as centre and OE as radius, draw the inscribed circle.
\Needspace{11\baselineskip}
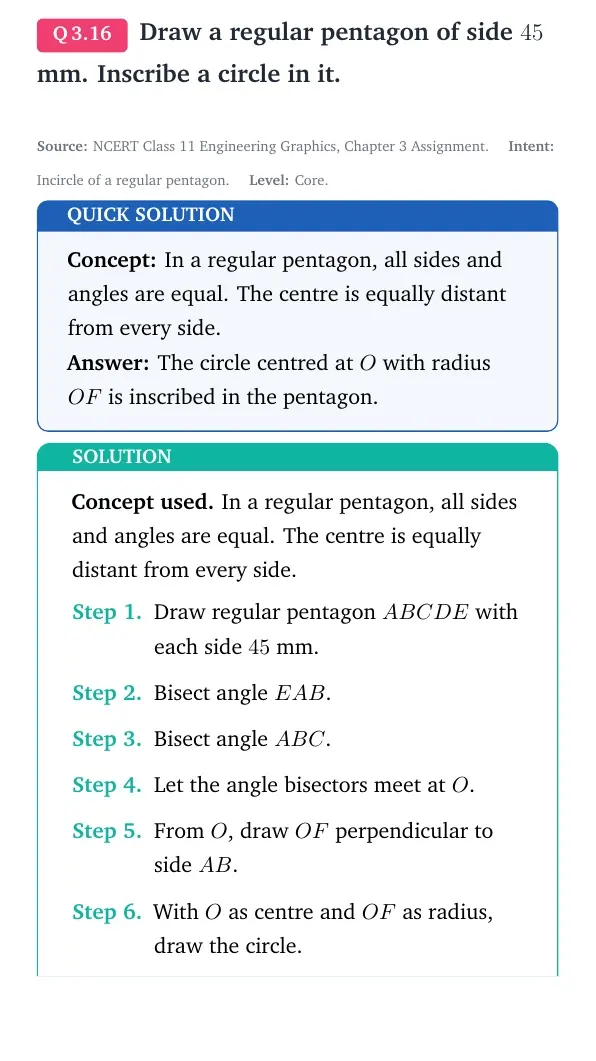
Concept used. In a regular pentagon, all sides and angles are equal. The centre is equally distant from every side.
- Draw regular pentagon ABCDE with each side 45 mm.
- Bisect angle EAB.
- Bisect angle ABC.
- Let the angle bisectors meet at O.
- From O, draw OF perpendicular to side AB.
- With O as centre and OF as radius, draw the circle.
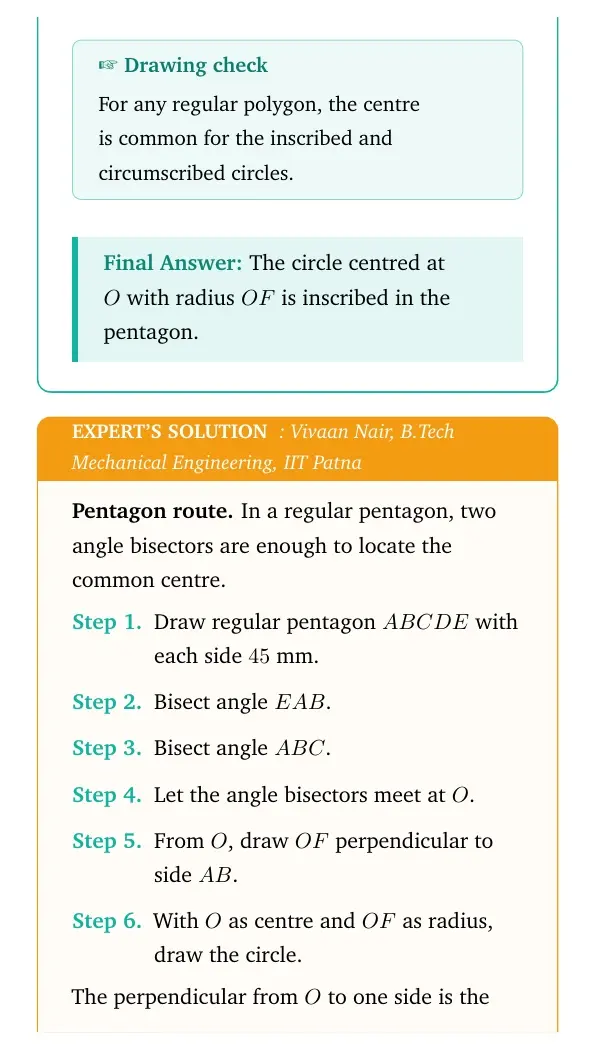
Expert's Solution
Pentagon route. In a regular pentagon, two angle bisectors are enough to locate the common centre.
- Draw regular pentagon ABCDE with each side 45 mm.
- Bisect angle EAB.
- Bisect angle ABC.
- Let the angle bisectors meet at O.
- From O, draw OF perpendicular to side AB.
- With O as centre and OF as radius, draw the circle.
\Needspace{11\baselineskip}
Concept used. The incircle radius of a regular hexagon is the perpendicular distance from its centre to any side.
- Draw the regular hexagon ABCDEF with diagonal AD = 70 mm.
- Join opposite vertices AD, BE and CF.
- Let these diagonals meet at O.
- From O, draw OG perpendicular to side AB.
- With O as centre and OG as radius, draw the inscribed circle.
Expert's Solution
Hexagon route. Opposite vertices reveal the centre, then the centre-to-side distance gives the incircle.
- Draw the regular hexagon ABCDEF with diagonal AD = 70 mm.
- Join opposite vertices AD, BE and CF.
- Let these diagonals meet at O.
- From O, draw OG perpendicular to side AB.
- With O as centre and OG as radius, draw the inscribed circle.
\Needspace{11\baselineskip}
Concept used. In a regular octagon, all sides are tangents to the same inscribed circle.
- Draw regular octagon ABCDEFGH with side 25 mm.
- Join opposite vertices, such as AE and BF.
- Let the diagonals meet at O.
- From O, draw OK perpendicular to side AB.
- With O as centre and OK as radius, draw the circle.
Expert's Solution
Octagon route. Opposite diagonals locate the centre of the regular octagon before the incircle is drawn.
- Draw regular octagon ABCDEFGH with side 25 mm.
- Join opposite vertices, such as AE and BF.
- Let the diagonals meet at O.
- From O, draw OK perpendicular to side AB.
- With O as centre and OK as radius, draw the circle.
\Needspace{11\baselineskip}
Concept used. A circle tangent to a line has its centre at a perpendicular distance equal to the radius from that line.
- Draw angle ABC = 60∘ with AB = 80 mm and BC = 80 mm.
- Draw the bisector of angle ABC.
- Draw a line parallel to AB at a perpendicular distance of 15 mm inside the angle.
- Let this parallel line meet the angle bisector at O.
- From O, drop perpendiculars to AB and BC to check that each distance is 15 mm.
- With O as centre and radius 15 mm, draw the circle.
Expert's Solution
Angle-bisector route. A circle touching both arms has its centre on the angle bisector and at the given offset.
- Draw angle ABC = 60∘ with AB = 80 mm and BC = 80 mm.
- Draw the bisector of angle ABC.
- Draw a line parallel to AB at a perpendicular distance of 15 mm inside the angle.
- Let this parallel line meet the angle bisector at O.
- From O, drop perpendiculars to AB and BC to check that each distance is 15 mm.
- With O as centre and radius 15 mm, draw the circle.
\Needspace{11\baselineskip}
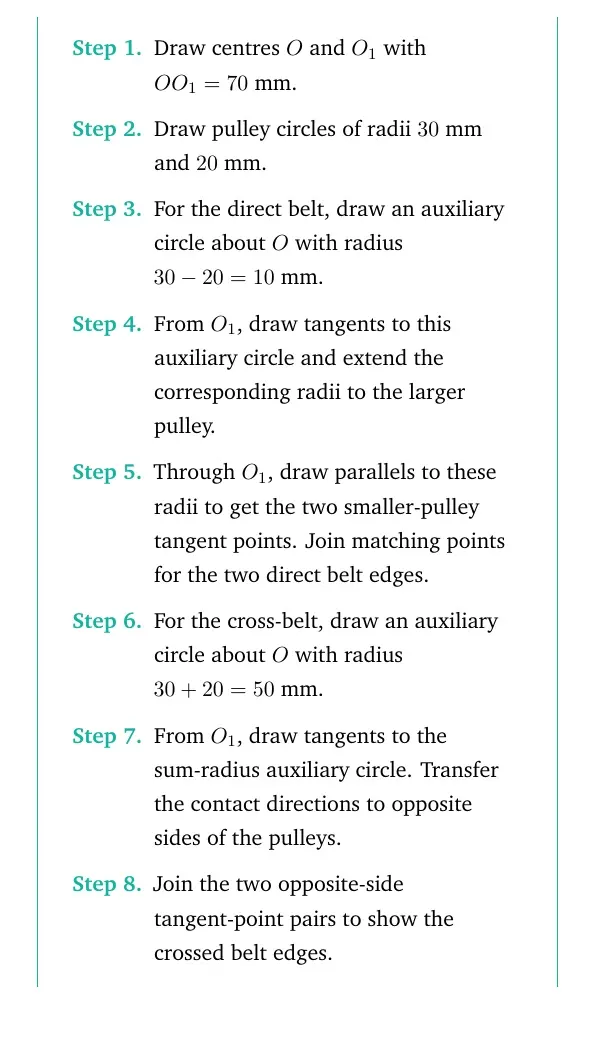
Concept used. Belt edges are tangent lines to pulley circles. Direct belt tangents do not cross, while cross-belt tangents cross between the pulleys.
- Draw centres O and O1 with OO1 = 70 mm.
- Draw pulley circles of radii 30 mm and 20 mm.
- For the direct belt, draw an auxiliary circle about O with radius 30 - 20 = 10 mm.
- From O1, draw tangents to this auxiliary circle and extend the corresponding radii to the larger pulley.
- Through O1, draw parallels to these radii to get the two smaller-pulley tangent points. Join matching points for the two direct belt edges.
- For the cross-belt, draw an auxiliary circle about O with radius 30 + 20 = 50 mm.
- From O1, draw tangents to the sum-radius auxiliary circle. Transfer the contact directions to opposite sides of the pulleys.
- Join the two opposite-side tangent-point pairs to show the crossed belt edges.
Expert's Solution
Pulley-belt route. Direct belts use difference-radius external tangents, while crossed belts use sum-radius internal tangents.
- Draw centres O and O1 with OO1 = 70 mm.
- Draw pulley circles of radii 30 mm and 20 mm.
- For the direct belt, draw an auxiliary circle about O with radius 30 - 20 = 10 mm.
- From O1, draw tangents to this auxiliary circle and extend the corresponding radii to the larger pulley.
- Through O1, draw parallels to these radii to get the two smaller-pulley tangent points. Join matching points for the two direct belt edges.
- For the cross-belt, draw an auxiliary circle about O with radius 30 + 20 = 50 mm.
- From O1, draw tangents to the sum-radius auxiliary circle. Transfer the contact directions to opposite sides of the pulleys.
- Join the two opposite-side tangent-point pairs to show the crossed belt edges.
\CTAButton{\CTAUrlBookpdf}{Download the Full NCERT Chapter PDF}
\RelatedResources
Frequently Asked Questions
Ques. What is covered in Class 11 Engineering Graphics Chapter 3 NCERT Solutions?
Ans. The solutions cover circle construction, tangent construction, incircles, circumcircles, common tangents and pulley belt arrangements from the 2026-27 NCERT chapter.
Ques. How should students revise tangent construction questions?
Ans. Students should identify the centre, radius and given external point first, then draw the auxiliary circle or auxiliary radius before joining the final tangent points.
Ques. Does the PDF include expert solutions?
Ans. Yes. The PDF includes quick answers, detailed stepwise solutions and expert solutions for all 20 Chapter 3 construction questions.
Ques. Are incircle and circumcircle methods different?
Ans. Yes. Incircle construction uses angle bisectors to locate the incentre, while circumcircle construction uses perpendicular bisectors to locate the circumcentre.



Comments