NCERT Solutions for Class 8 Vocational Education Chapter 4 Home Automation help students write clear project answers for the 2026-27 Kaushal Bodh book. The PDF covers sensors, circuits, simulation, Arduino work, safety, testing and project reflection.
Student Feedback: In a Collegedunia poll of 10,420 middle-school students, 69% said the hardest part of automation projects was writing the input, process and output table after testing.
Home Automation Solutions Overview
Home Automation introduces students to smart systems that respond without constant human control. The chapter starts with real examples such as automatic lights, refrigerator cut-off systems and garden sprinklers. It then moves to components, safety, circuit simulation, physical circuits and microcontroller-based automation.
Chapter Part
What Students Write
Skill Practised
Observation
Automated systems around home, school and community.
Field recording
Circuits
Simulation, LED, buzzer, battery, switch and circuit diagram.
Testing
Automation system
Input, process, output, materials, code change and repair.
Project planning
Input Process Output Cycle in Home Automation
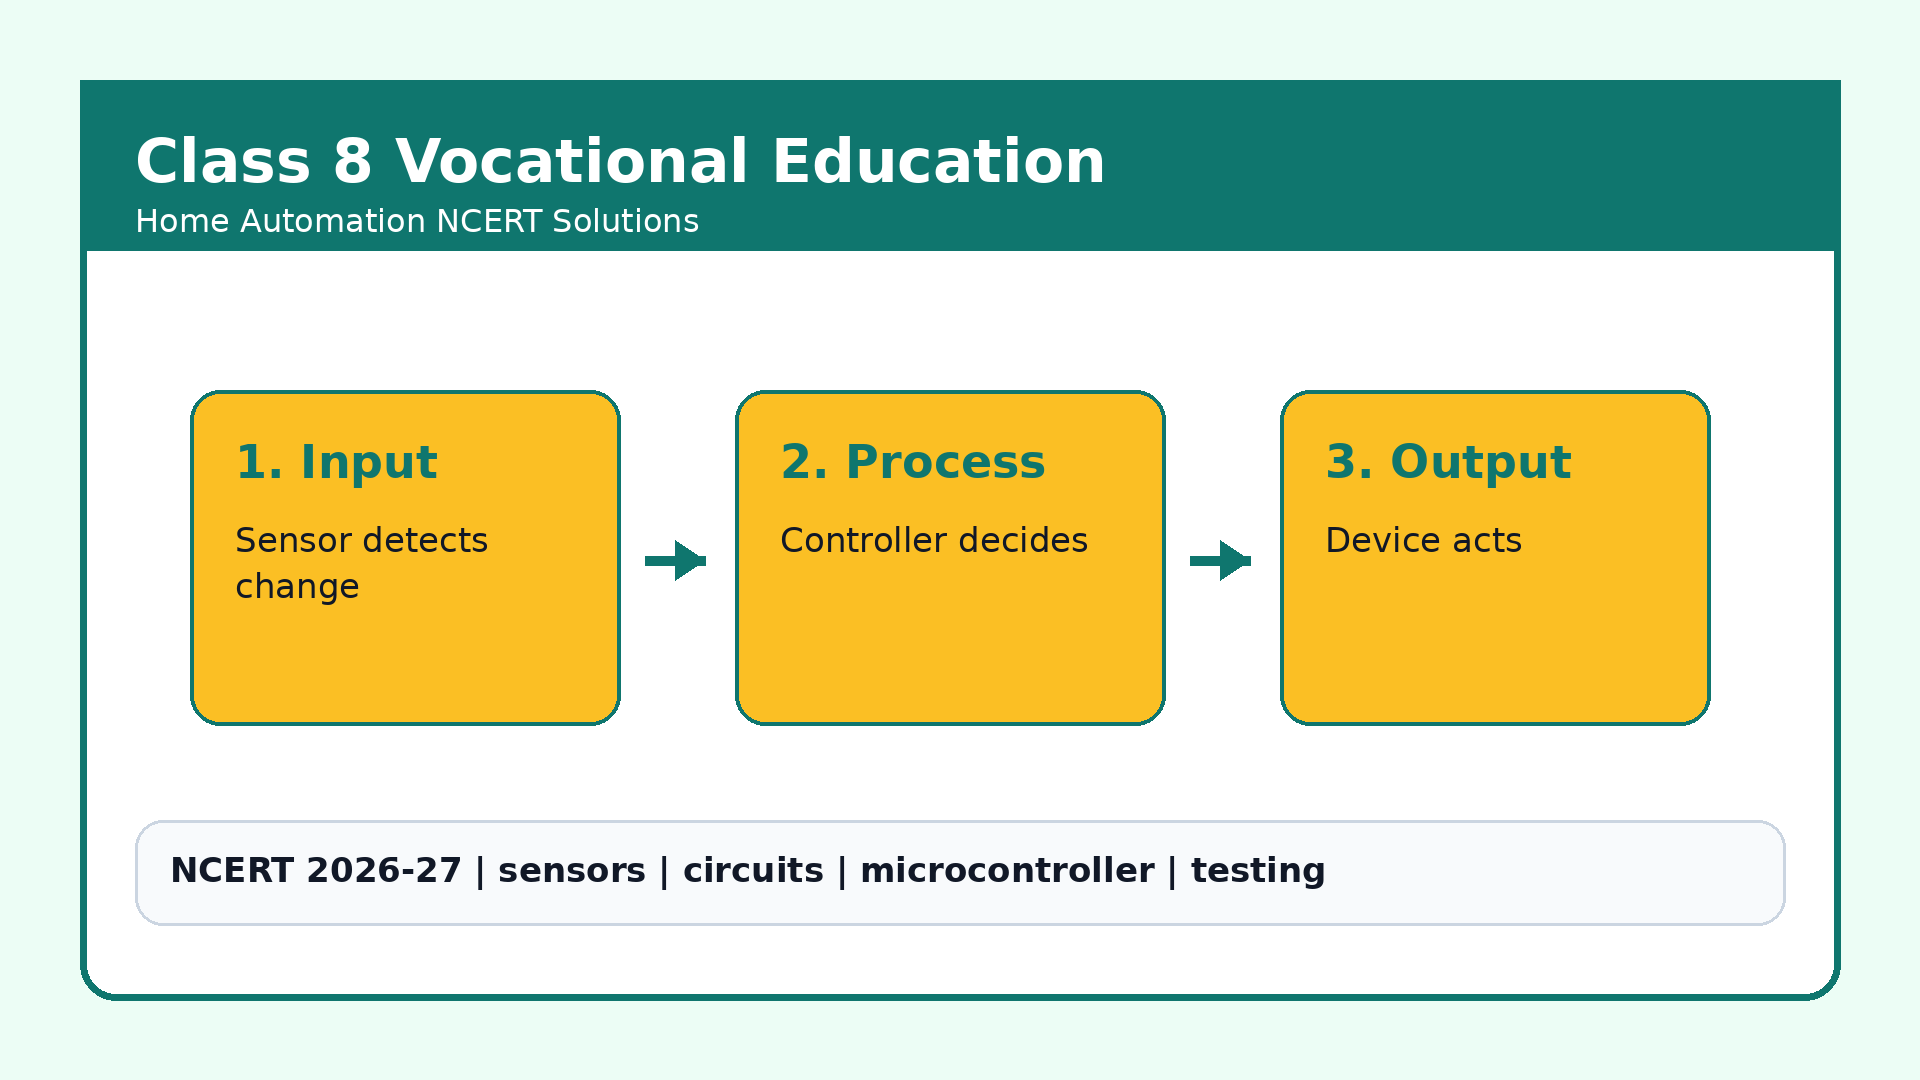
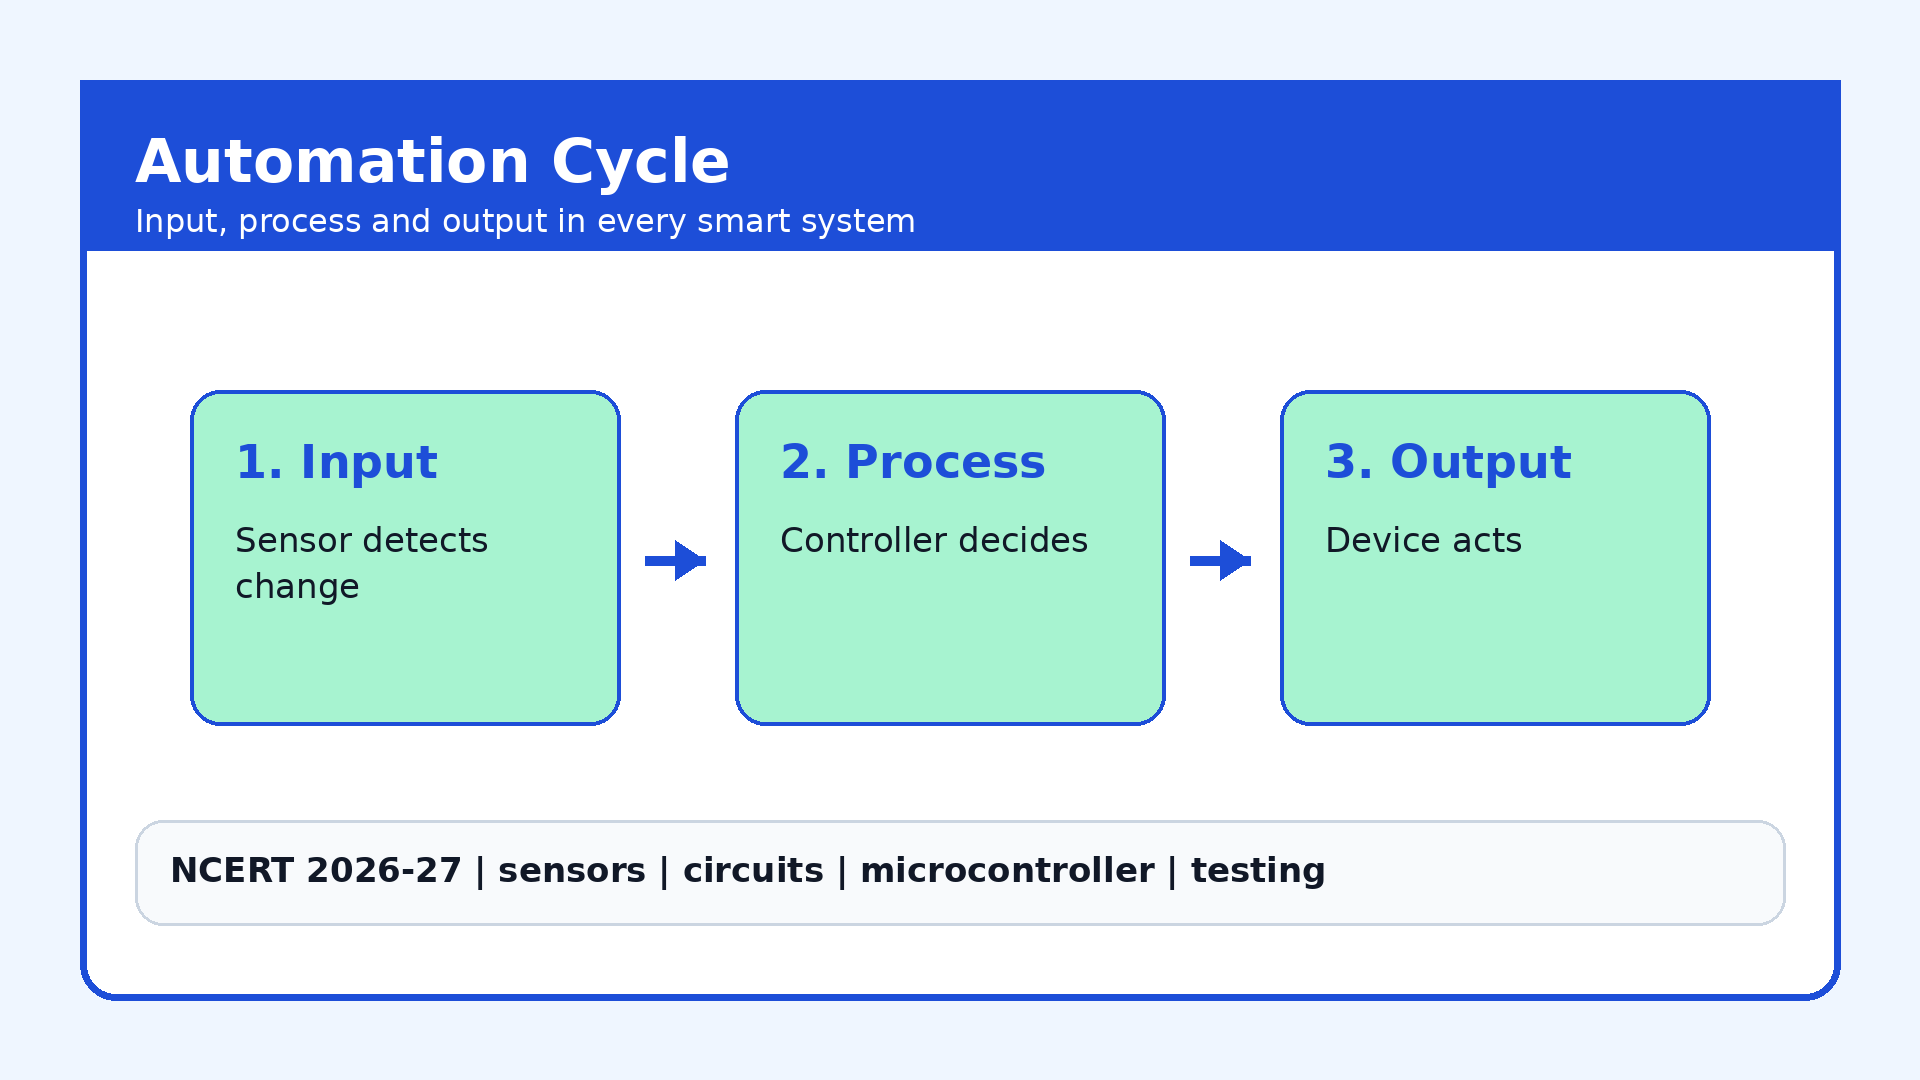
The core idea is simple: sensor input goes to a microcontroller, and the output device acts after a decision. This cycle explains an automatic street light, plant watering system, fire alarm, smart fan and theft alarm.
Input: a sensor detects motion, light, sound, moisture or temperature.
Process: a microcontroller checks the input and runs the programme.
Output: an LED, buzzer, motor, display, fan or pump acts.
Home Automation Components and Safety Checklist
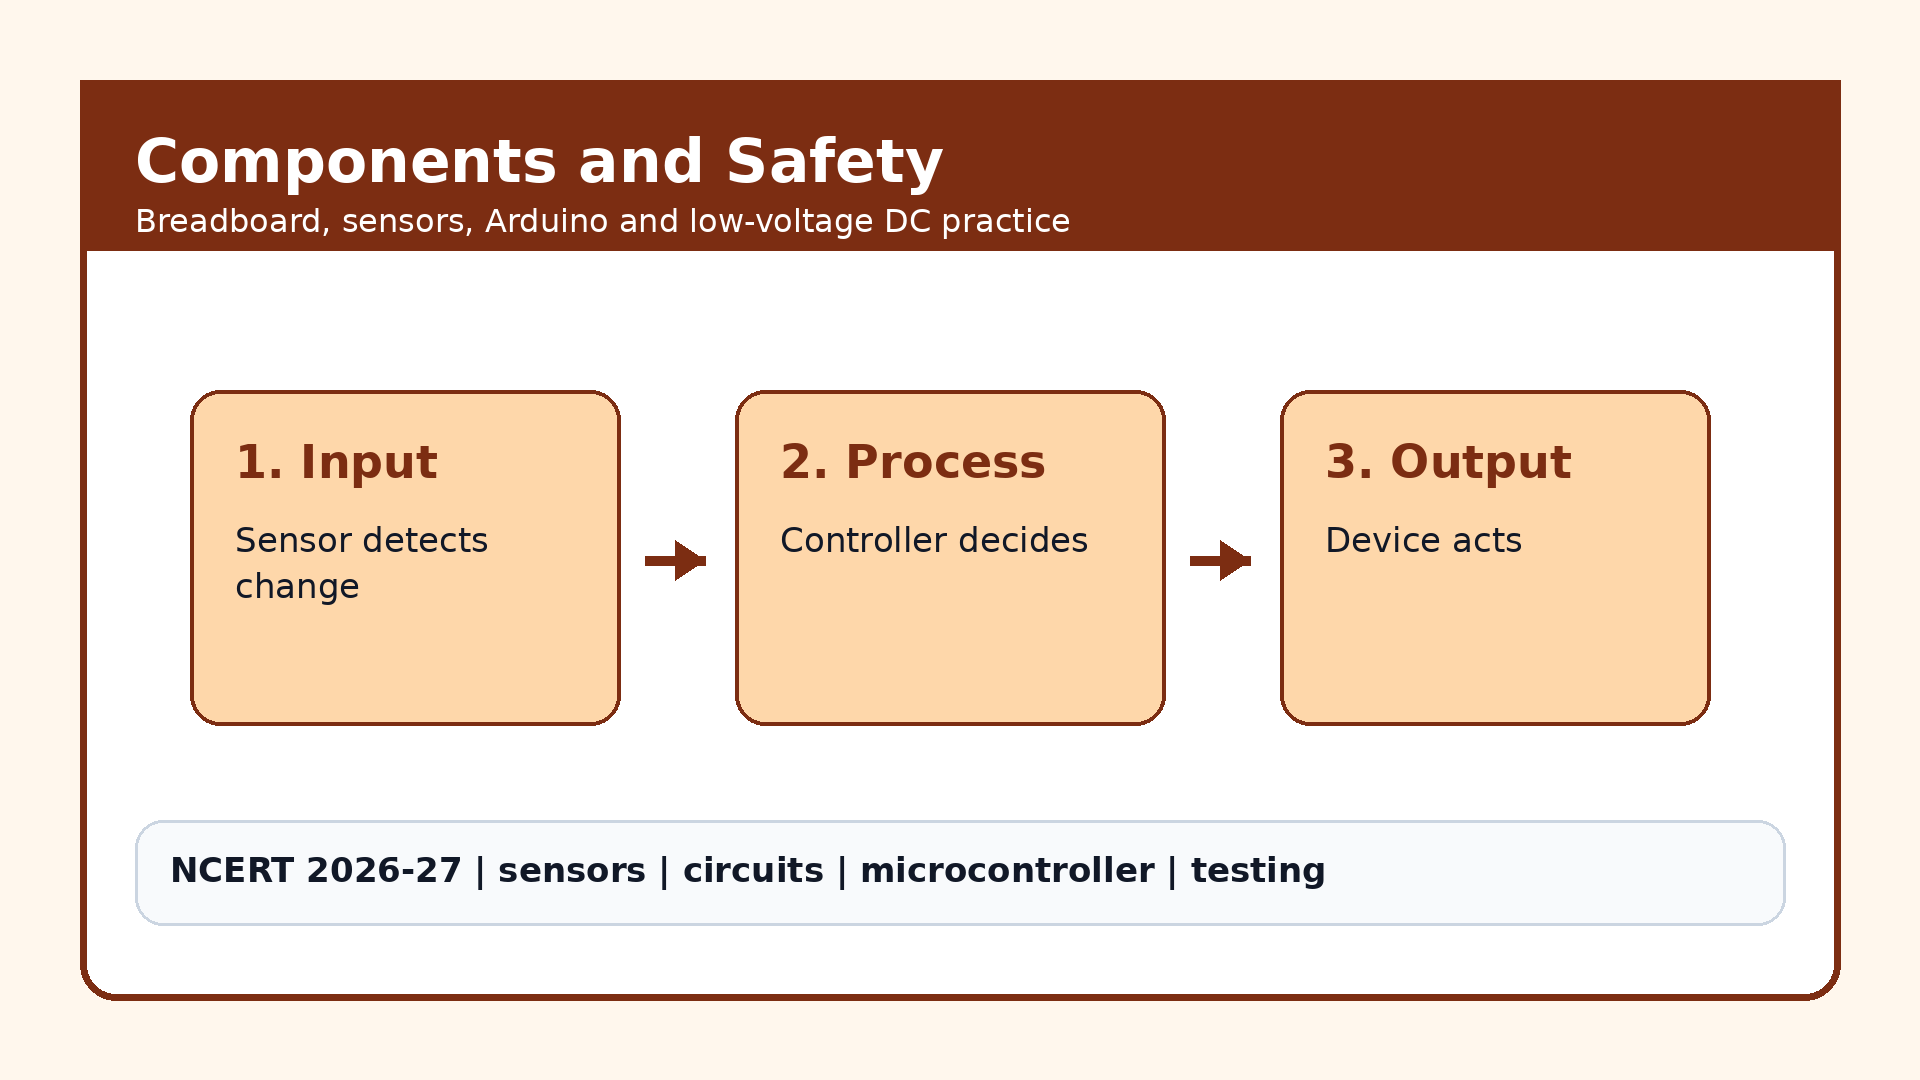
Students should name each component by its job. Breadboards and jumper wires make temporary connections. Sensors give input. Arduino Uno or Raspberry Pi Pico process signals. LEDs, buzzers and motors are output devices. Beginner circuits must use low-voltage DC supply only.
Item
Use
Safety Point
Breadboard
Temporary circuit testing.
Check loose connections.
Microcontroller
Reads input and controls output.
Select correct port before uploading code.
Soldering iron
Makes permanent connections after testing.
Use goggles and avoid fumes.
Adapter or battery
Supplies low-voltage DC power.
Do not connect projects to AC mains.
Home Automation Project Video for Class 8
Source: YouTube educational electronics tutorial
All NCERT Solutions for Class 8 Vocational Education Chapter 4 Home Automation with Step-by-Step Solutions
The question cards below help students check each Home Automation activity answer quickly.
Q 4.1
Why is automation required? Give two examples from home, school or the community.
Concept used. Automation reduces repeated manual work. It uses sensors, a controller and an output device to act at the right time.
Answer cue
Write problem plus automatic action. Do not list gadgets without saying what each gadget does.
Automation is required because people may forget routine actions like switching off lights and fans.
It can save electricity, water and time by making a device respond automatically.
Example 1: a motion sensor can switch classroom lights off when no one is present.
Example 2: a soil moisture sensor can start a pump only when plants need water.
The best answer links each example to the problem it solves.
Automation is required to save effort, energy and resources by letting devices work at the right time without constant manual control.
AR
Aditi Rao
B.Tech Electronics, NIT Calicut
Verified Expert
Project-file angle. Start with the need, then attach examples to that need. A light sensor, motion sensor or moisture sensor is not useful by itself. It becomes useful when it changes an output, such as a light, buzzer, fan or pump. This shows the input, process and output idea clearly.
Start with the need, then attach examples to that need. A light sensor, motion sensor or moisture sensor is not useful by itself. It becomes useful when it changes an output, such as a light, buzzer, fan or pump. This shows the input, process and output idea clearly.
Check that the final answer names the device role and the safety or testing point wherever needed.
Automation is required to save effort, energy and resources by letting devices work at the right time without constant manual control.
Q 4.2
Prepare an observation table for automated systems around you.
Concept used. An observation table records the place, what is automated, what happens, how it may work and one useful note.
Table cue
Use one row per device. Short table entries are clearer than long paragraphs.
Choose places such as home, classroom, market, car, train or a garden.
Write what is automated, such as refrigerator cut-off, lift door, street light or water pump.
In the third column, describe the visible action in simple words.
In the fourth column, guess the sensor or controller used, such as voltage sensor, motion sensor or timer.
In the notes column, write the benefit, such as safety, energy saving or comfort.
A correct table has place, automated task, action seen, possible working method and one clear benefit.
FA
Farhan Ali
M.Tech Embedded Systems, IIT Delhi
Verified Expert
Project-file angle. Keep the table evidence-based. If you do not know the exact sensor, write a careful guess like timer-based, motion-based or temperature-based. That is better than naming a part randomly. The table should prove that you observed a real device and thought about its input, decision and output.
Keep the table evidence-based. If you do not know the exact sensor, write a careful guess like timer-based, motion-based or temperature-based. That is better than naming a part randomly. The table should prove that you observed a real device and thought about its input, decision and output.
Check that the final answer names the device role and the safety or testing point wherever needed.
A correct table has place, automated task, action seen, possible working method and one clear benefit.
Q 4.3
List the main electrical and electronic components used in the Home Automation project and explain their use.
Concept used. A component list connects each part to its job in the circuit. This prevents students from treating electronics as loose objects.
Grouping cue
Use role words: power, connection, control, output and testing.
A breadboard connects parts temporarily without soldering.
A microcontroller such as Arduino Uno or Raspberry Pi Pico controls outputs after reading inputs.
An LED gives light when current flows through it.
An LCD display shows messages, readings or data from the Arduino project.
A buzzer gives sound for an alarm or alert.
A battery or adapter supplies low-voltage DC power.
A PCB gives a permanent circuit after the prototype is tested.
An Arduino cable connects the board to a computer for programming.
Jumper wires connect points on the breadboard.
A DMM checks voltage, current and resistance during testing.
The main components are breadboard, microcontroller, LED, LCD display, buzzer, battery or adapter, PCB, Arduino cable, jumper wires and DMM.
MJ
Meera Joshi
B.Ed Work Education, University of Mumbai
Verified Expert
Project-file angle. Group the parts by role. Power comes from a battery or adapter. Connection happens through the breadboard, jumper wires and Arduino cable. Control happens through the microcontroller. Action happens through LED, LCD, buzzer or motor. A PCB makes the tested circuit permanent. The DMM supports testing.
Group the parts by role. Power comes from a battery or adapter. Connection happens through the breadboard, jumper wires and Arduino cable. Control happens through the microcontroller. Action happens through LED, LCD, buzzer or motor. A PCB makes the tested circuit permanent. The DMM supports testing.
Check that the final answer names the device role and the safety or testing point wherever needed.
The main components are breadboard, microcontroller, LED, LCD display, buzzer, battery or adapter, PCB, Arduino cable, jumper wires and DMM.
Q 4.4
Explain the use of motion, sound and temperature sensors in automation.
Concept used. A sensor changes a physical condition into an electrical signal that a controller can read.
Concept cue
Do not call the sensor the output. It only starts the decision.
A motion detection sensor senses heat change or movement from a person or animal.
It can switch on lights, trigger alarms or count entry in a room.
A sound sensor detects sound level and converts vibration into an electrical signal.
It can control lights or buzzers in clap-switch and alarm activities.
A temperature sensor measures temperature of air, water or a surface.
It can operate a fan, warning buzzer or display when temperature crosses a set value.
Motion, sound and temperature sensors give input signals so an automation system can respond to movement, noise or heat.
KS
Kabir Sethi
B.Des Product Design, IIITDM Jabalpur
Verified Expert
Project-file angle. Sensors are the system's sense organs. They do not do the final work directly. They report a condition to the controller. The controller then decides whether the output device should turn on, turn off or display a value. This input-first explanation matches the NCERT automation cycle.
Sensors are the system's sense organs. They do not do the final work directly. They report a condition to the controller. The controller then decides whether the output device should turn on, turn off or display a value. This input-first explanation matches the NCERT automation cycle.
Check that the final answer names the device role and the safety or testing point wherever needed.
Motion, sound and temperature sensors give input signals so an automation system can respond to movement, noise or heat.
Q 4.5
Write safety precautions for working with simple electronic circuits.
Concept used. Safety in this chapter means using only low-voltage DC circuits, avoiding short circuits and working under adult guidance.
Safety cue
Never test a school prototype by connecting it to a wall socket.
Use DC batteries or the safe low-voltage supply suggested by the teacher.
Do not connect beginner electronic circuits directly to 230 V AC mains.
Check for loose wires and short circuits before powering the circuit.
Use goggles during soldering and keep hands away from the hot soldering iron.
Keep the workspace organised and free from unnecessary wires.
Ask a teacher before downloading, uploading or sharing anything online during tutorial searches.
Safe circuit work uses low-voltage DC supply, careful wiring, teacher supervision, organised tools and internet safety.
NV
Nisha Verma
Diploma Electronics, ITI Delhi
Verified Expert
Project-file angle. The most important safety line is the AC mains warning. Home appliances may run on 230 V AC, but student circuits should not. Keep your prototype on low-voltage DC. For soldering, control heat and fumes. For internet work, use teacher-approved sites and never share personal information.
The most important safety line is the AC mains warning. Home appliances may run on 230 V AC, but student circuits should not. Keep your prototype on low-voltage DC. For soldering, control heat and fumes. For internet work, use teacher-approved sites and never share personal information.
Check that the final answer names the device role and the safety or testing point wherever needed.
Safe circuit work uses low-voltage DC supply, careful wiring, teacher supervision, organised tools and internet safety.
Q 4.6
How does a simulation platform help before building a real circuit?
Concept used. A simulation platform lets students test a circuit on screen before using physical components.
Trial cue
Write at least one change you tried and what changed in the circuit.
First draw the circuit idea that you want to test.
Open Tinkercad or another beginner circuit simulation platform.
Place components such as LED, resistor, battery, switch or buzzer.
Make virtual connections and run the simulation.
Change resistance, battery value or connections and record what changes.
Build the physical circuit only after the simulated circuit works.
Simulation helps students test, correct and understand circuits before using real components.
AM
Arjun Menon
M.Sc Physics Education, University of Kerala
Verified Expert
Project-file angle. Simulation is a low-risk practice space. A wrong connection on screen does not waste components or create unsafe wiring. It also helps students compare trials: one resistor value, then another; one battery, then another. This makes the final physical build faster and safer.
Simulation is a low-risk practice space. A wrong connection on screen does not waste components or create unsafe wiring. It also helps students compare trials: one resistor value, then another; one battery, then another. This makes the final physical build faster and safer.
Check that the final answer names the device role and the safety or testing point wherever needed.
Simulation helps students test, correct and understand circuits before using real components.
Q 4.7
Describe the process of making an LED blink using a microcontroller.
Concept used. A microcontroller follows a programme. The Blink example turns an LED on and off with a time delay.
Programme cue
Delay controls how long the LED stays on or off.
Connect the LED circuit to the Arduino Uno with teacher guidance.
Open Arduino IDE on the computer.
Go to File, Examples, Basics and Blink.
Connect the Arduino board to the computer with the USB cable.
Select the correct board and port in the Tools menu.
Upload the programme to the board.
Change the delay value and upload again to change the blinking time.
The LED blinks when the Arduino runs the Blink programme and repeats the on-delay-off-delay cycle.
TS
Tara Singh
B.Tech Electrical Engineering, PEC Chandigarh
Verified Expert
Project-file angle. This answer should mention both wiring and programming. The wire path lets current reach the LED. The uploaded programme decides timing. Changing the delay value is proof that the student understood the programme, not just copied a circuit.
This answer should mention both wiring and programming. The wire path lets current reach the LED. The uploaded programme decides timing. Changing the delay value is proof that the student understood the programme, not just copied a circuit.
Check that the final answer names the device role and the safety or testing point wherever needed.
The LED blinks when the Arduino runs the Blink programme and repeats the on-delay-off-delay cycle.
Q 4.8
Explain the input, process and output cycle for an automatic street light and an automatic water sprinkler.
Concept used. Every automation cycle has input sensing, processing or decision making, and output action.
Cycle cue
Use the words input, process and output as table headings.
Automatic street light input: LDR senses low light.
Process: the microcontroller reads the LDR value and decides it is dark.
Process: the microcontroller compares moisture with the set value.
Output: the pump turns on; when soil has enough water, it turns off.
Input is sensing, process is the controller's decision and output is the action by the device.
RP
Rohan Paul
M.Ed Science Education, University of Delhi
Verified Expert
Project-file angle. The cycle should be written as a chain, not as three unrelated words. Sensor data enters first. The controller checks the value against a condition. The output device then acts. This same structure can explain light, fan, alarm, gate and sprinkler projects.
The cycle should be written as a chain, not as three unrelated words. Sensor data enters first. The controller checks the value against a condition. The output device then acts. This same structure can explain light, fan, alarm, gate and sprinkler projects.
Check that the final answer names the device role and the safety or testing point wherever needed.
Input is sensing, process is the controller's decision and output is the action by the device.
Q 4.9
Plan a smart light system using Arduino Uno, PIR motion sensor, LED, resistor, breadboard and jumper wires.
Concept used. A smart light system turns on a light when a motion sensor gives an input signal to the microcontroller.
Debug cue
First check power and ground. Many beginner circuits fail because ground is not common.
Function: switch the LED on when movement happens in the room.
Microcontroller: Arduino Uno.
Input device: PIR motion sensor.
Output device: LED connected with a 220 ohm resistor.
Connection support: breadboard and jumper wires.
Process: upload a programme that checks the PIR sensor value.
Testing: move in front of the sensor and check whether the LED turns on.
A smart light uses PIR sensor input, Arduino processing and LED output to respond to movement.
IM
Ira Mukherjee
M.Tech Robotics, IIT Kharagpur
Verified Expert
Project-file angle. Write this as a project plan. The plan should name the function, input, controller, output, material list and test. If the LED does not work, check the resistor path, ground connection, sensor power and selected Arduino port before changing the whole design.
Write this as a project plan. The plan should name the function, input, controller, output, material list and test. If the LED does not work, check the resistor path, ground connection, sensor power and selected Arduino port before changing the whole design.
Check that the final answer names the device role and the safety or testing point wherever needed.
A smart light uses PIR sensor input, Arduino processing and LED output to respond to movement.
Q 4.10
Write a reflection for your own automation system, including material list, code change, testing and repair.
Concept used. A project reflection records what was made, how it worked, what changed and what still needs fixing.
Reflection cue
A repair note can score well because it shows testing and improvement.
Name the automation system, such as plant watering, obstacle detection, fire alarm, smart fan or theft alarm.
Write the input, process and output in a small table.
List all materials and tools used.
Mention whether you used a tutorial, and name the site or source with teacher approval.
Write the code change you made, such as pin number, delay, threshold or message.
Record whether the circuit worked first time.
If it did not work, write the fix, such as correcting wires, changing code or replacing a component.
A complete reflection names the system, IPO cycle, materials, code changes, test result and repair plan.
DN
Devika Nair
M.A Education Technology, TISS Mumbai
Verified Expert
Project-file angle. The reflection is honest evidence of learning. A perfect first attempt is not required. It is better to write that the LED did not turn on because ground was missing, then explain how you fixed it. That shows troubleshooting skill.
The reflection is honest evidence of learning. A perfect first attempt is not required. It is better to write that the LED did not turn on because ground was missing, then explain how you fixed it. That shows troubleshooting skill.
Check that the final answer names the device role and the safety or testing point wherever needed.
A complete reflection names the system, IPO cycle, materials, code changes, test result and repair plan.





Chapter4HomeAutomationSolutions.pdf?page=1&dpi=150)
Chapter4HomeAutomationSolutions.pdf?page=2&dpi=150)
Chapter4HomeAutomationSolutions.pdf?page=3&dpi=150)
Chapter4HomeAutomationSolutions.pdf?page=4&dpi=150)
Chapter4HomeAutomationSolutions.pdf?page=5&dpi=150)
Chapter4HomeAutomationSolutions.pdf?page=6&dpi=150)
Chapter4HomeAutomationSolutions.pdf?page=7&dpi=150)
Chapter4HomeAutomationSolutions.pdf?page=8&dpi=150)
Chapter4HomeAutomationSolutions.pdf?page=9&dpi=150)
Chapter4HomeAutomationSolutions.pdf?page=10&dpi=150)
Chapter4HomeAutomationSolutions.pdf?page=11&dpi=150)
Chapter4HomeAutomationSolutions.pdf?page=12&dpi=150)
Chapter4HomeAutomationSolutions.pdf?page=13&dpi=150)
Chapter4HomeAutomationSolutions_flat_MobileCard.pdf?page=1&dpi=150)
Chapter4HomeAutomationSolutions_flat_MobileCard.pdf?page=2&dpi=150)
Chapter4HomeAutomationSolutions_flat_MobileCard.pdf?page=3&dpi=150)
Chapter4HomeAutomationSolutions_flat_MobileCard.pdf?page=4&dpi=150)
Chapter4HomeAutomationSolutions_flat_MobileCard.pdf?page=5&dpi=150)
Chapter4HomeAutomationSolutions_flat_MobileCard.pdf?page=6&dpi=150)
Chapter4HomeAutomationSolutions_flat_MobileCard.pdf?page=7&dpi=150)
Chapter4HomeAutomationSolutions_flat_MobileCard.pdf?page=8&dpi=150)
Chapter4HomeAutomationSolutions_flat_MobileCard.pdf?page=9&dpi=150)
Chapter4HomeAutomationSolutions_flat_MobileCard.pdf?page=10&dpi=150)
Chapter4HomeAutomationSolutions_flat_MobileCard.pdf?page=11&dpi=150)
Chapter4HomeAutomationSolutions_flat_MobileCard.pdf?page=12&dpi=150)
Chapter4HomeAutomationSolutions_flat_MobileCard.pdf?page=13&dpi=150)
Chapter4HomeAutomationSolutions_flat_MobileCard.pdf?page=14&dpi=150)
Chapter4HomeAutomationSolutions_flat_MobileCard.pdf?page=15&dpi=150)
Chapter4HomeAutomationSolutions_flat_MobileCard.pdf?page=16&dpi=150)
Chapter4HomeAutomationSolutions_flat_MobileCard.pdf?page=17&dpi=150)
Chapter4HomeAutomationSolutions_flat_MobileCard.pdf?page=18&dpi=150)
Chapter4HomeAutomationSolutions_flat_MobileCard.pdf?page=19&dpi=150)
Chapter4HomeAutomationSolutions_flat_MobileCard.pdf?page=20&dpi=150)
Chapter4HomeAutomationSolutions_flat_MobileCard.pdf?page=21&dpi=150)
Chapter4HomeAutomationSolutions_flat_MobileCard.pdf?page=22&dpi=150)
Chapter4HomeAutomationSolutions_flat_MobileCard.pdf?page=23&dpi=150)
Chapter4HomeAutomationSolutions_flat_MobileCard.pdf?page=24&dpi=150)
Chapter4HomeAutomationSolutions_flat_MobileCard.pdf?page=25&dpi=150)



Comments