




Inside these Class 6 Arts Chapter 5 Seals to Prints notes, you will find seal observation prompts, a seal-making sequence and the link to textile printing. The notes follow the activities in the 2026-27 NCERT Kriti-I chapter. Use them alongside your own sketches and test prints to see how a simple symbol becomes a repeated pattern.
- Explore the images, text and purposes of seals.
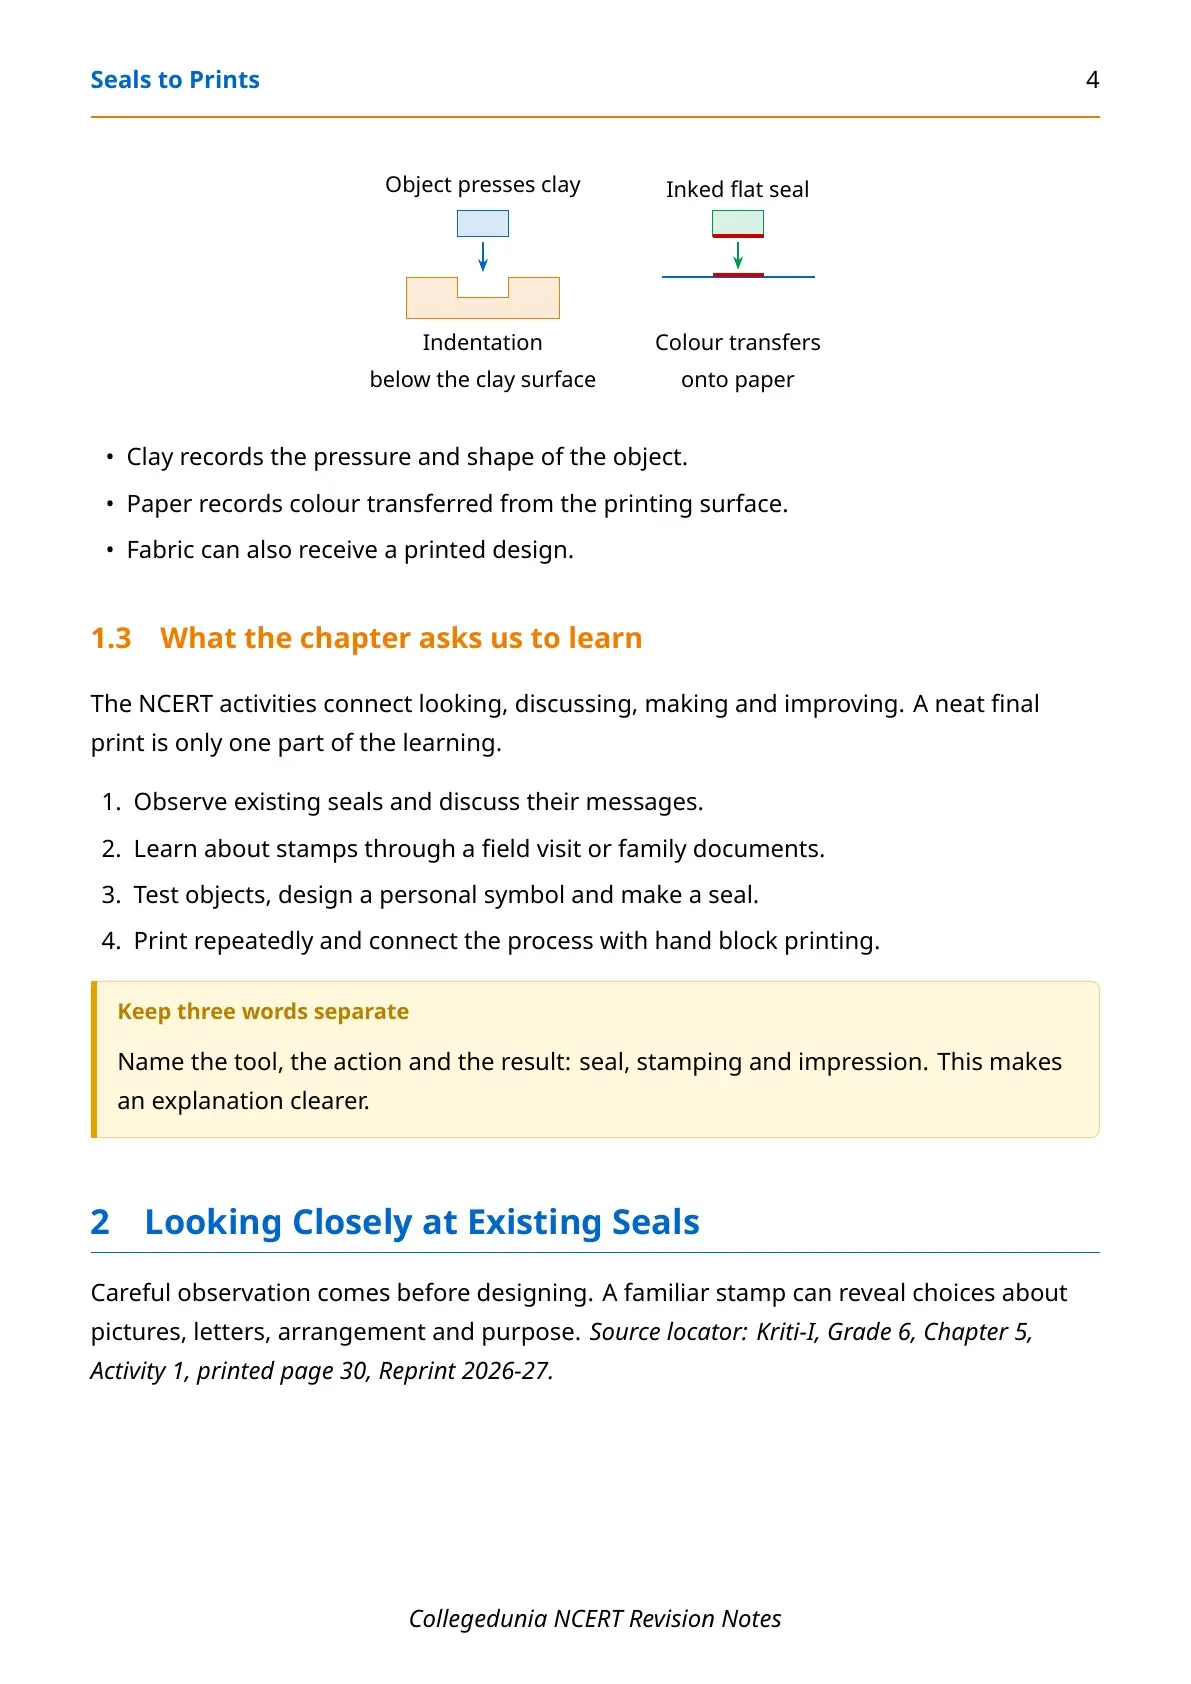
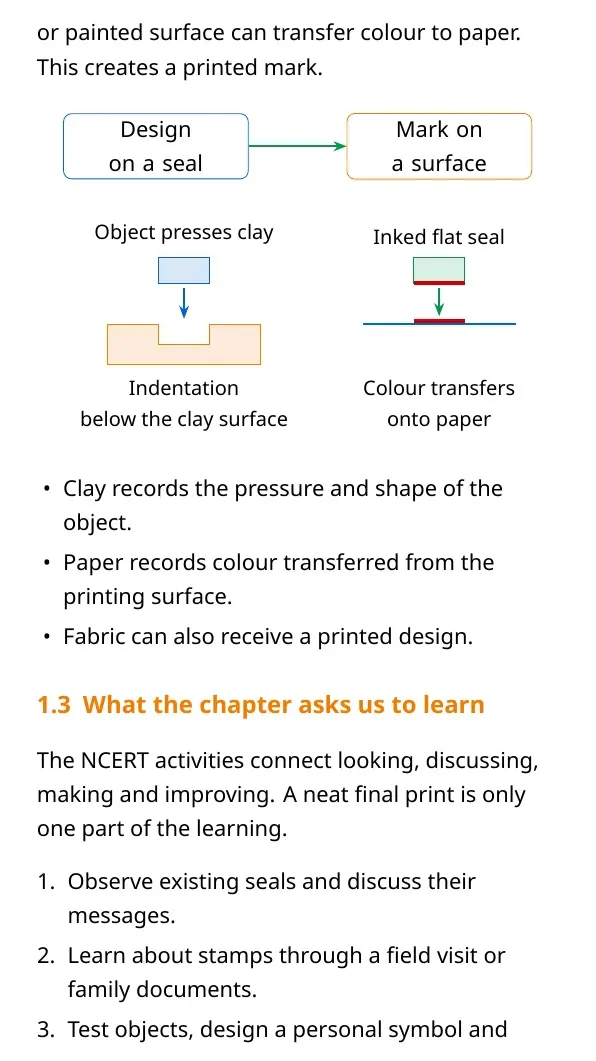
- Compare impressions in clay with inked prints on paper.
- Connect your own designs with Ajrakh block printing.
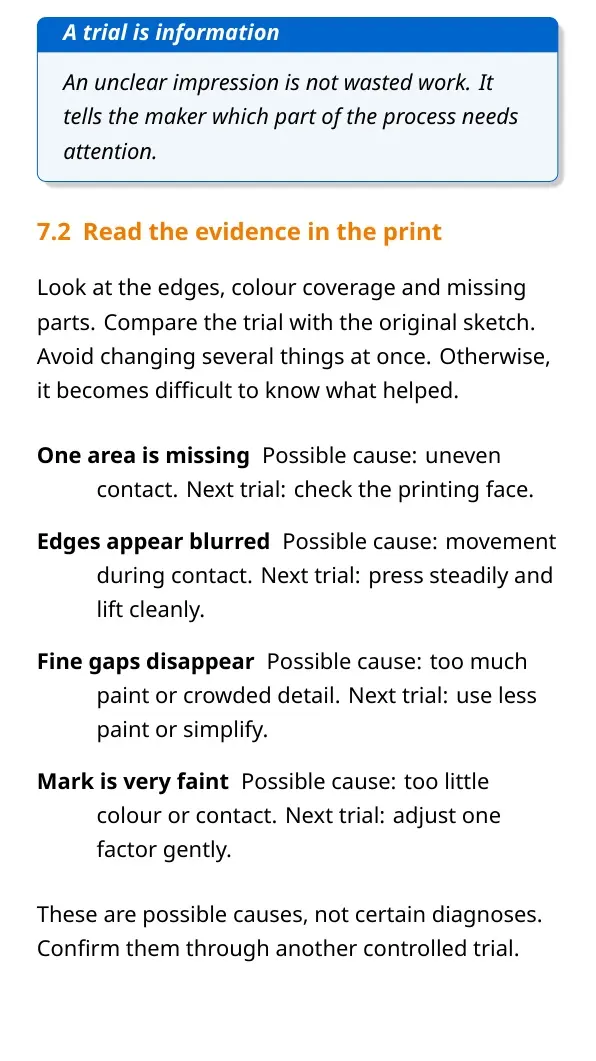
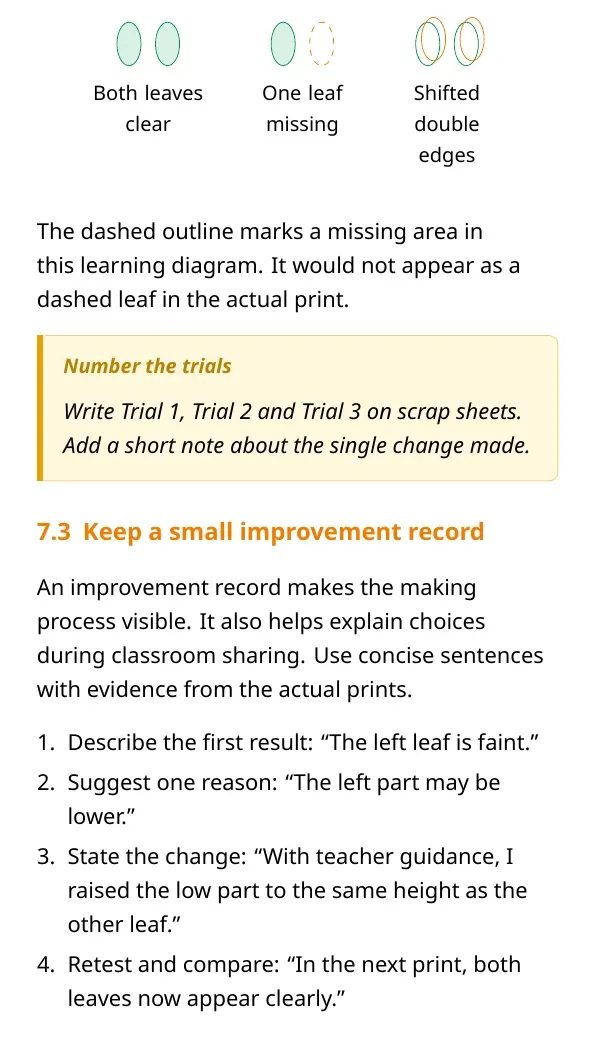
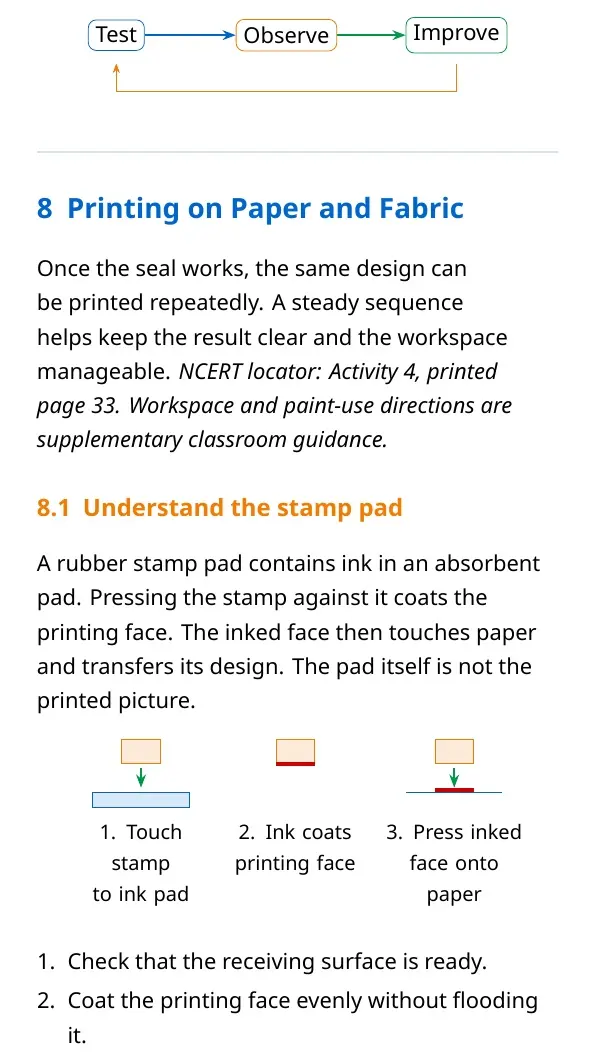
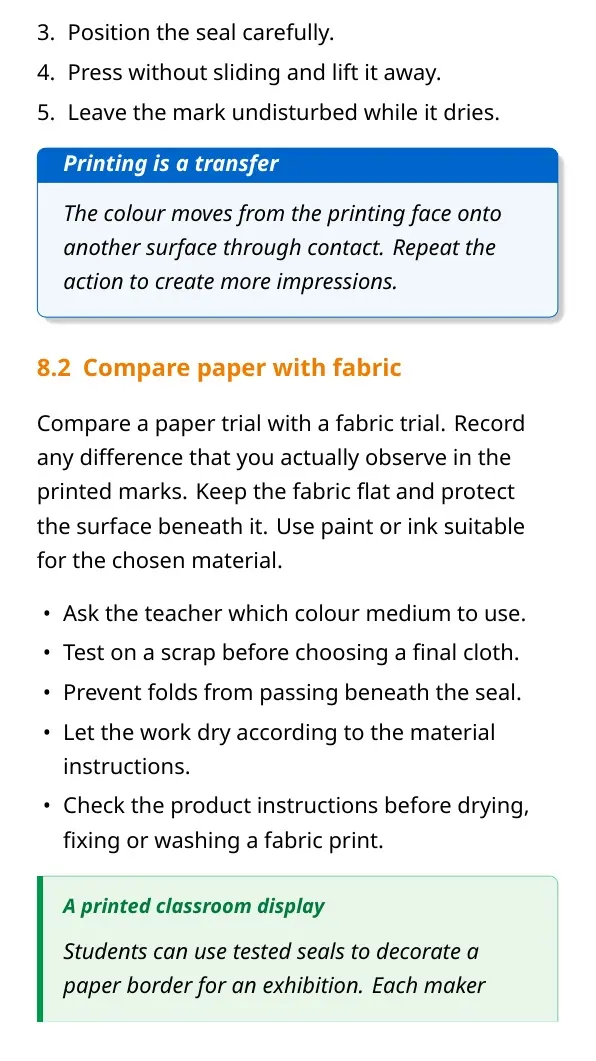
These notes follow the activities in the official NCERT Kriti-I Seals to Prints chapter.
Student Feedback: compare your test prints
Show a classmate two impressions made with your seal. Ask which is clearer and discuss one change you could try.
Seals to Prints: What Symbols and Text Can Tell Us
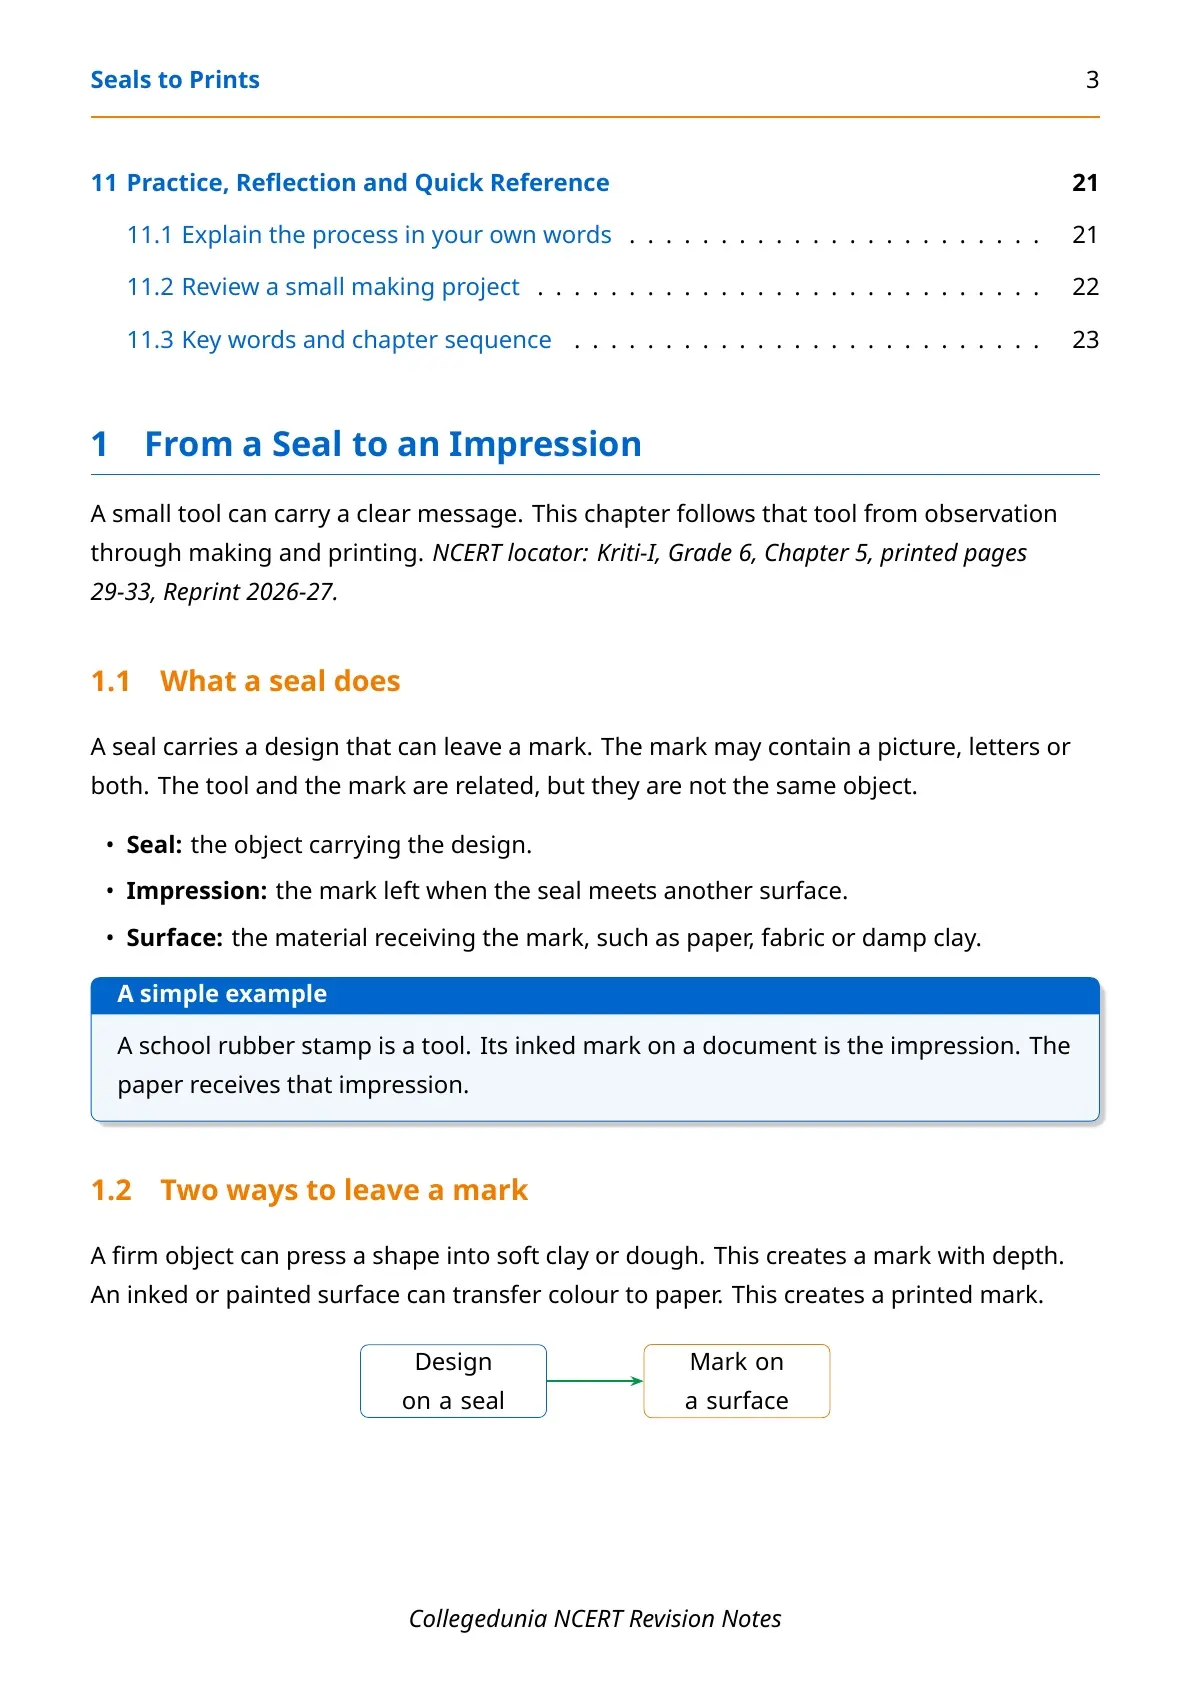
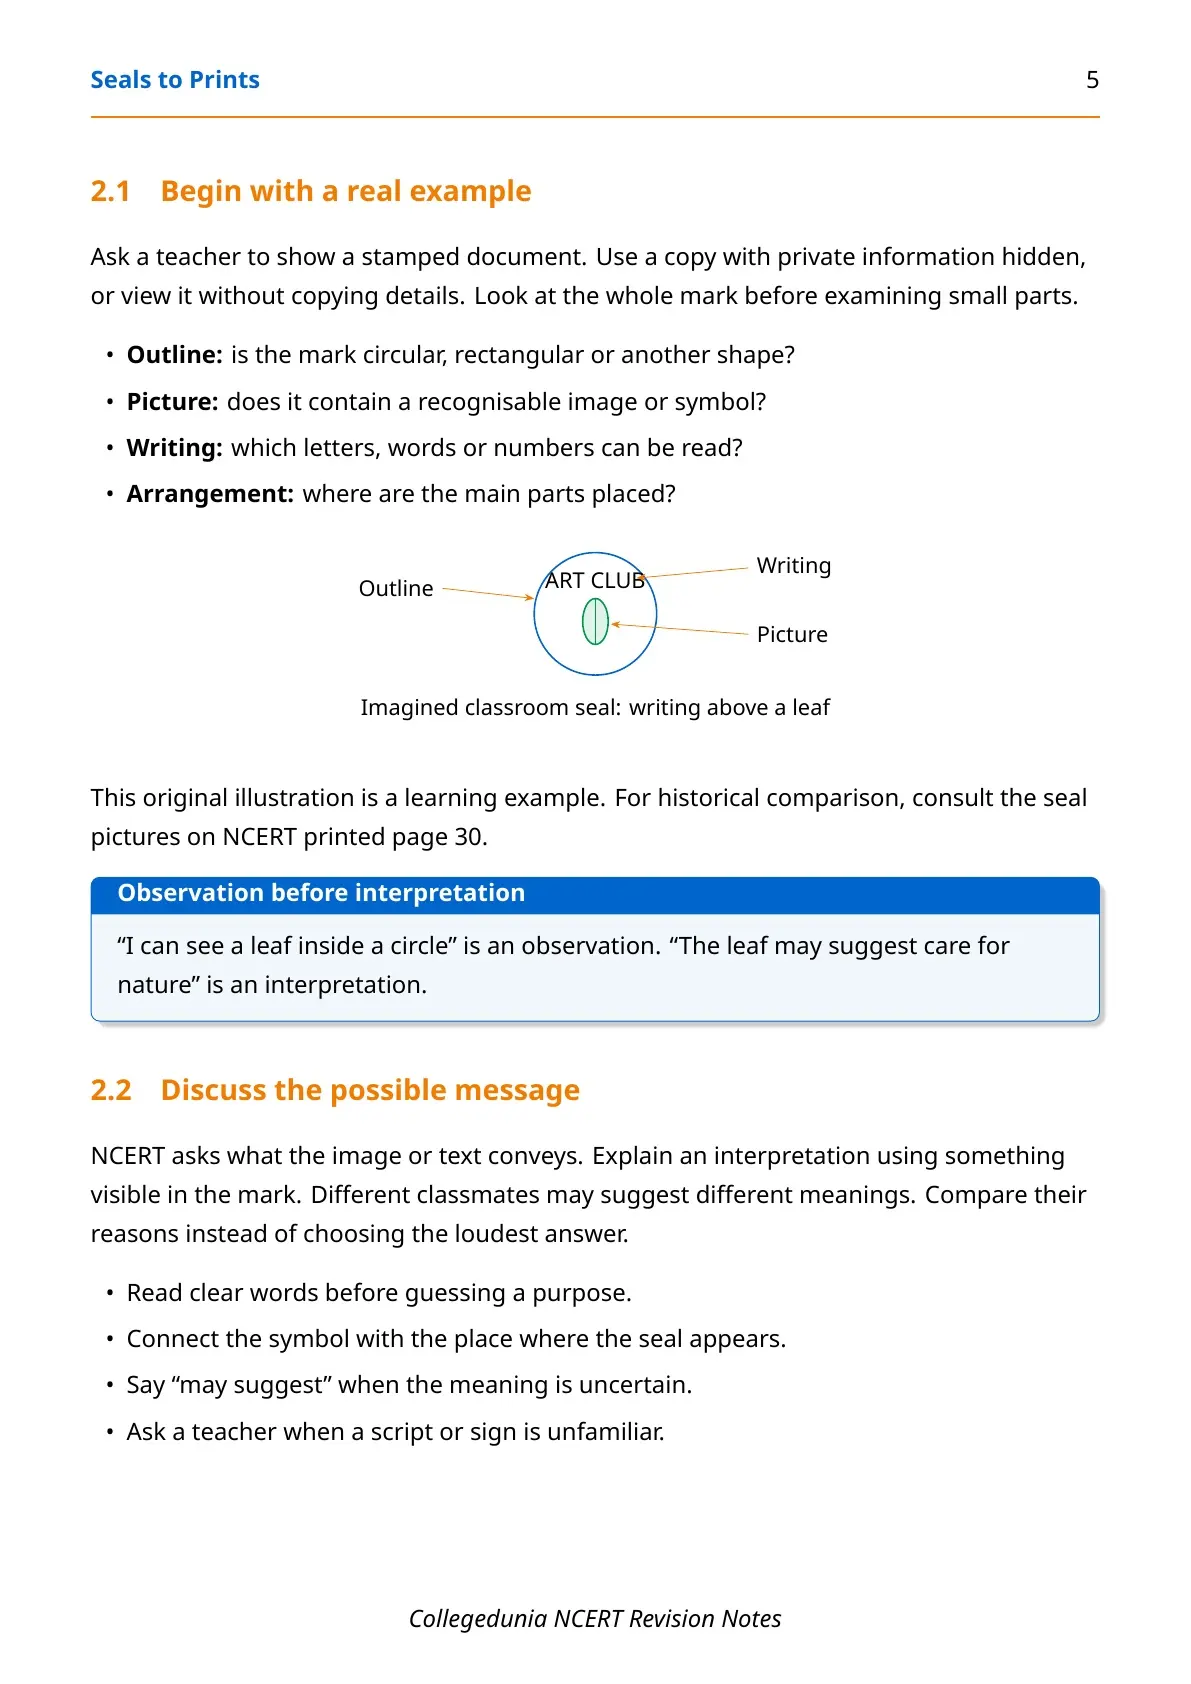
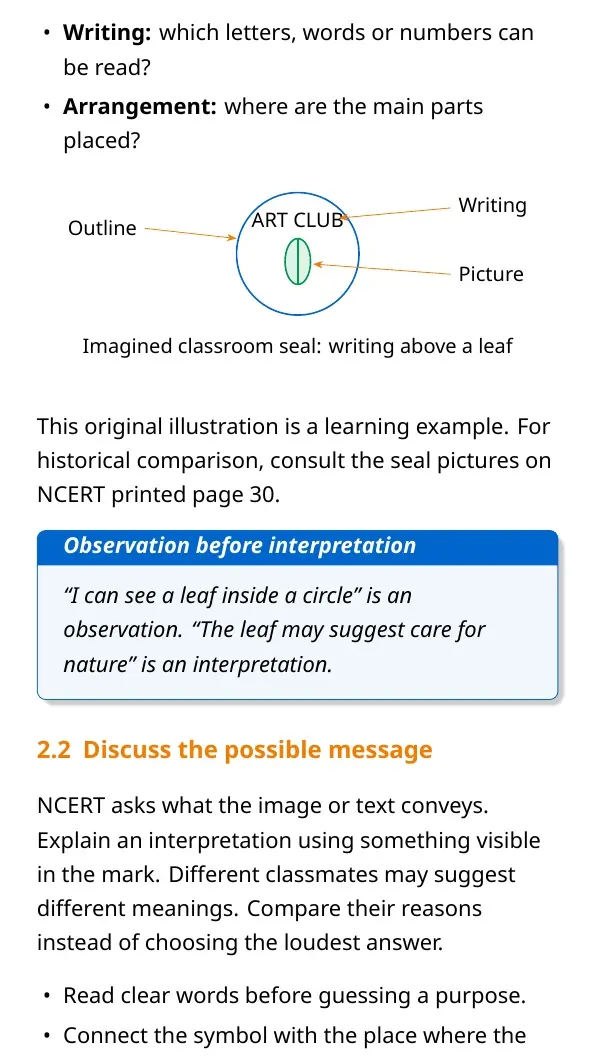
A seal may carry a picture symbol or written text. Its impression can identify an individual or organisation. Historical seals can also offer clues about people's lives and beliefs. Look carefully before deciding what a symbol might convey.
| Observe | Ask yourself |
|---|---|
| Image or symbol | What shapes, animals or objects can I recognise? |
| Written text | What information can I read? Is the script familiar? |
| Purpose | Who might use this seal, and where? |
The first activity begins with seals used at school. With your teacher's help, examine a stamped document. Describe what you can see before guessing what it means.
Seals to Prints: Explore Symmetry in Your Designs
This optional maths video explains reflective symmetry. Use it to explore balanced shapes for a personal seal. Symmetry is a design choice, not a requirement for every seal.
Source: Khan Academy on YouTube
Seals to Prints: Explore Postal Stamps and Coin Rubbings
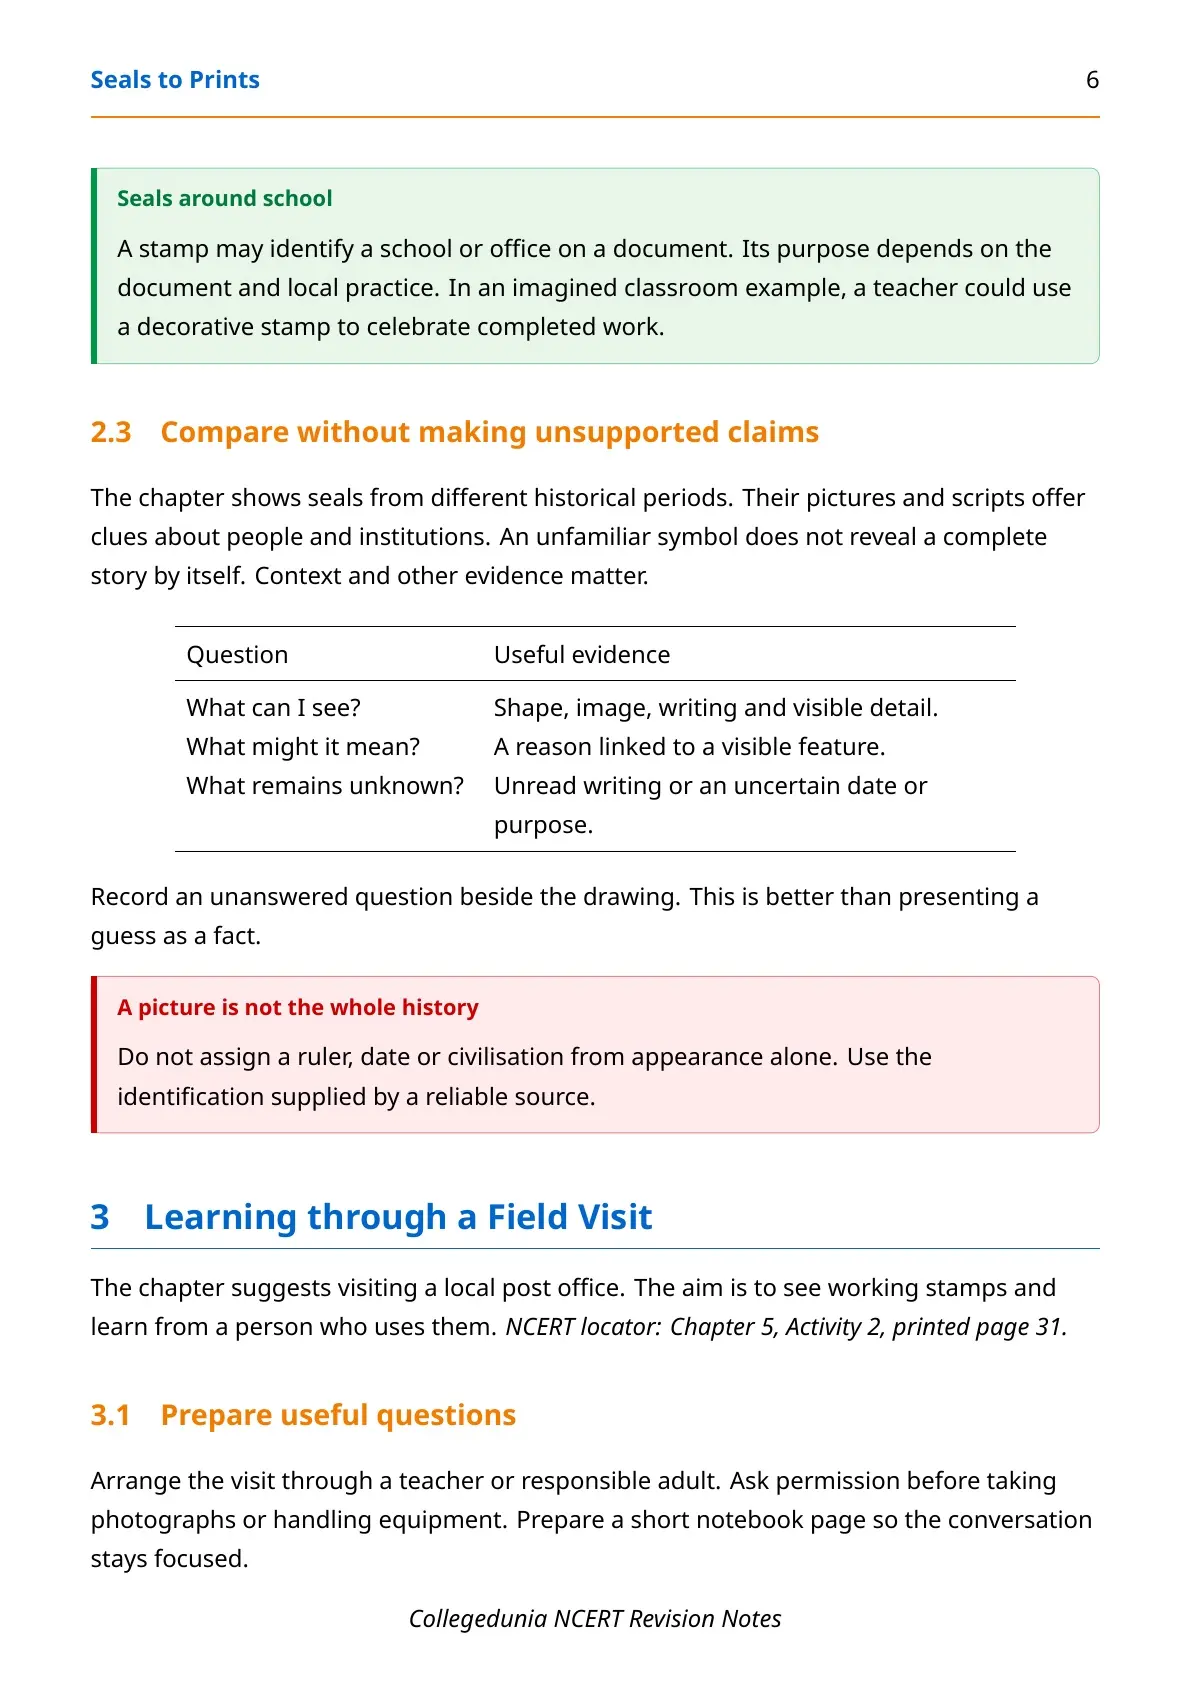
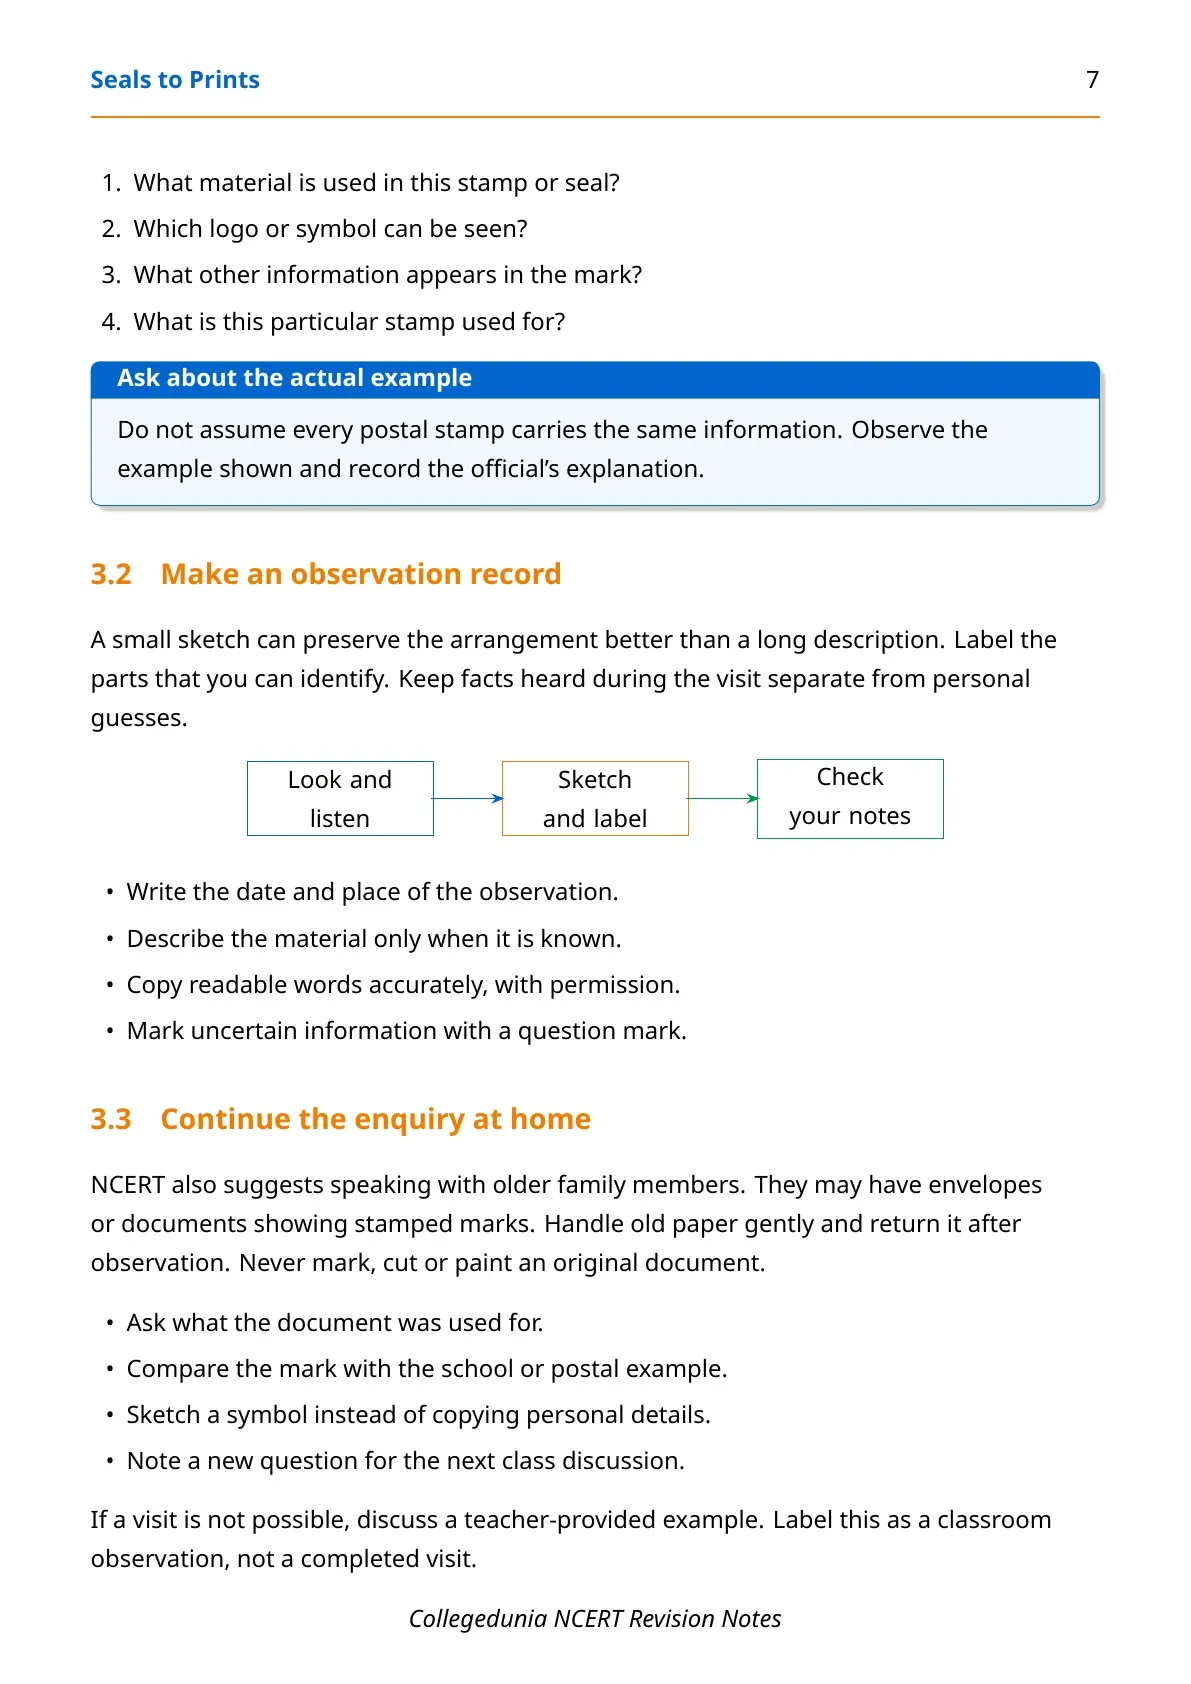
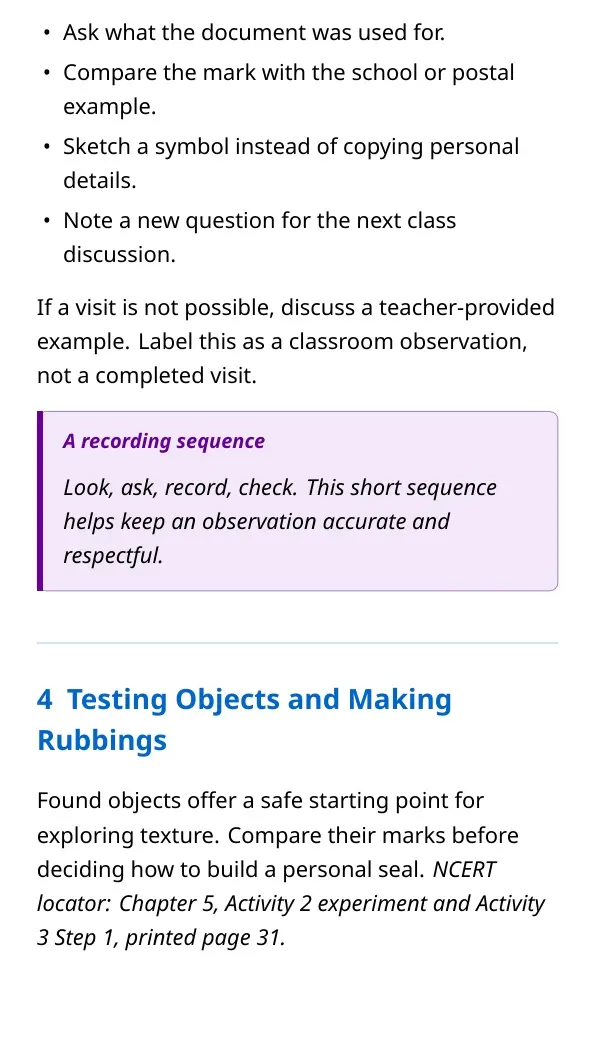
For the field trip activity, visit a local post office with the support of your teacher. Ask a postal official about the seals they use. Note the material, postal symbol and other information on the stamp.
- Ask older family members about stamped documents or envelopes.
- Sketch the symbols and text you observe.
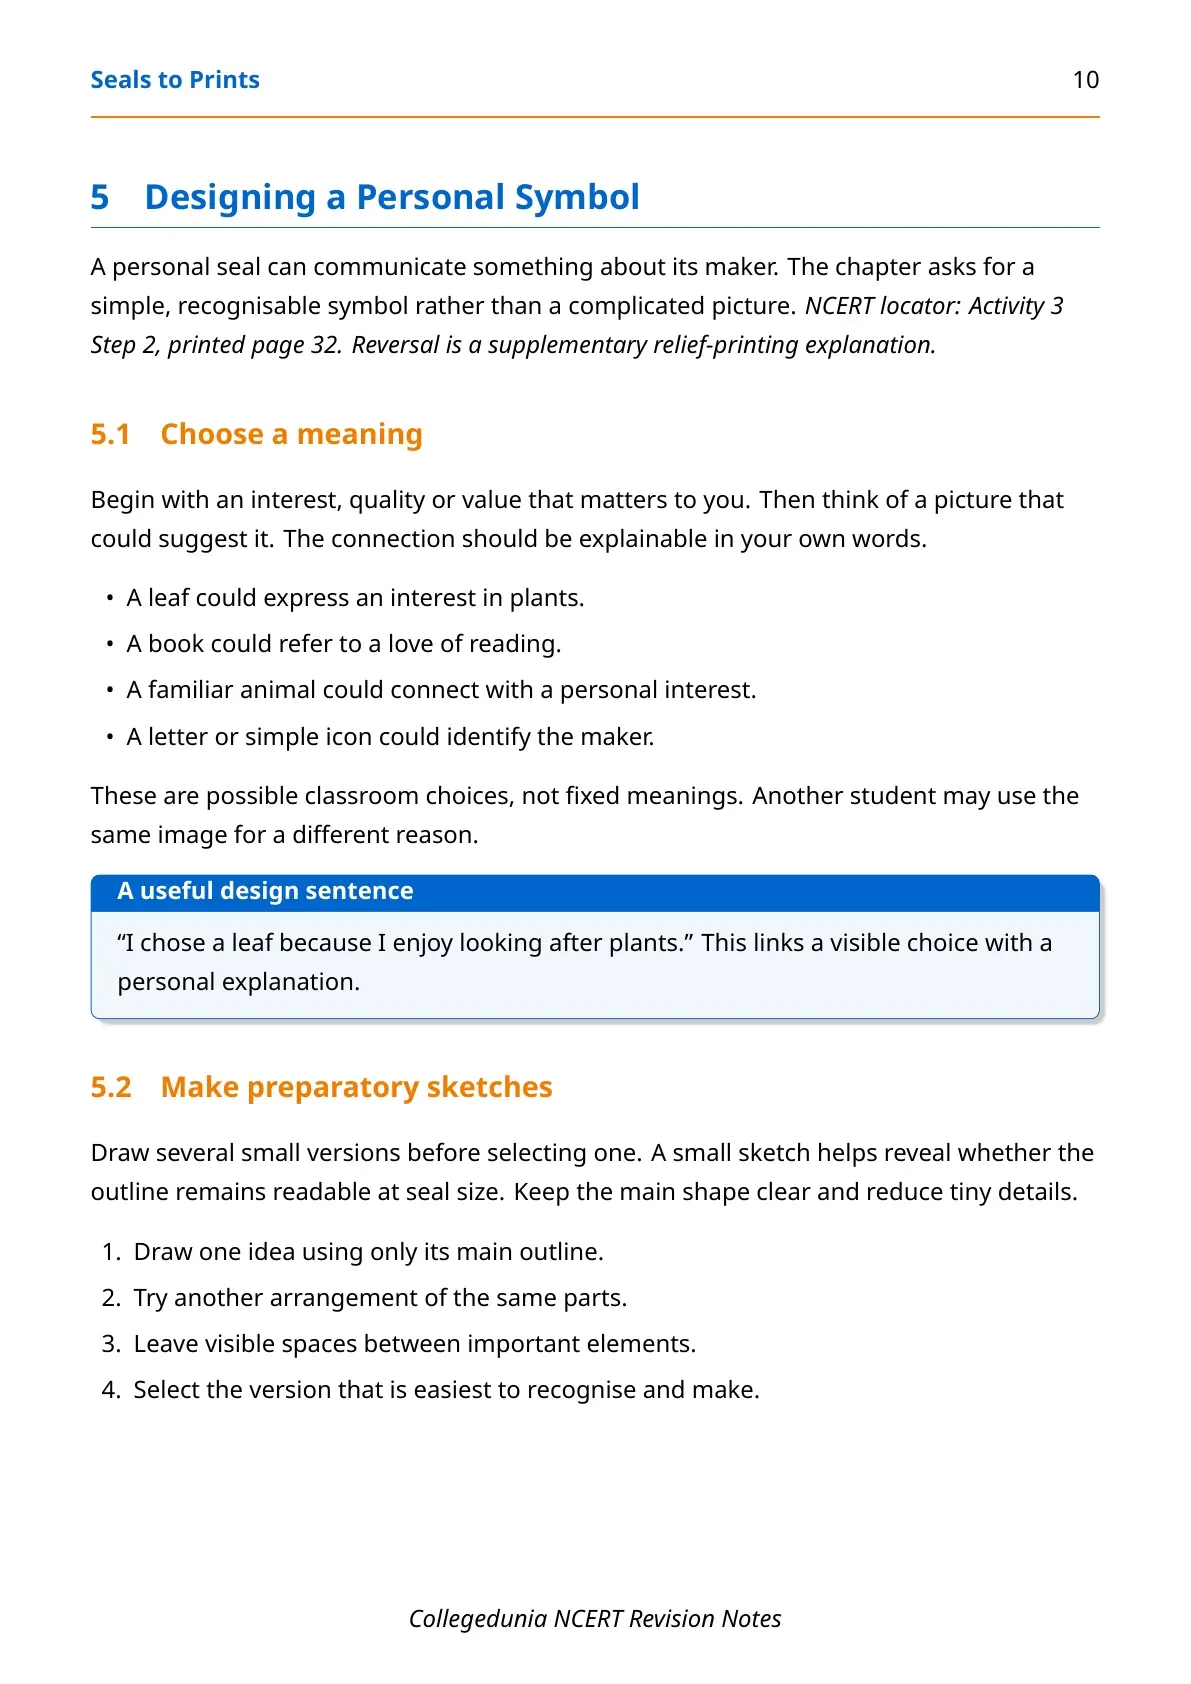
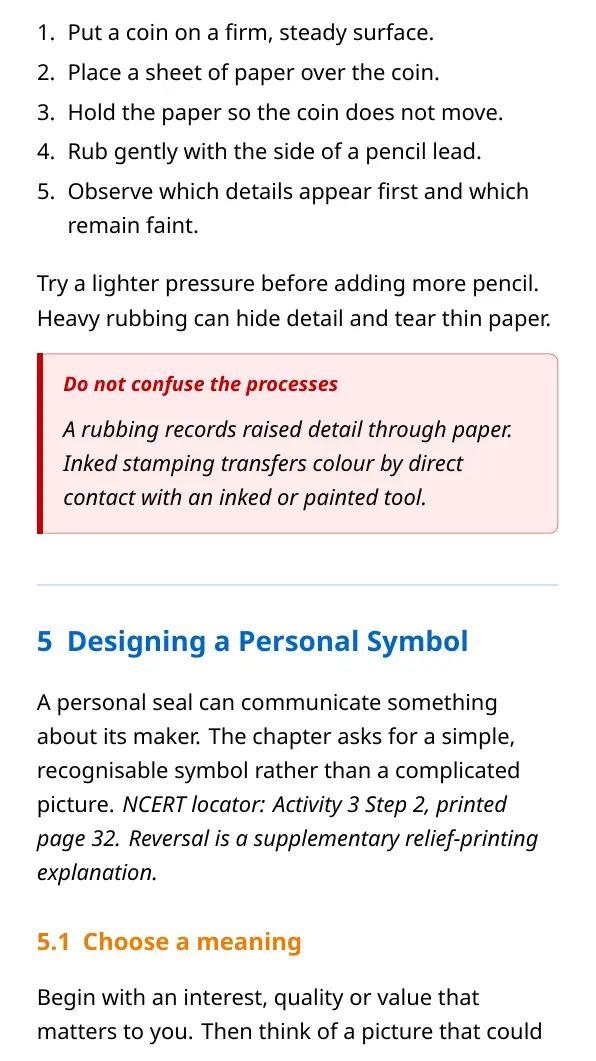
- Place paper over a coin and rub gently with a pencil.
A coin rubbing reveals the coin's surface pattern through the paper. It differs from an inked stamp: you rub the covering paper instead of coating the object with ink.
Seals to Prints: Four Stages of Making Your Own Seal
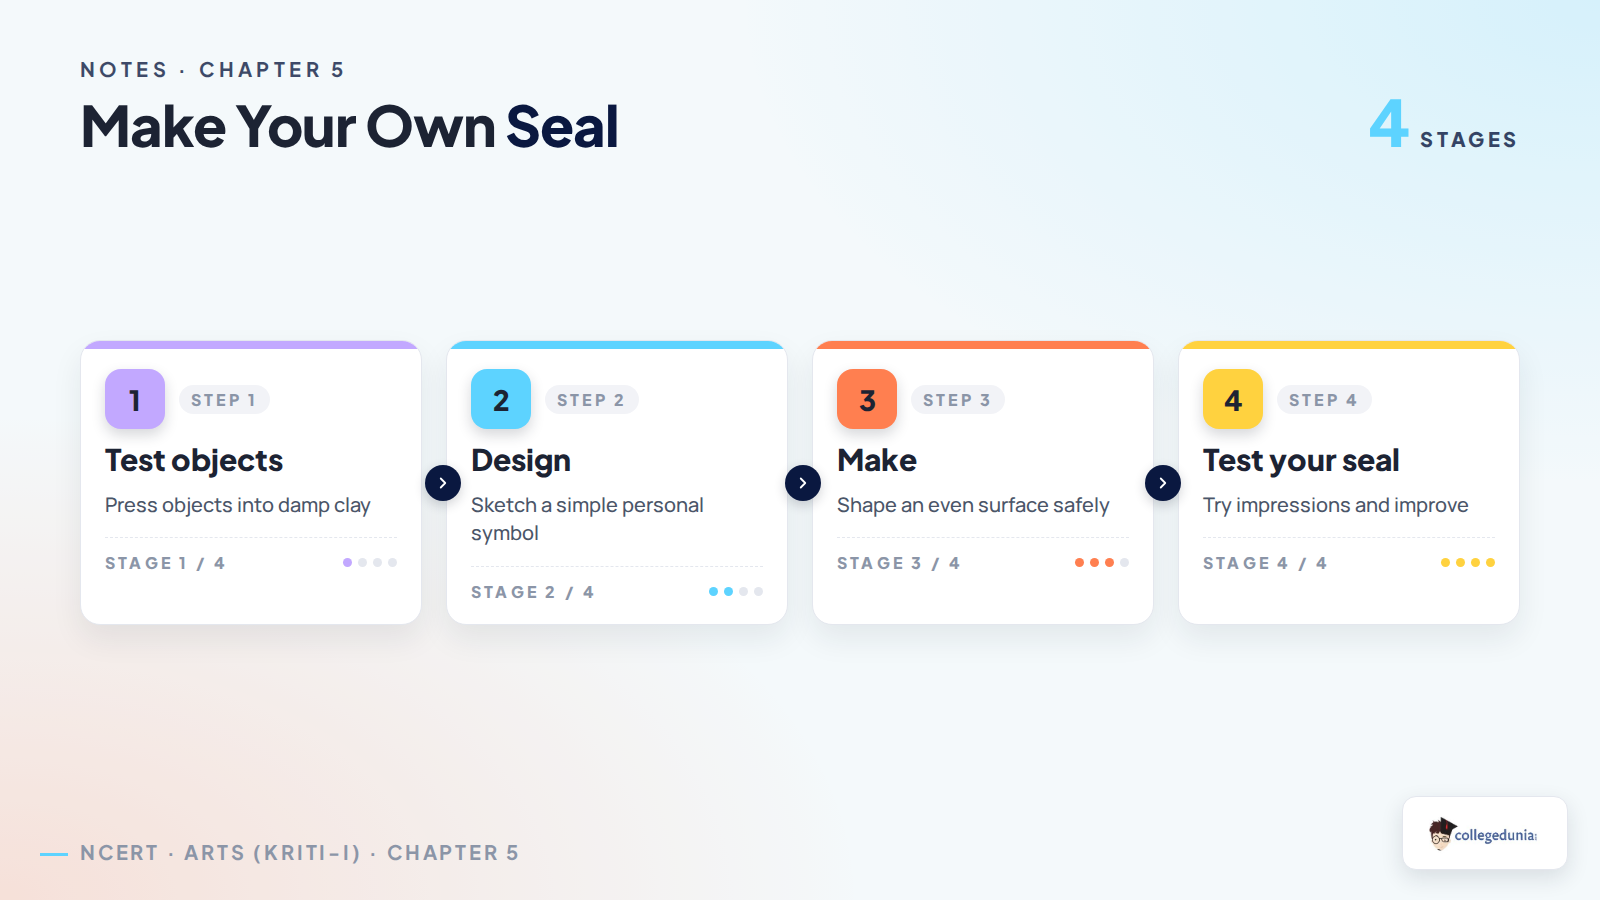
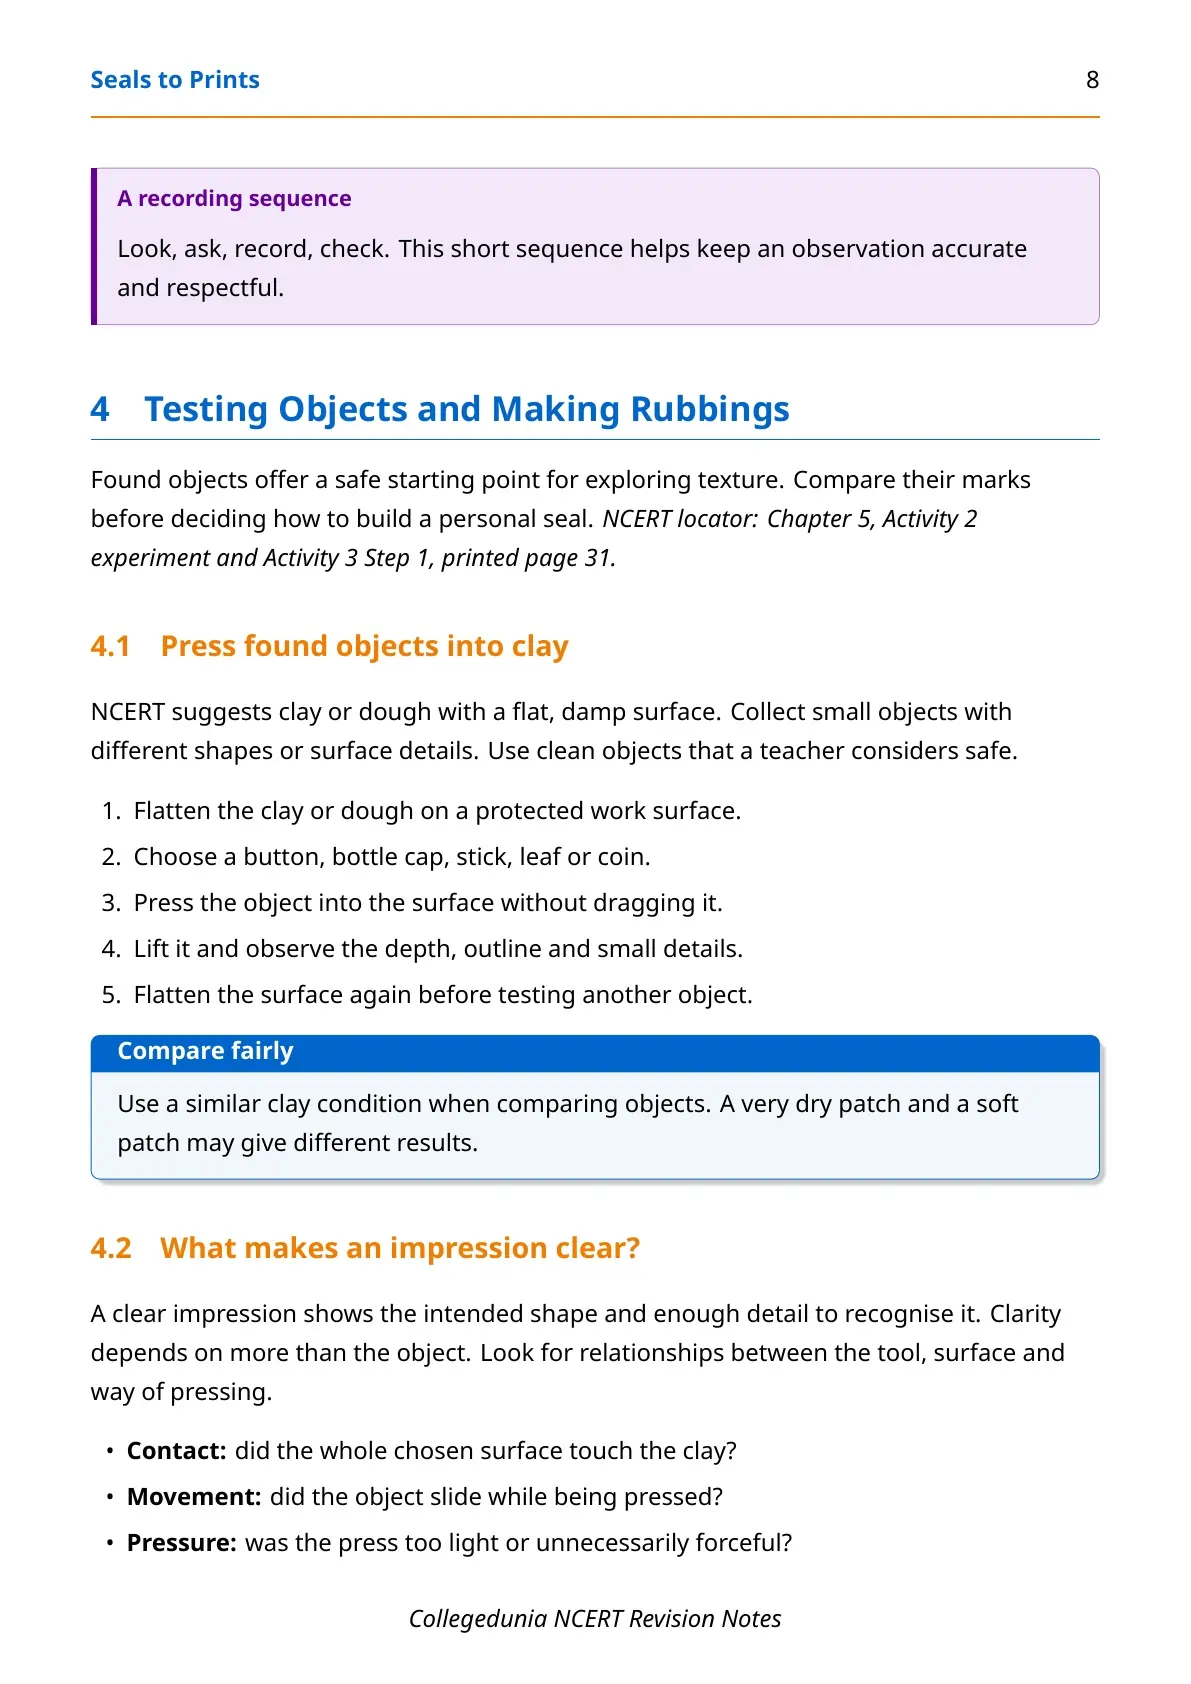
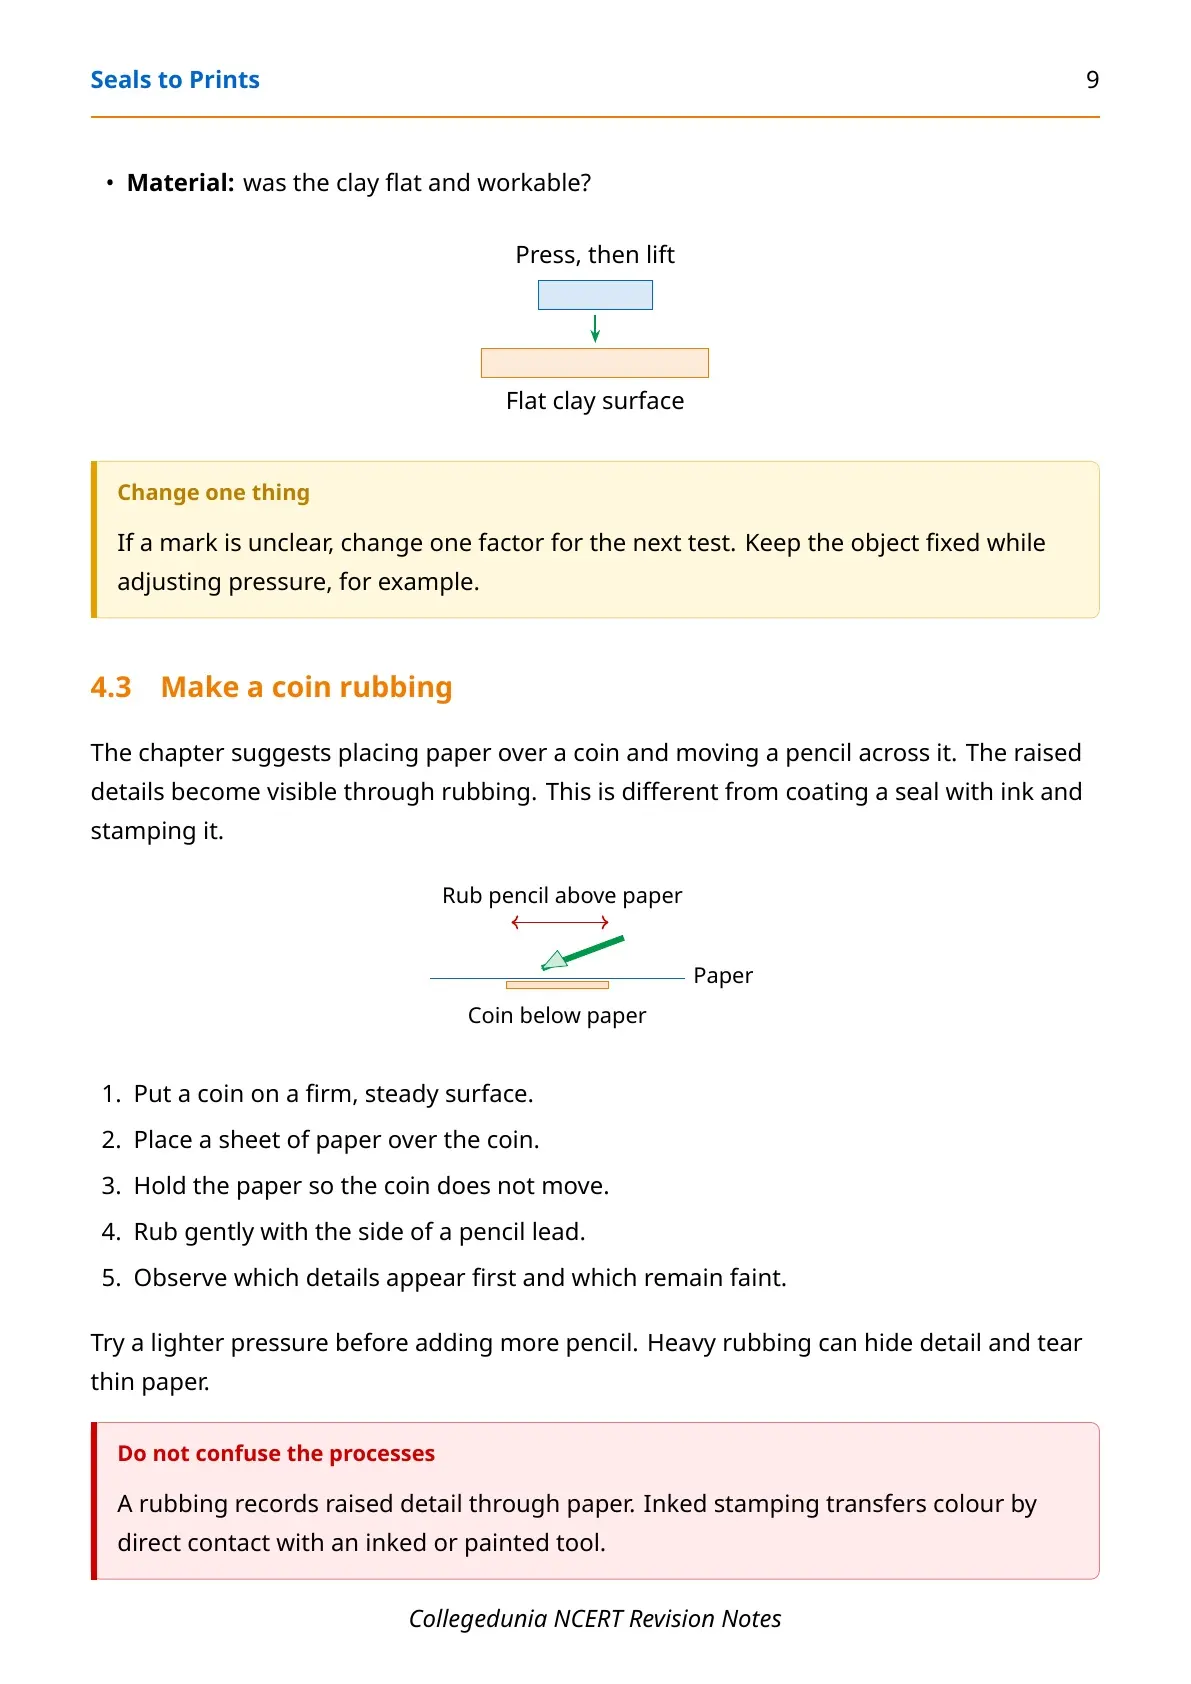
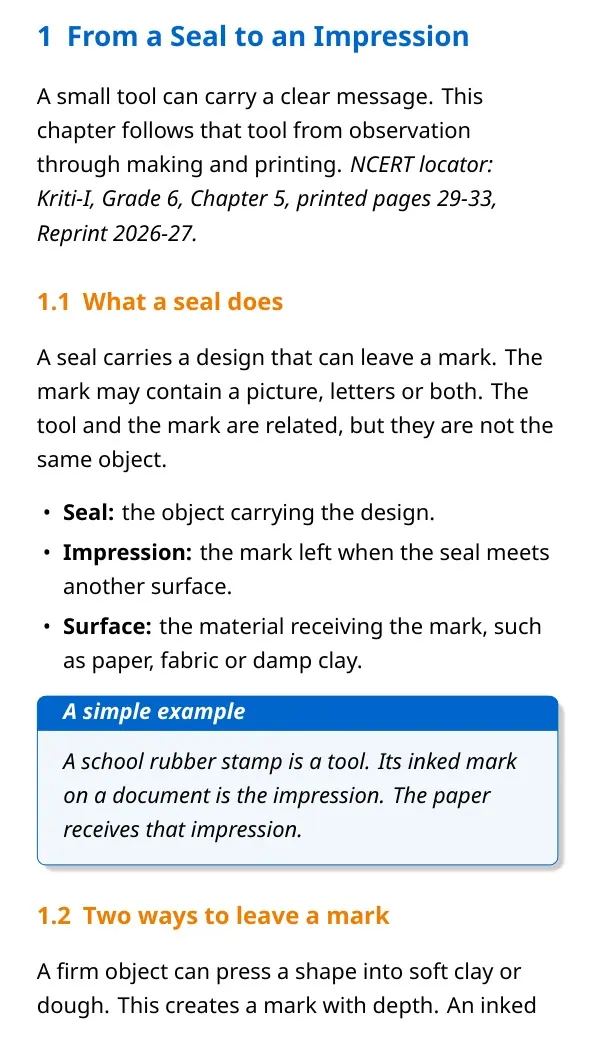
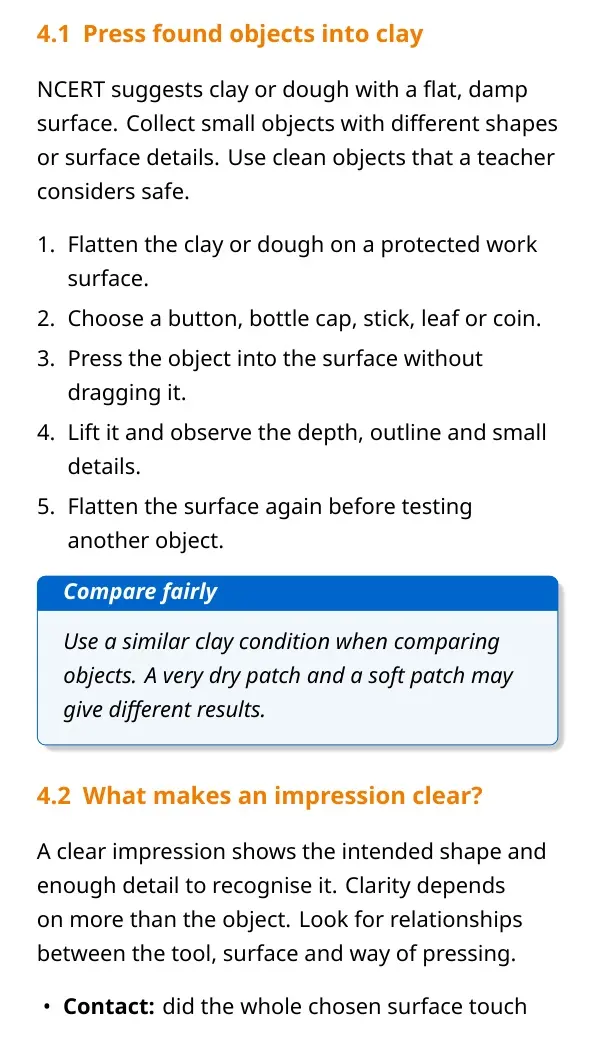
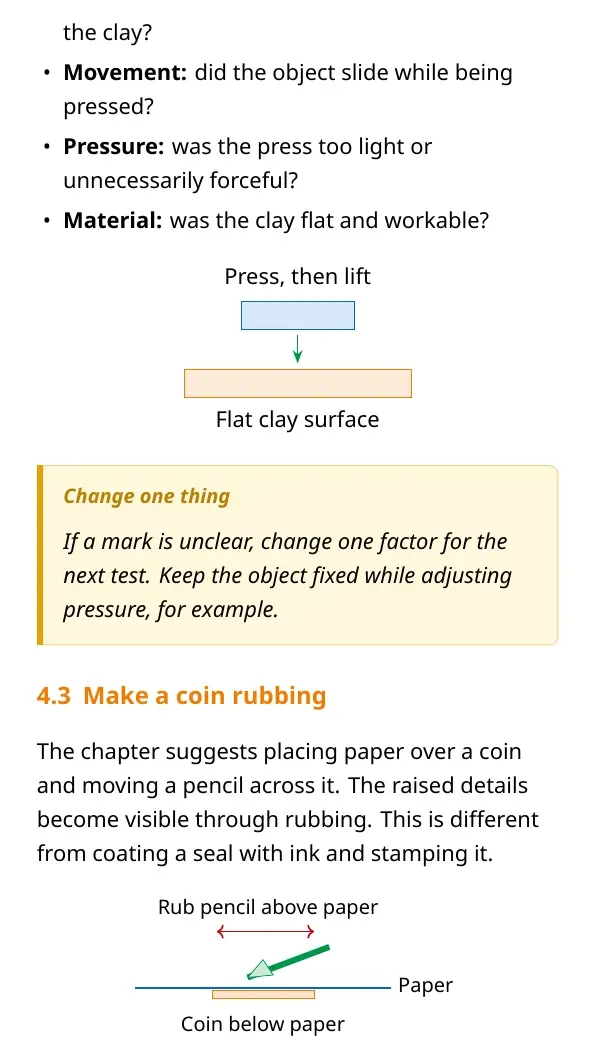
NCERT begins the making process with experiments. Press buttons, bottle caps, leaves or coins into a flat, damp clay surface. Compare the marks. Notice which objects leave clear impressions and think about why.
- Test objects: make impressions in clay or dough and compare their details.
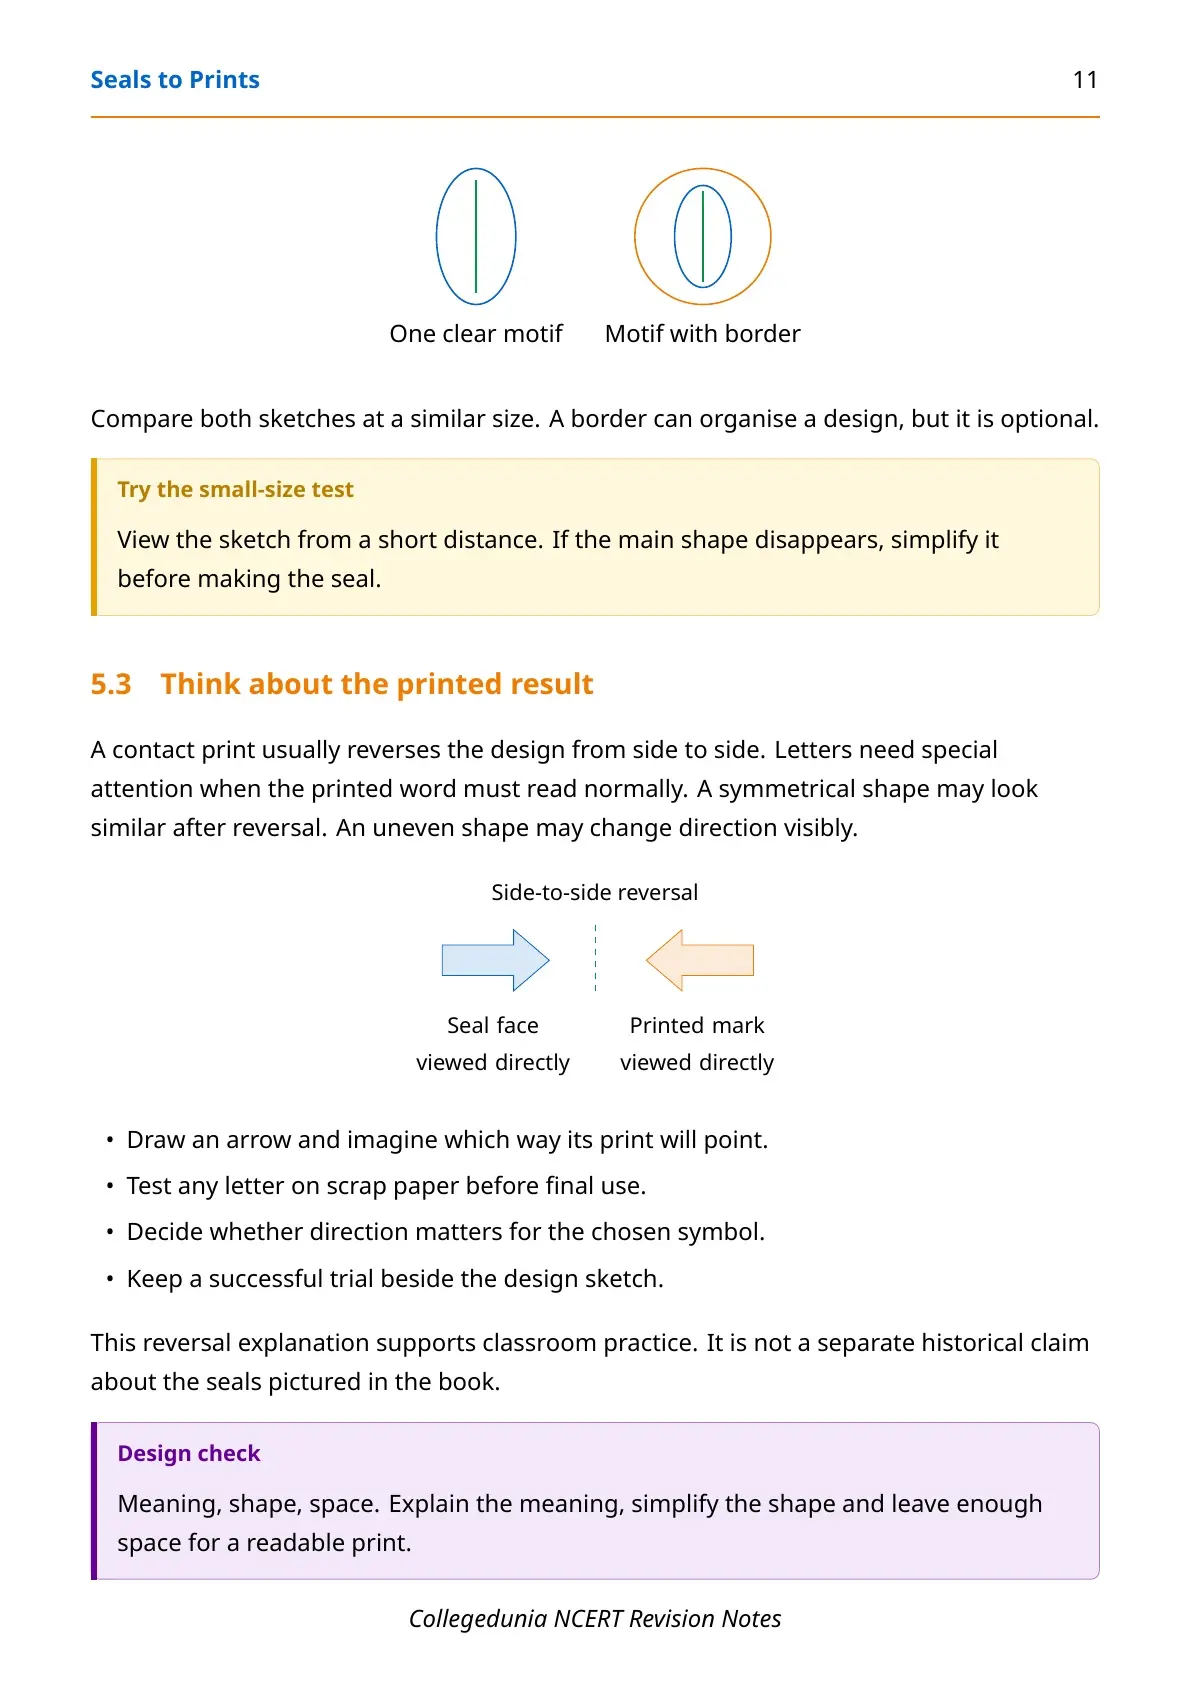
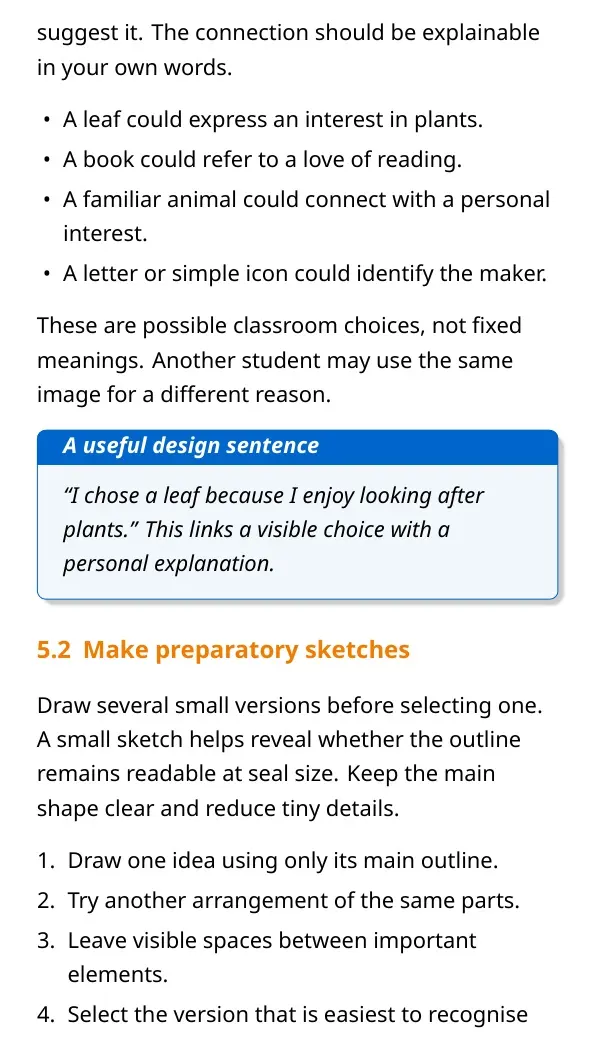
- Design: sketch a simple personal symbol, such as a leaf, animal or letter.
- Make: choose available material and shape an even surface using safe tools.
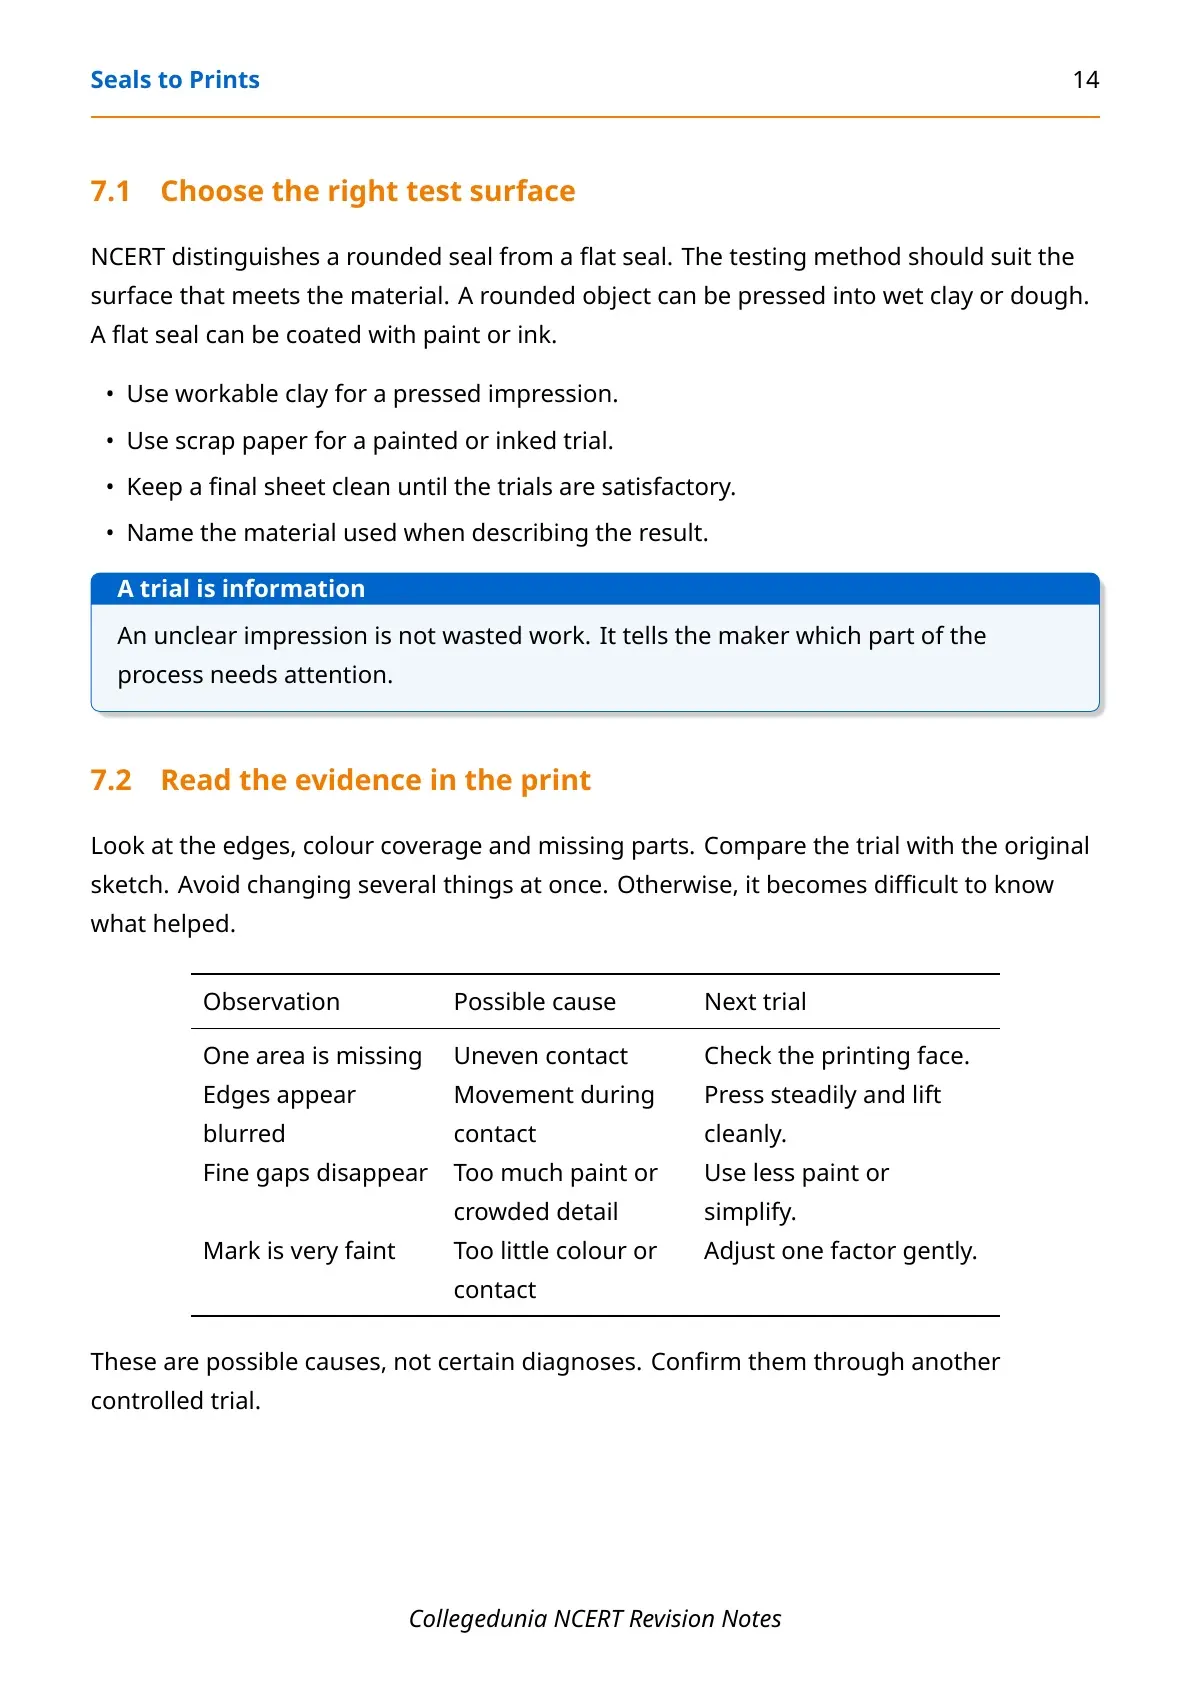
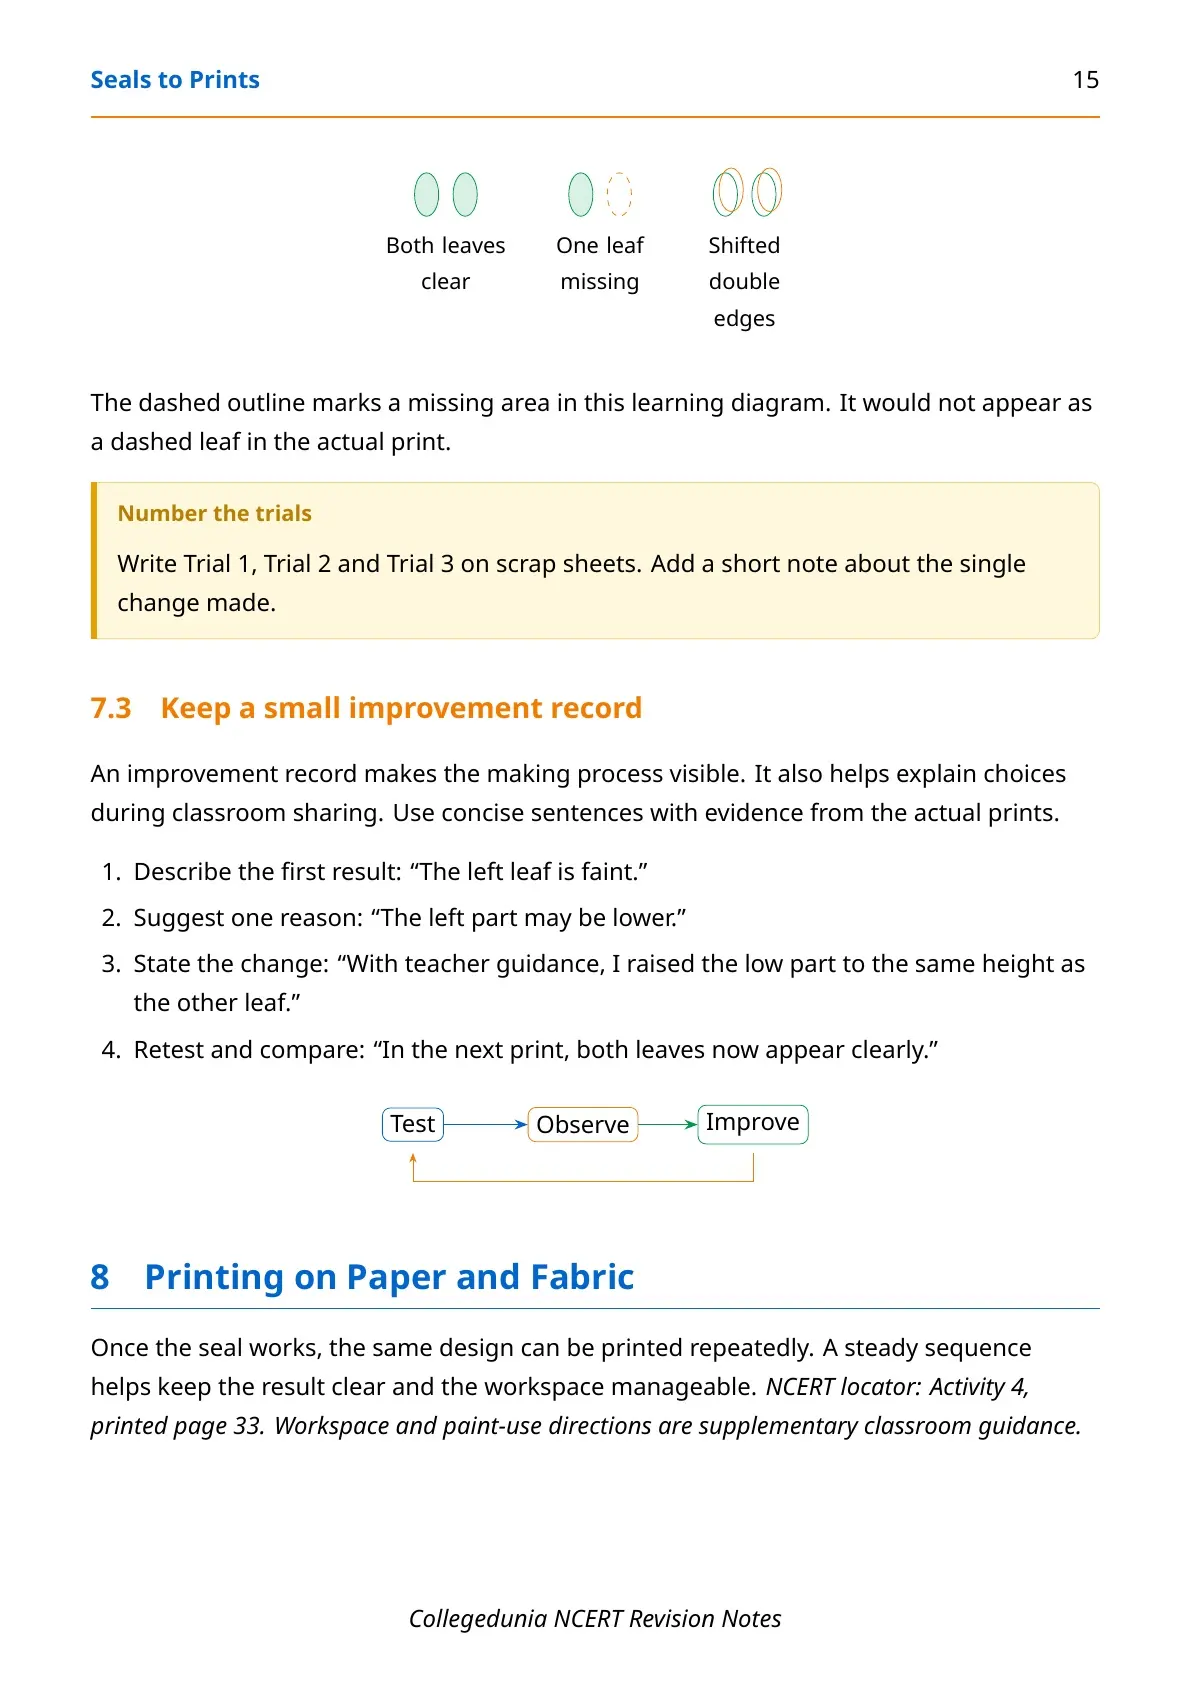
- Test your seal: try a suitable surface and change the design if needed.
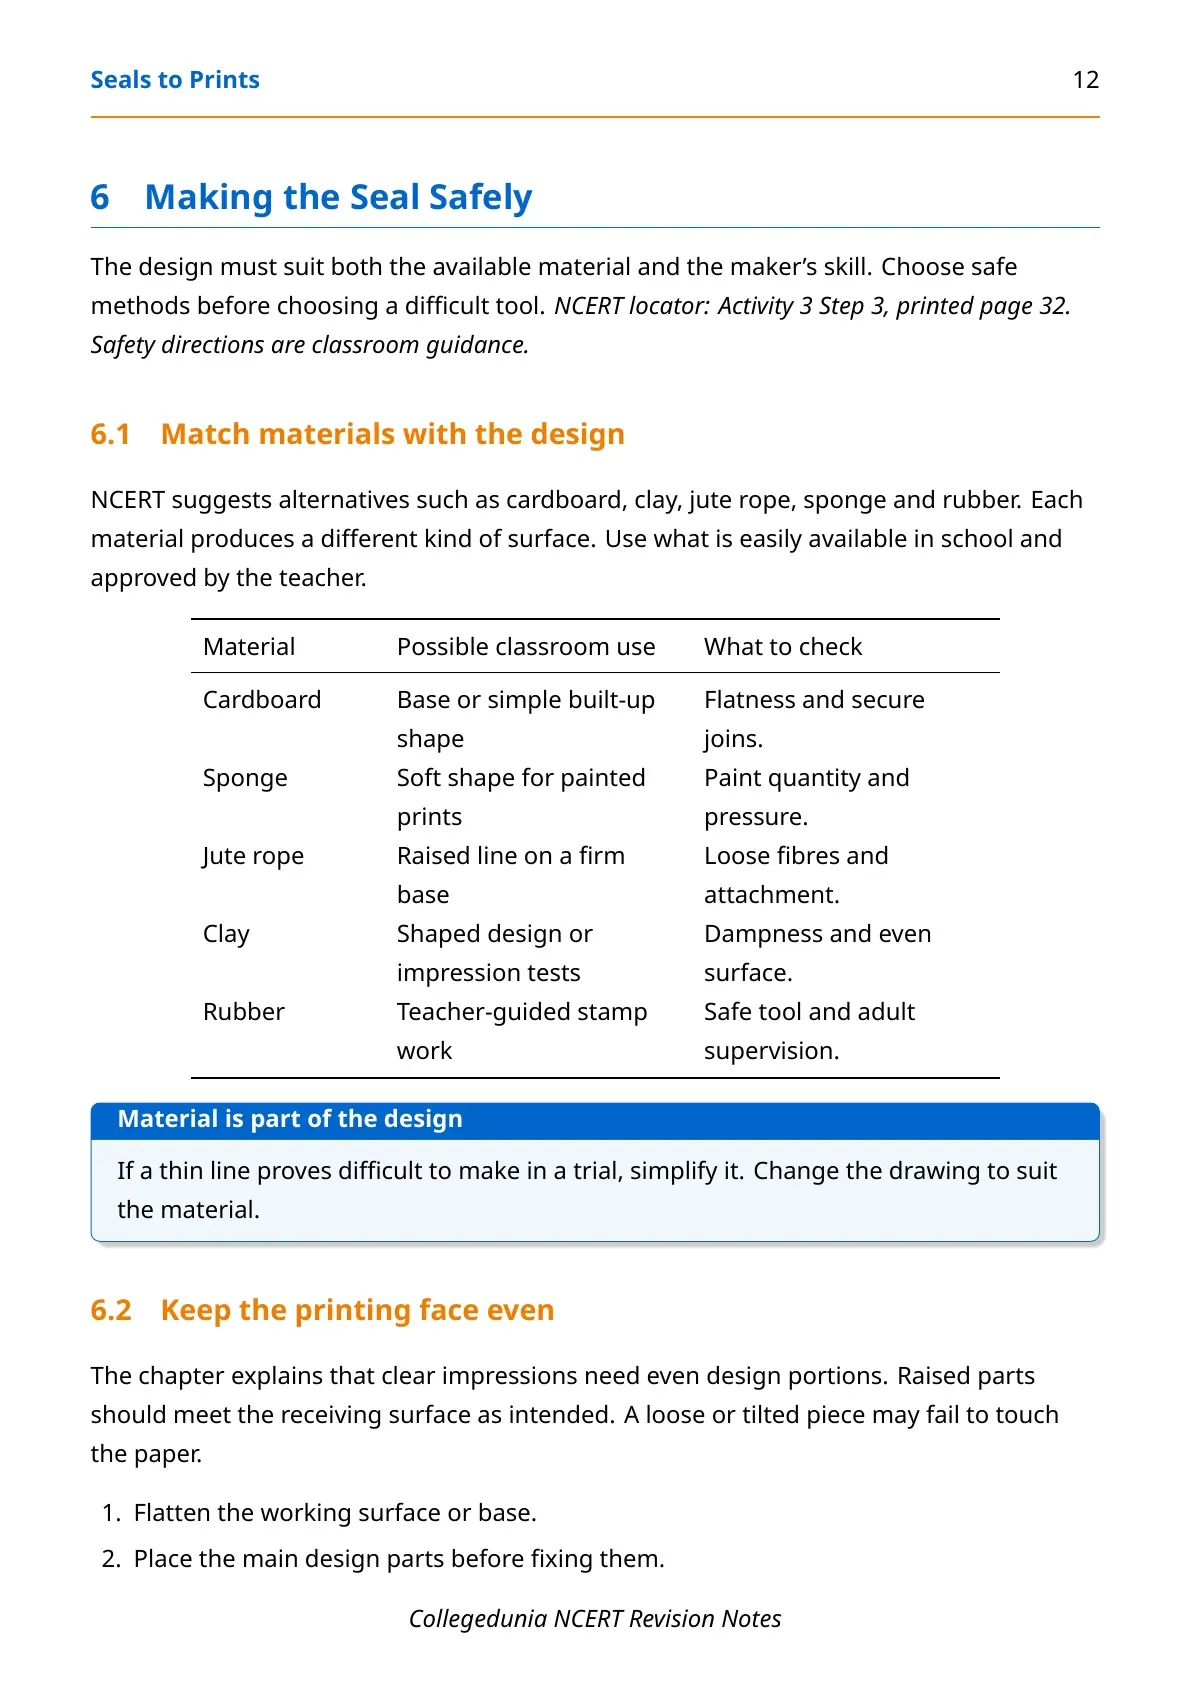
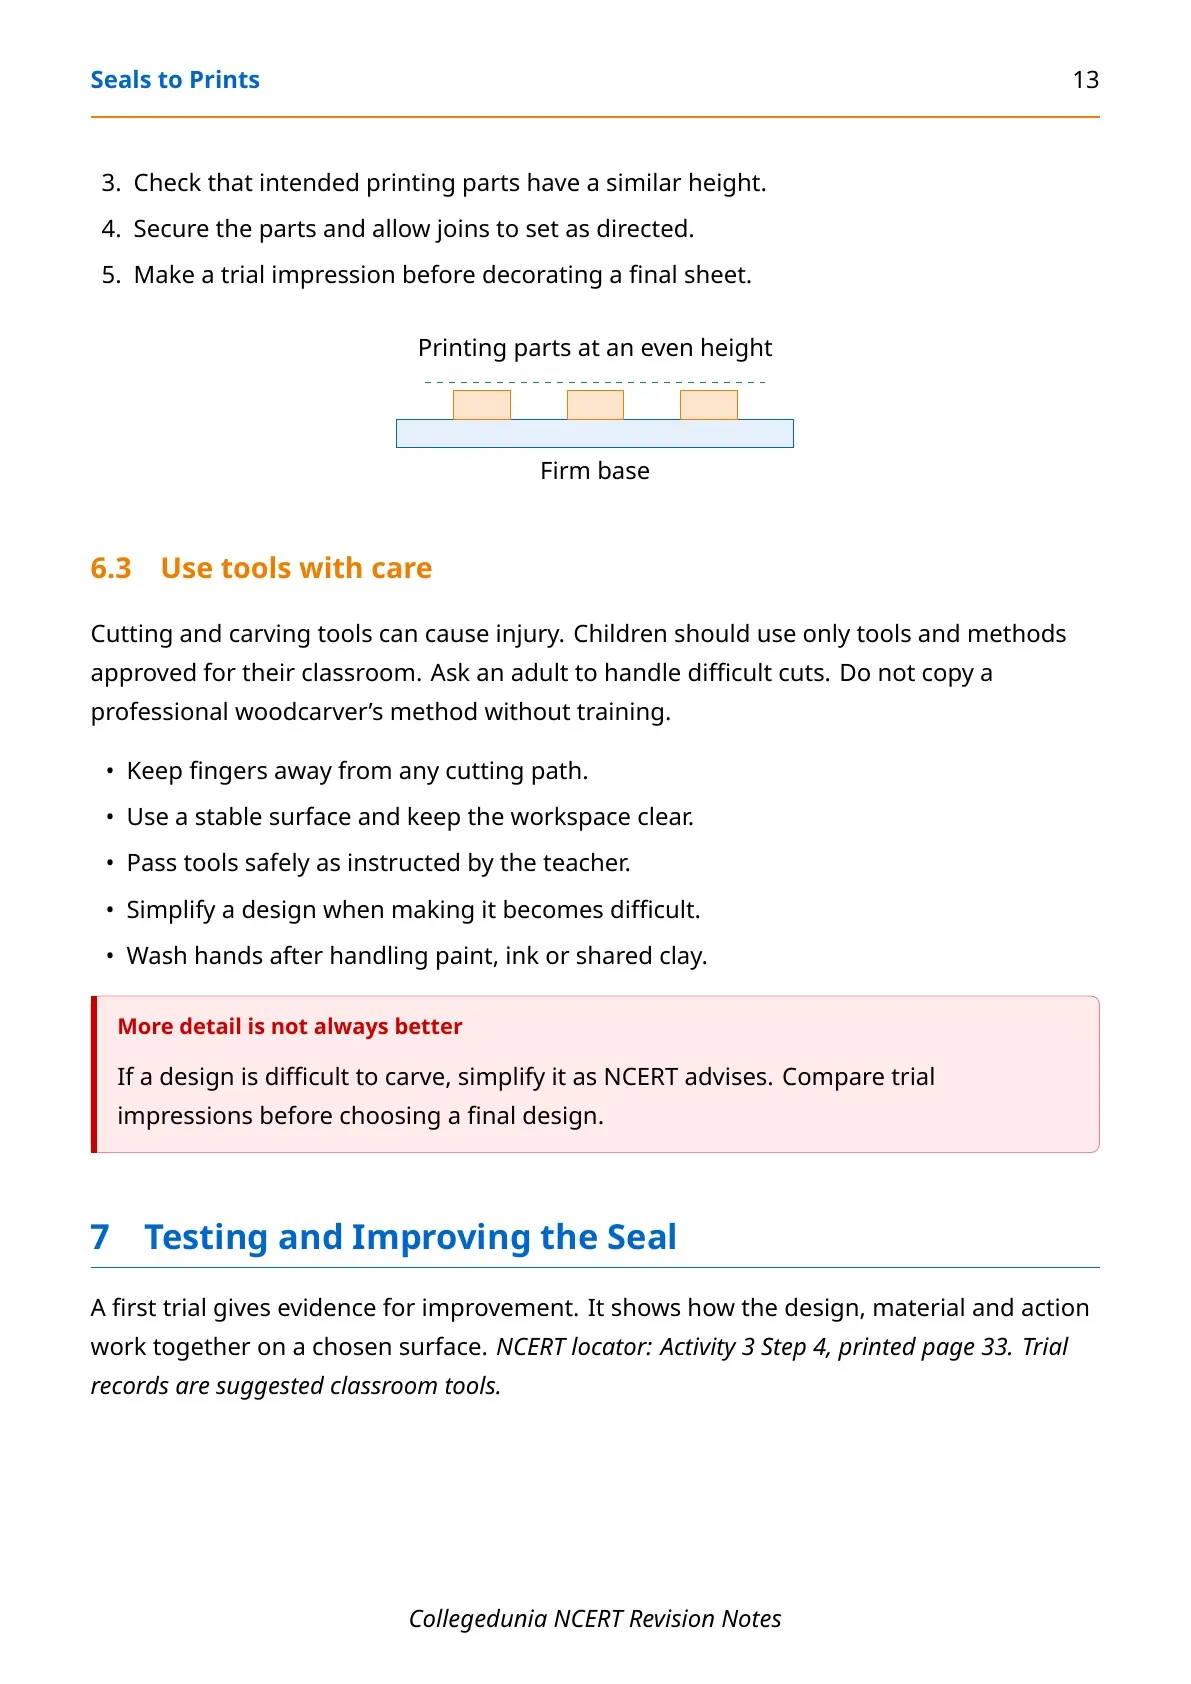
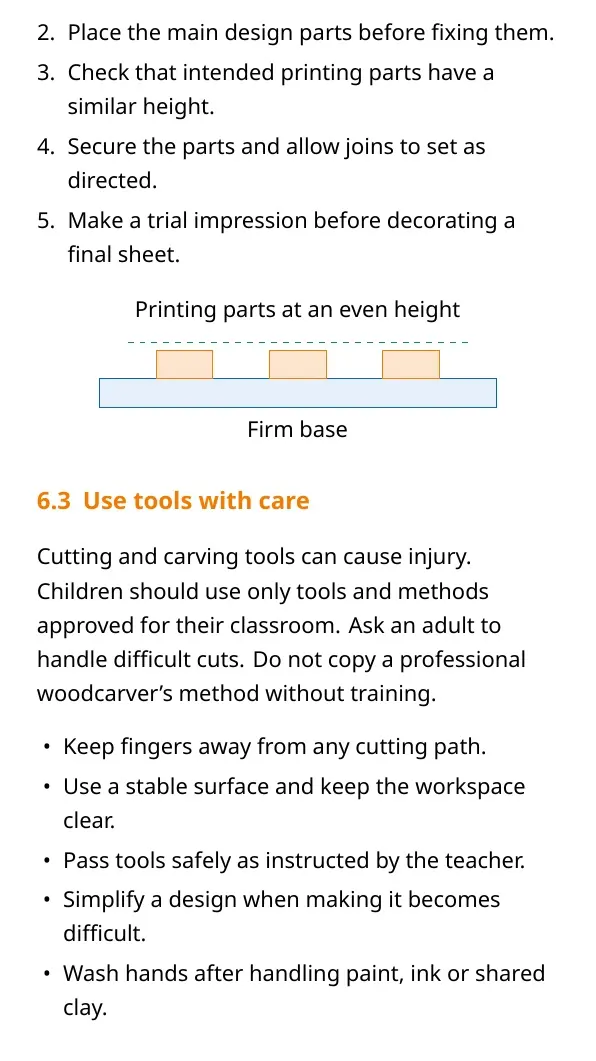
Cardboard, clay, jute rope, sponge and rubber are possible materials. Choose tools with your teacher. Keep all printing parts of the design even for a clearer impression. Simplify shapes that are difficult to carve.
A rounded seal can be pressed into wet clay or dough. For a flat seal, try paint or ink on paper. Compare the results before starting your final print.
Seals to Prints: Repeated Patterns and Ajrakh Textiles
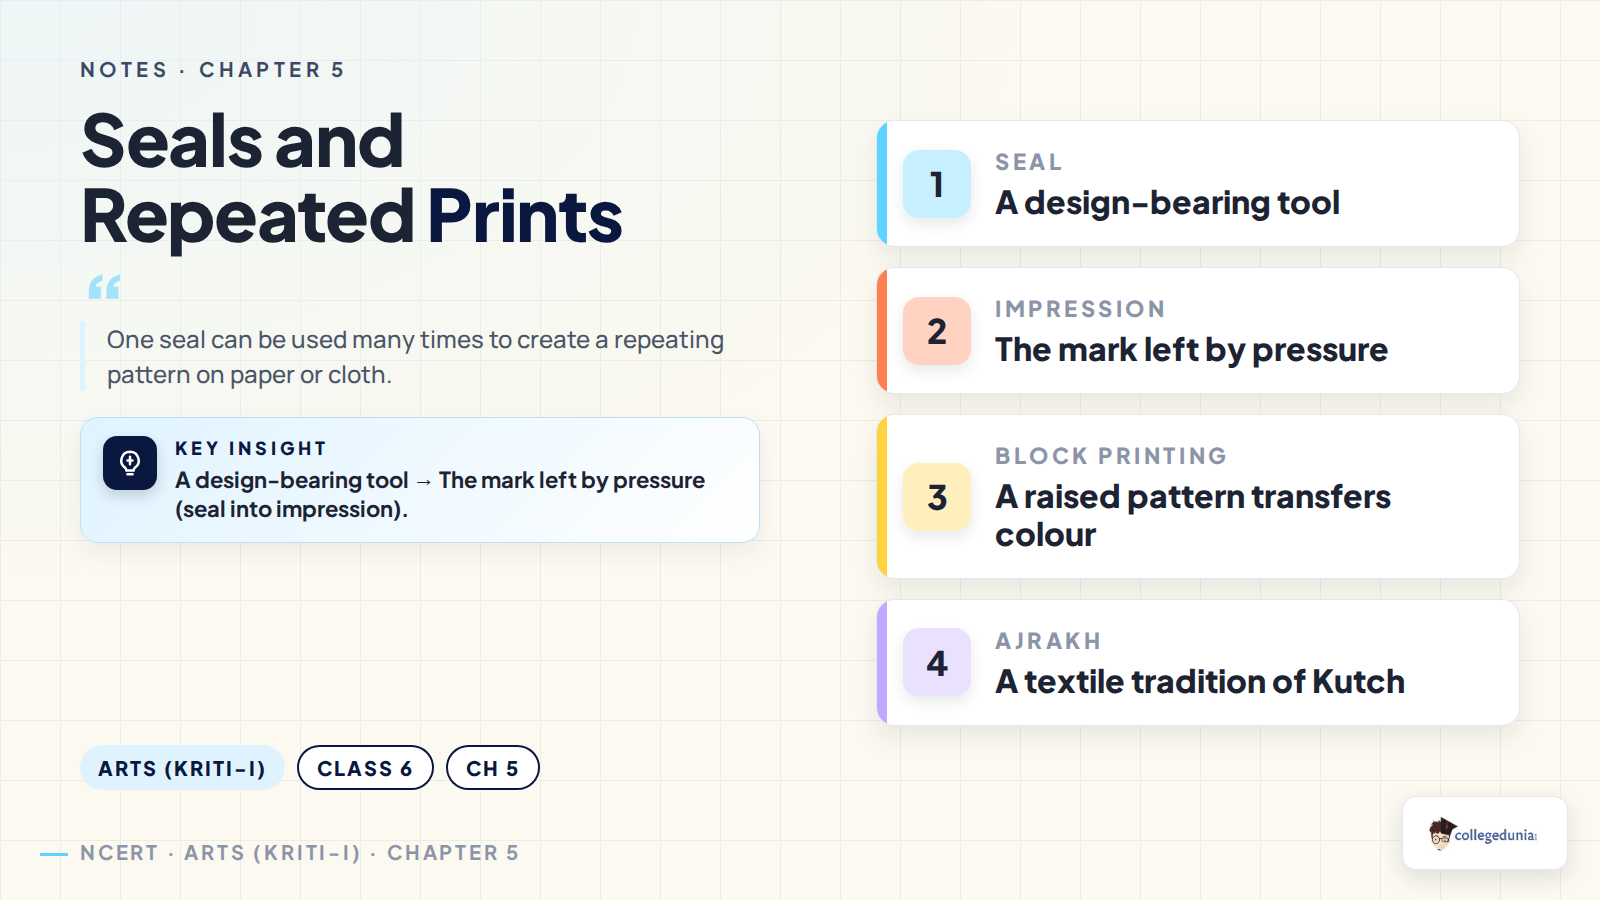
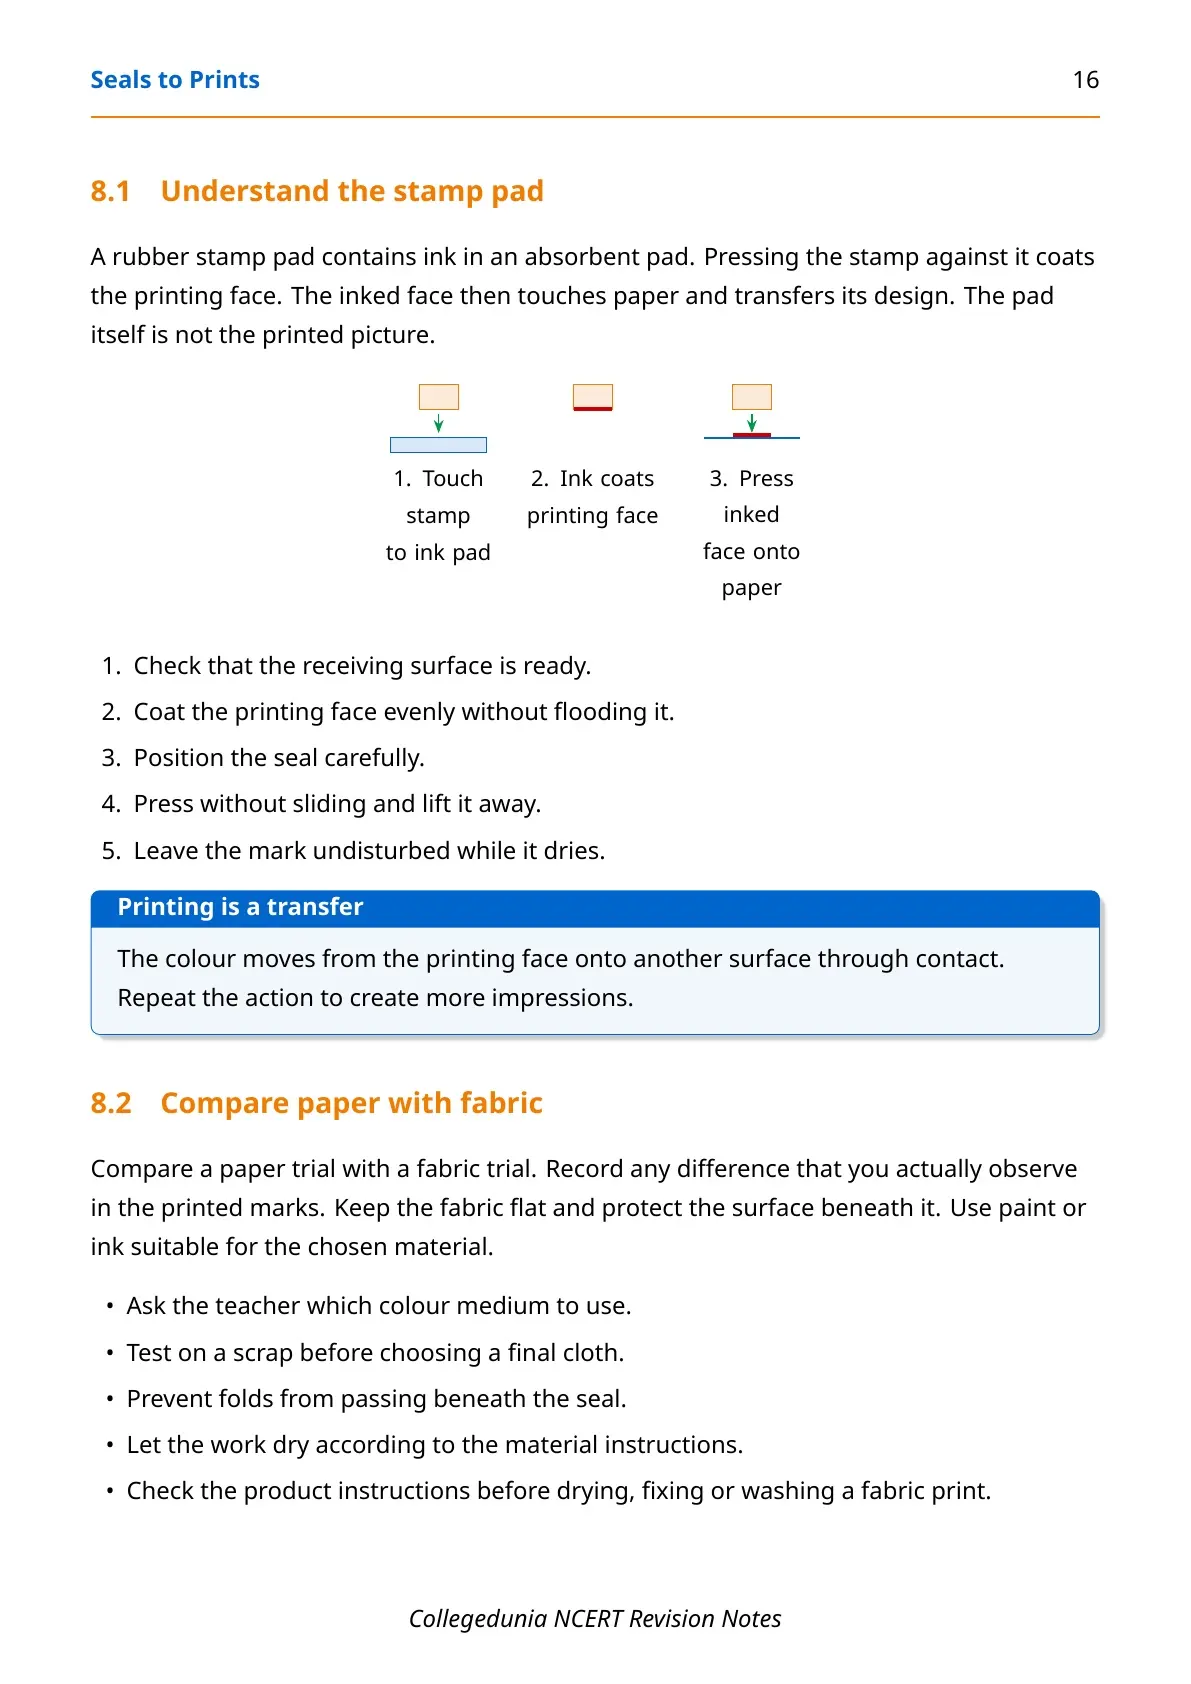
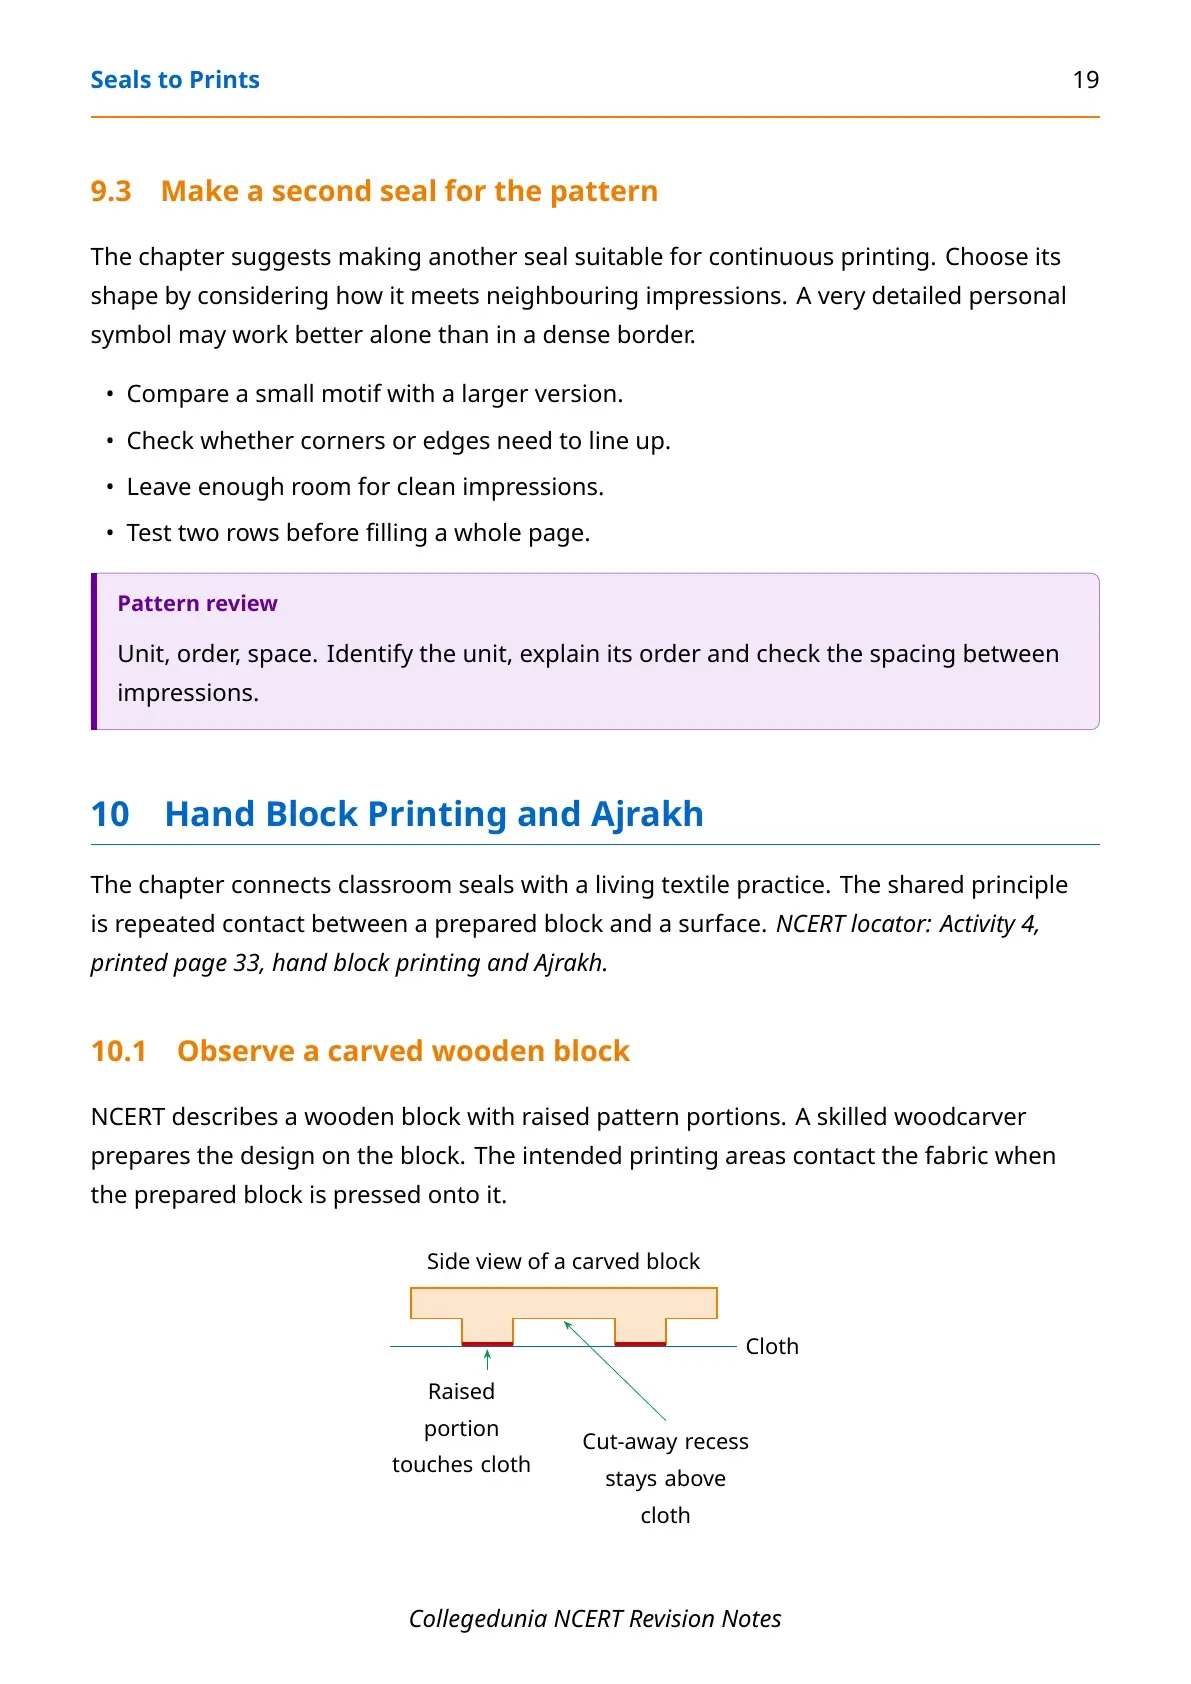
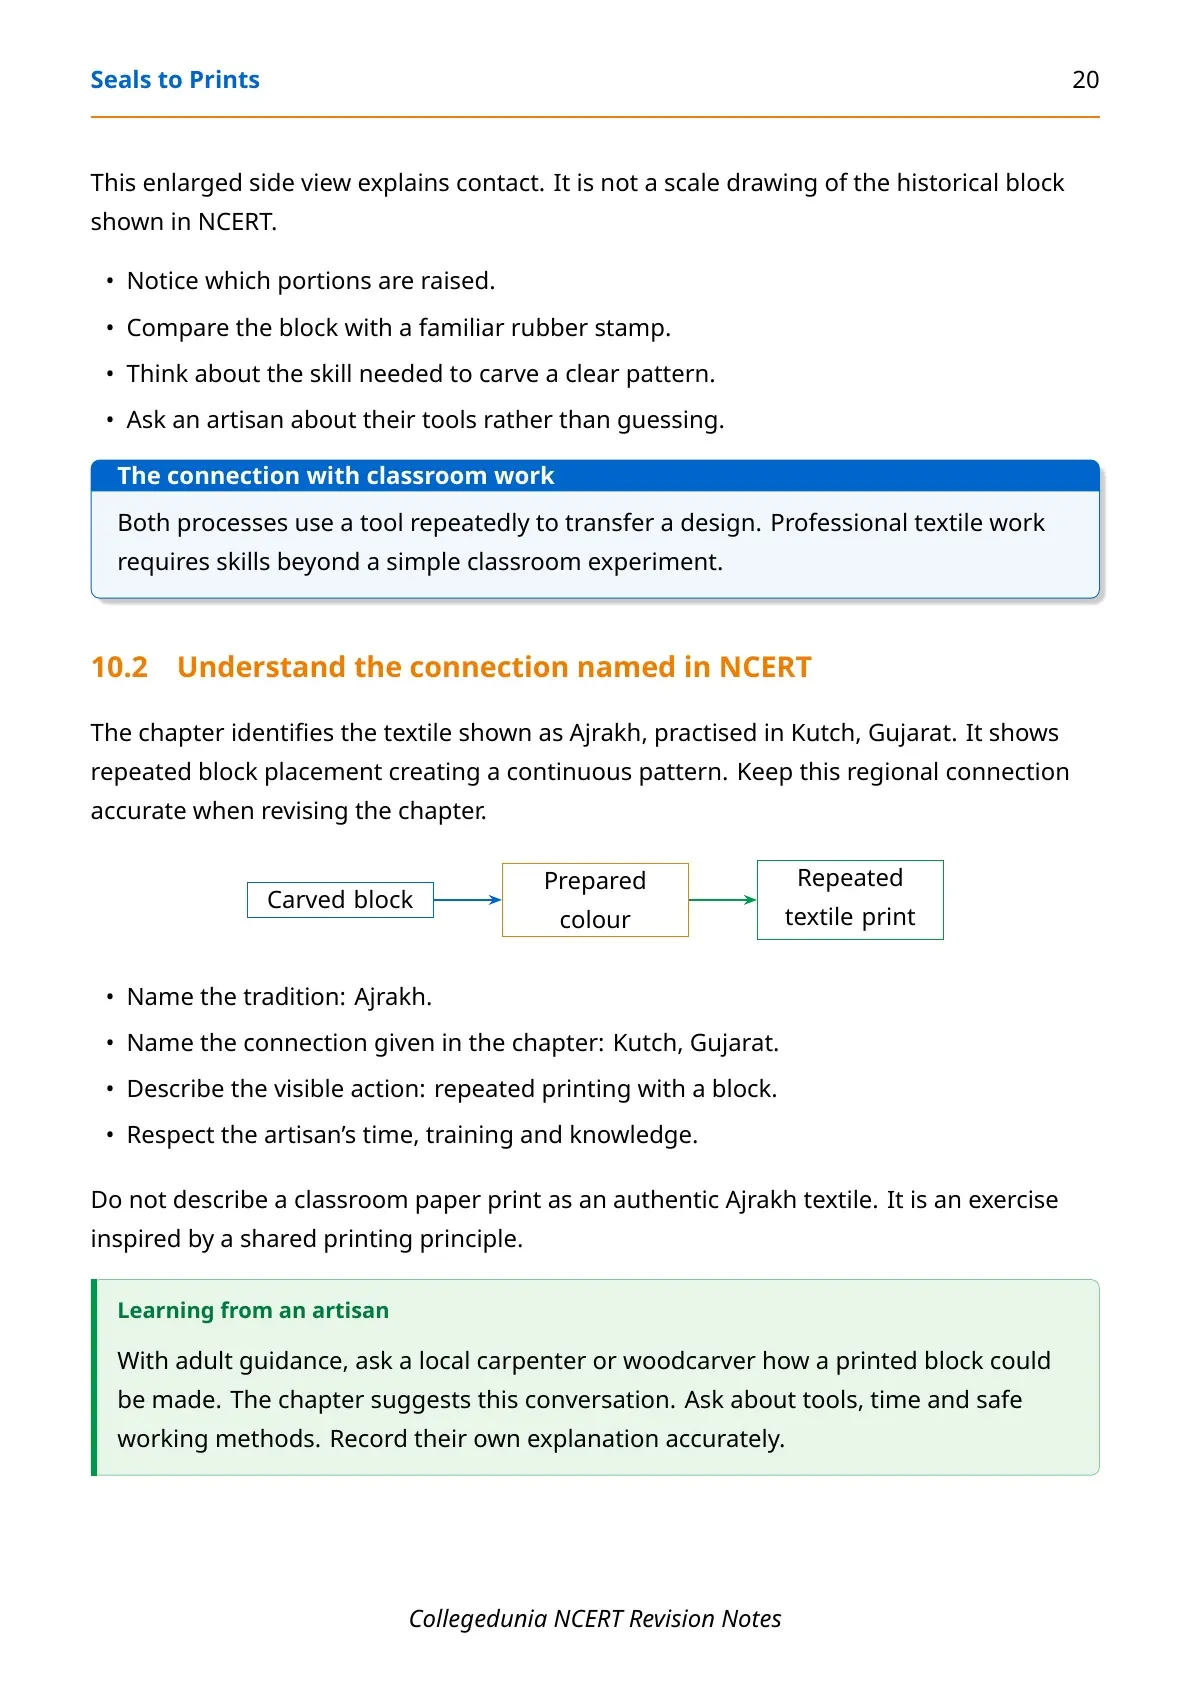
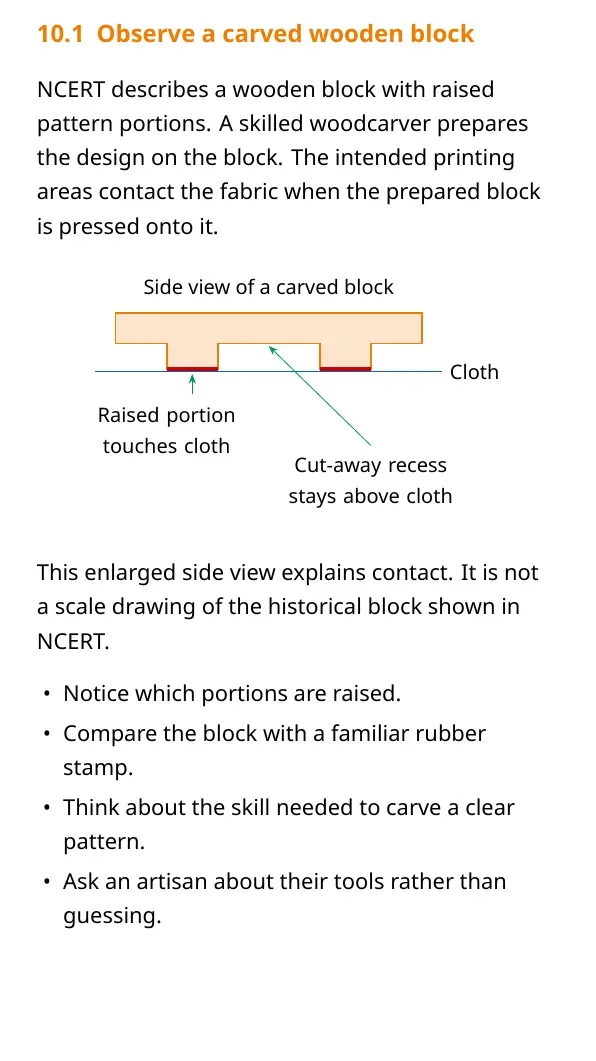
A rubber stamp picks up ink from a pad and transfers it to paper under pressure. The chapter links this process with hand block printing. A carved wooden block has raised parts that carry a pattern onto cloth.
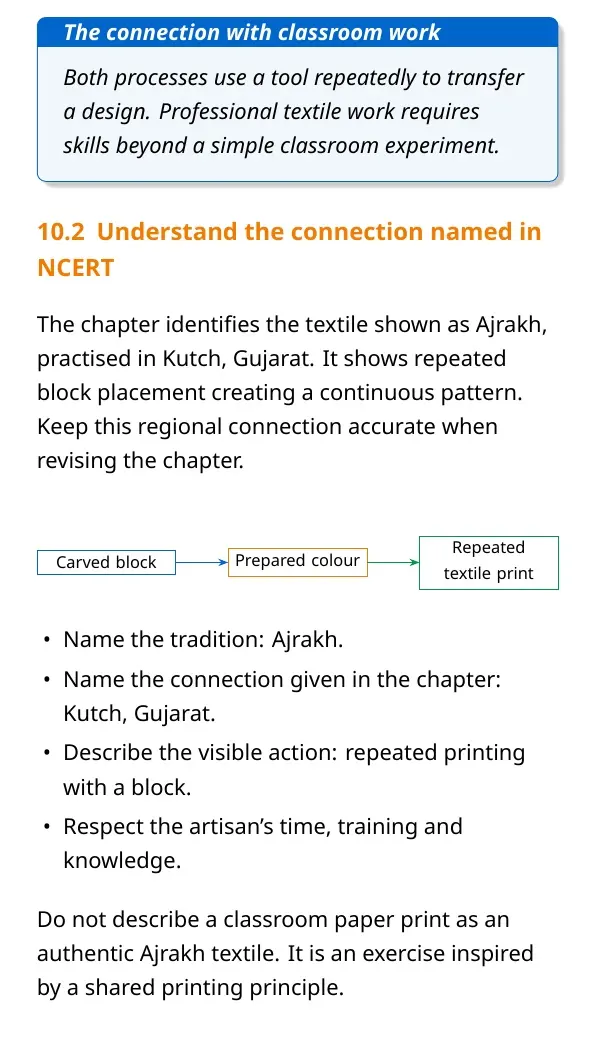
The textbook shows a printer making Ajrakh, a textile tradition practised in Kutch, Gujarat. The same block is placed repeatedly to build a continuous pattern. Ask a local wood carver about the tools and time needed to carve such blocks.
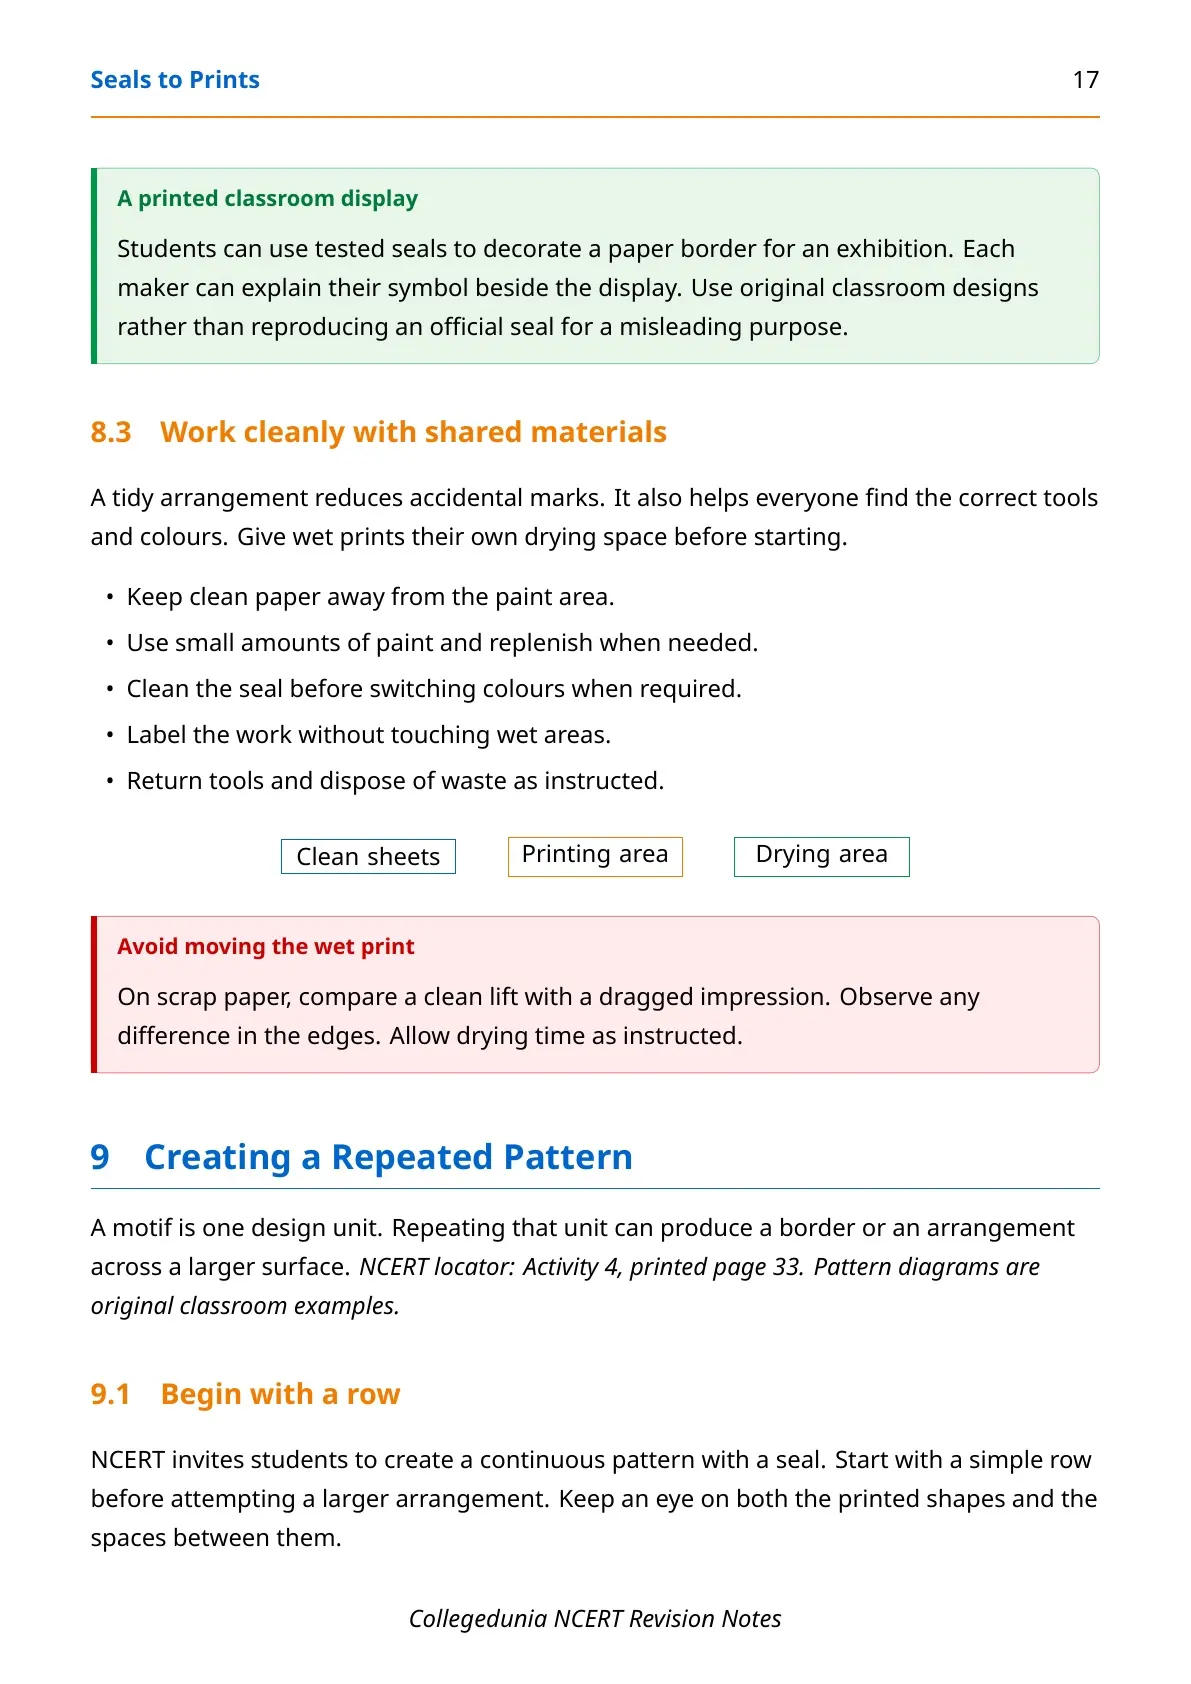
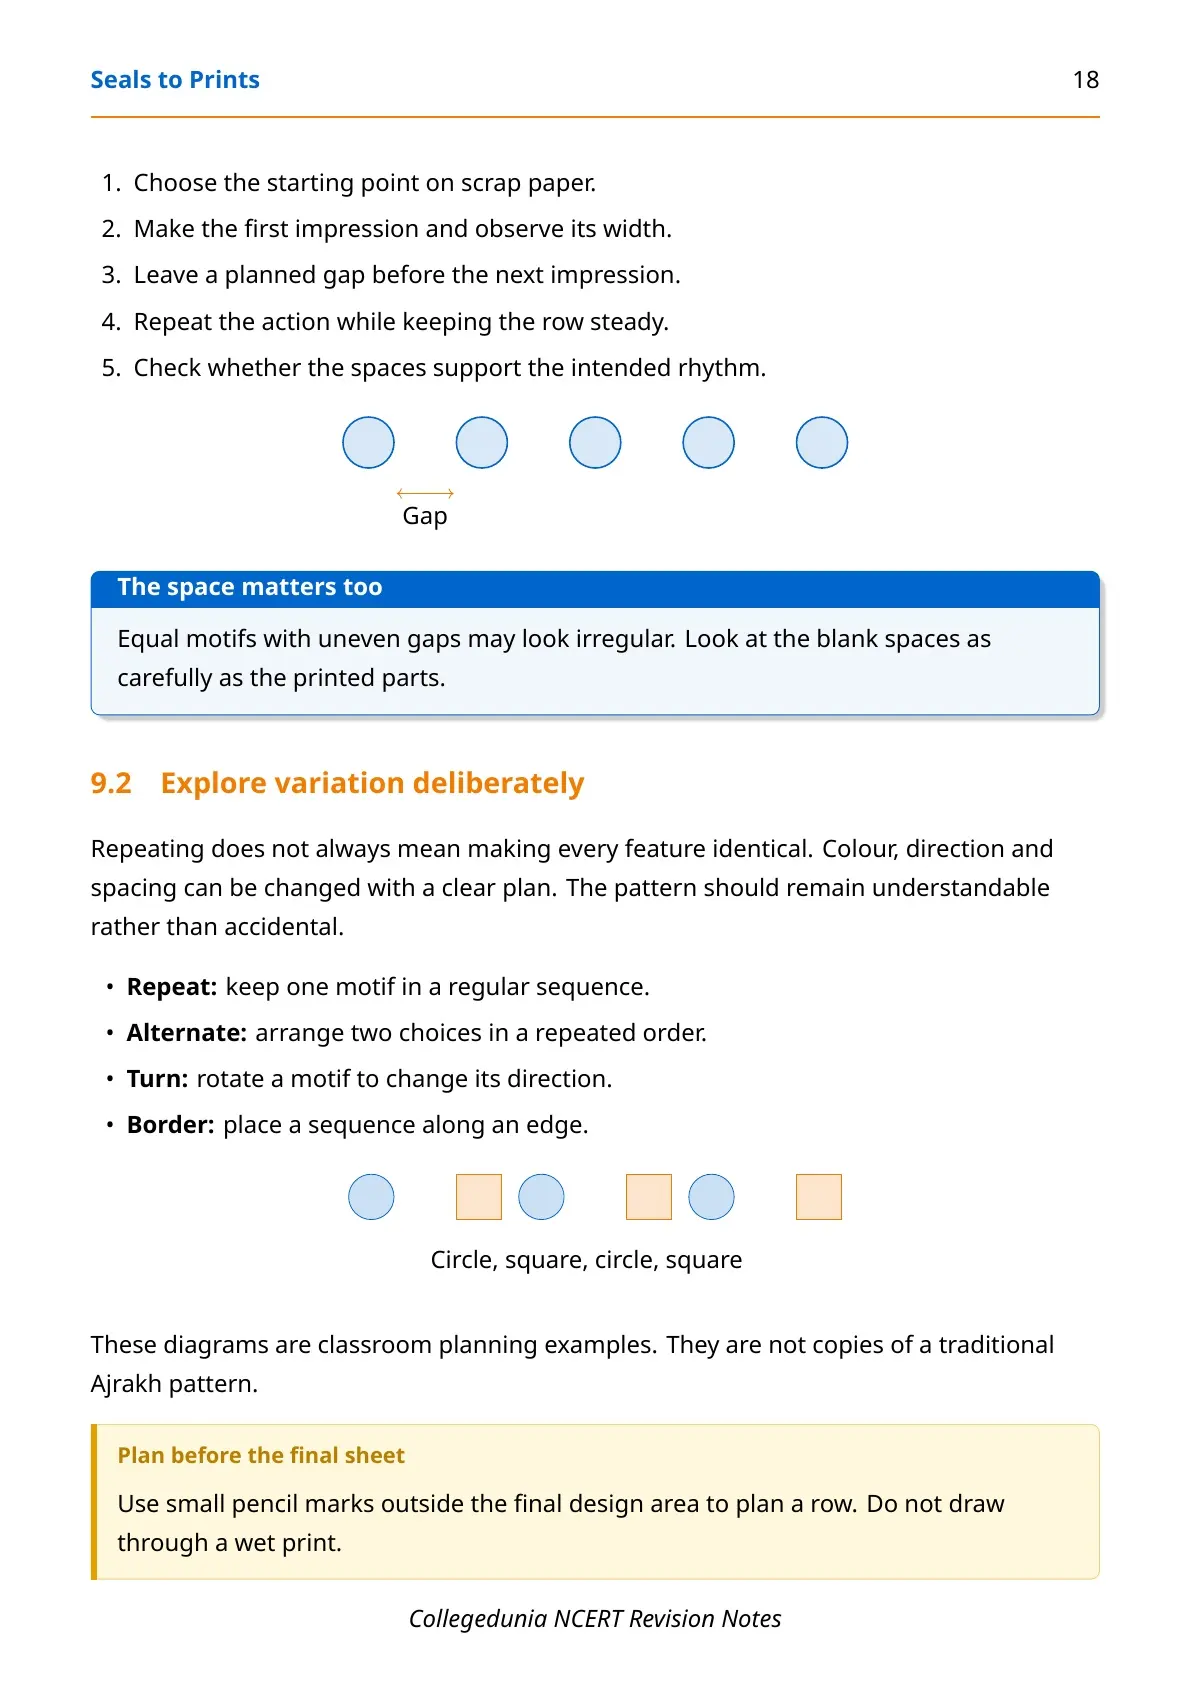
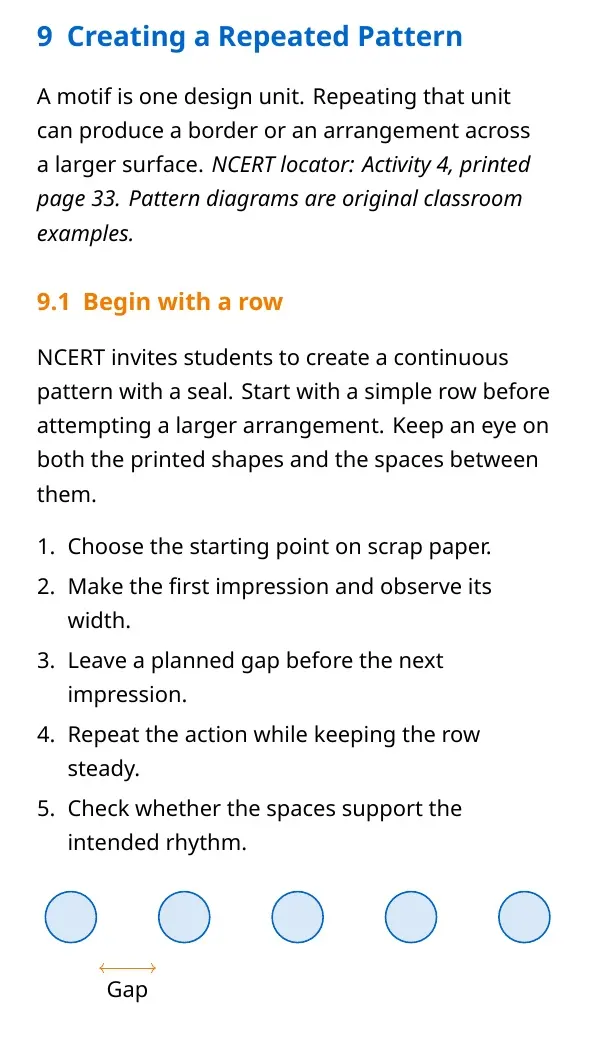
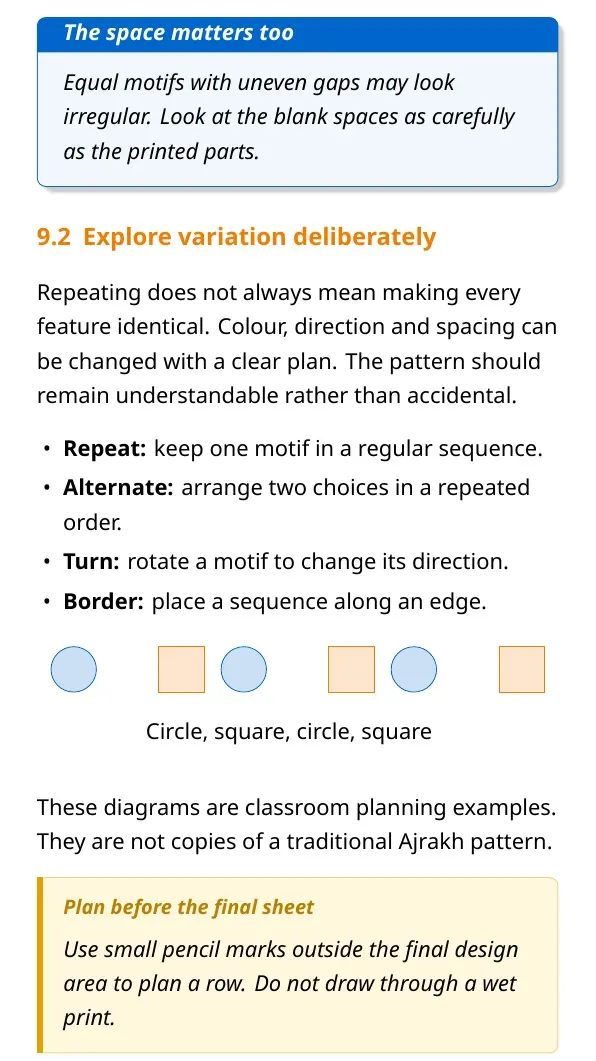
- Try repeating your seal in a row.
- Keep the spaces between prints steady.
- Compare a single impression with a continuous pattern.
A seal can be used repeatedly. Make another design if your first symbol does not join into the pattern you want.
Seals to Prints: Quick Revision and Activity Checks
Use your own experiments to explain the terms. A useful answer connects the tool, material, action and visible result.
| Check | What to explain |
|---|---|
| Seal and impression | The seal is the tool; the impression is the mark it leaves. |
| Personal symbol | How your chosen picture or letter represents you. |
| Clear print | How the even surface and your test results affect the impression. |
| Block printing | How repeated impressions create a textile pattern. |
Seals to Prints: More Resources for Class 6 Arts
| Resource | Use |
|---|---|
| Seals to Prints Class 6 Solutions | Discuss the textbook activities. |
| Official Seals to Prints NCERT Book PDF | Study the original pictures and instructions. |
Seals to Prints and All Chapters: More NCERT Arts Notes
| Chapter | Notes |
|---|---|
| 1 | Objects and Still Life |
| 3 | Portraying People |
| 4 | Paper Crafts |
Seals to Prints Class 6 Arts Notes FAQs
Ques. What does Seals to Prints teach?
Ans. It connects the observation of seals with designing, making and testing your own seal, then using it for repeated prints.
Ques. What can a personal seal show?
Ans. A simple picture, letter or icon can represent qualities or values that matter to you. Keep the design easy to recognise.
Ques. Why should a seal have an even surface?
Ans. Even printing parts help the whole design contact the receiving surface and leave a clearer impression.
Ques. How do I test a rounded seal?
Ans. Press it into wet clay or dough, as in the first experiment with found objects.
Ques. Where is the Ajrakh tradition discussed in NCERT practised?
Ans. The chapter identifies Kutch in Gujarat and shows repeated wooden-block printing on textiles.



Comments